
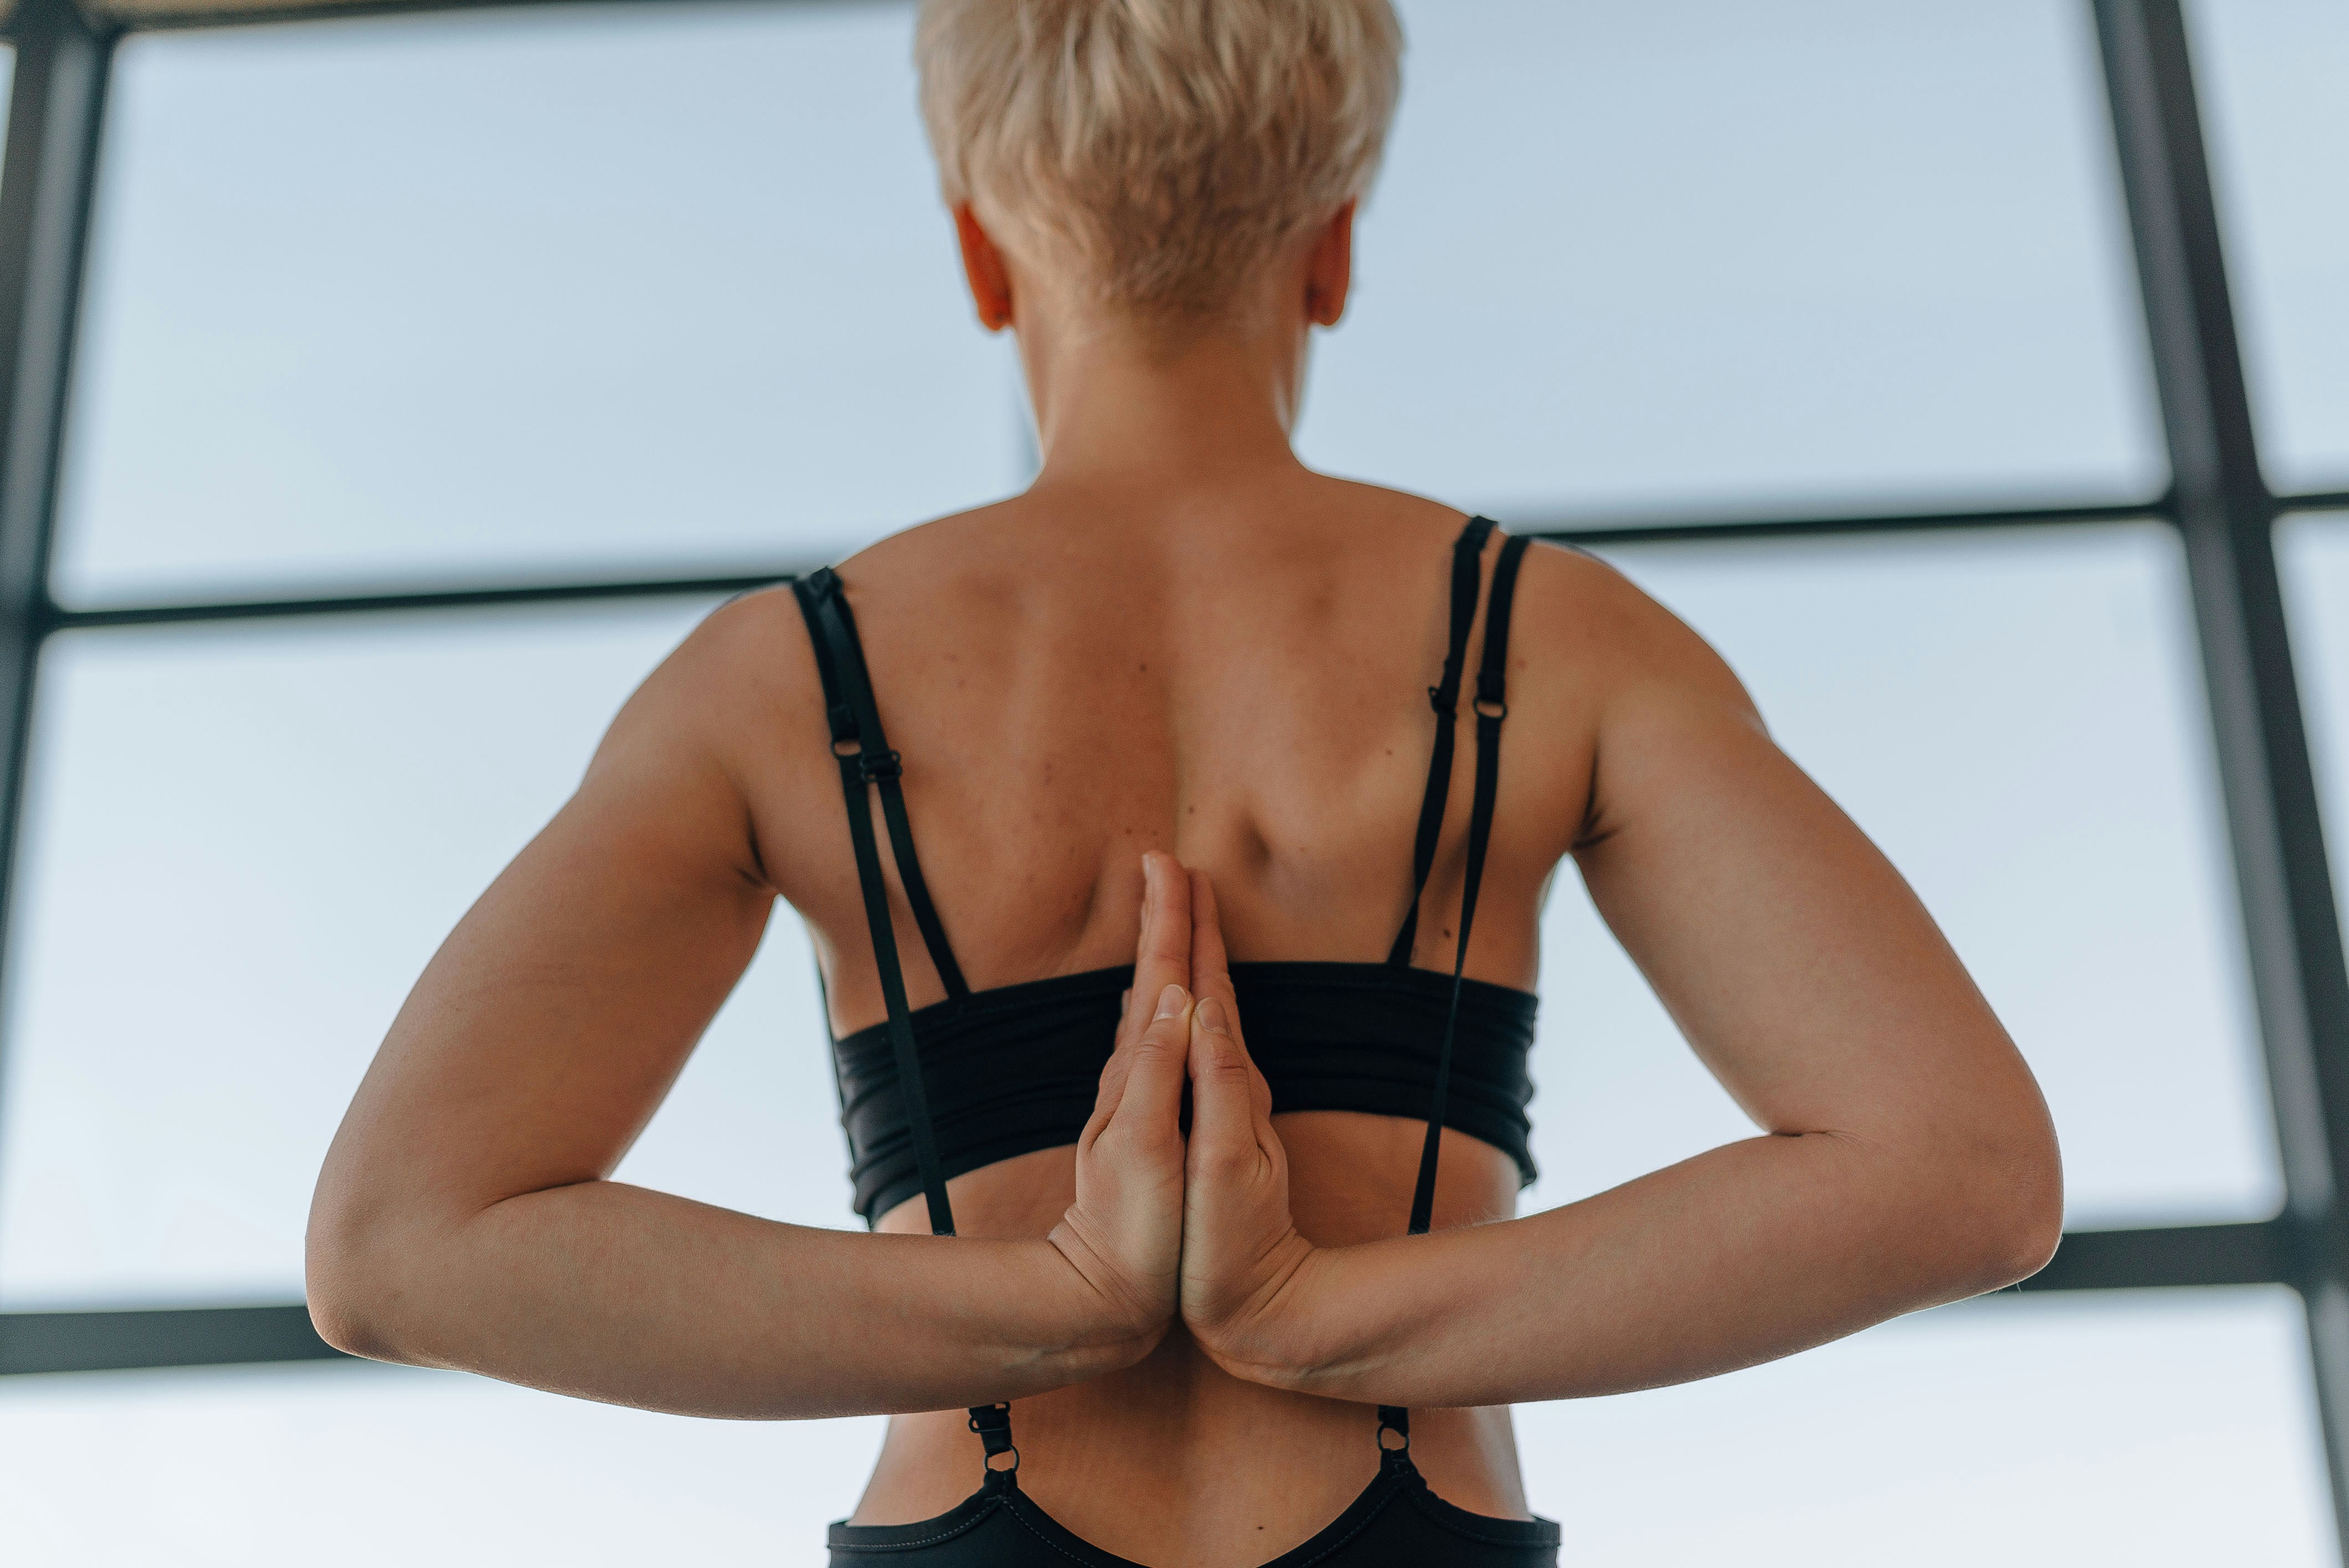
I’m a yoga teacher, so all my joints must be perfectly lubricated and my limbs are made of Play-Doh. Wrong! I, too, spend hours in front of a screen for work, and yes, pleasure. And guess what that’s gotten me? Stiff shoulders.
And it’s not just your habits that may affect how far your shoulders will go—it’s also genetics. Different people begin with different flexibility levels in various parts of the body. Just because you can touch your nose with your tongue doesn’t mean you can interlace your hands behind your back.
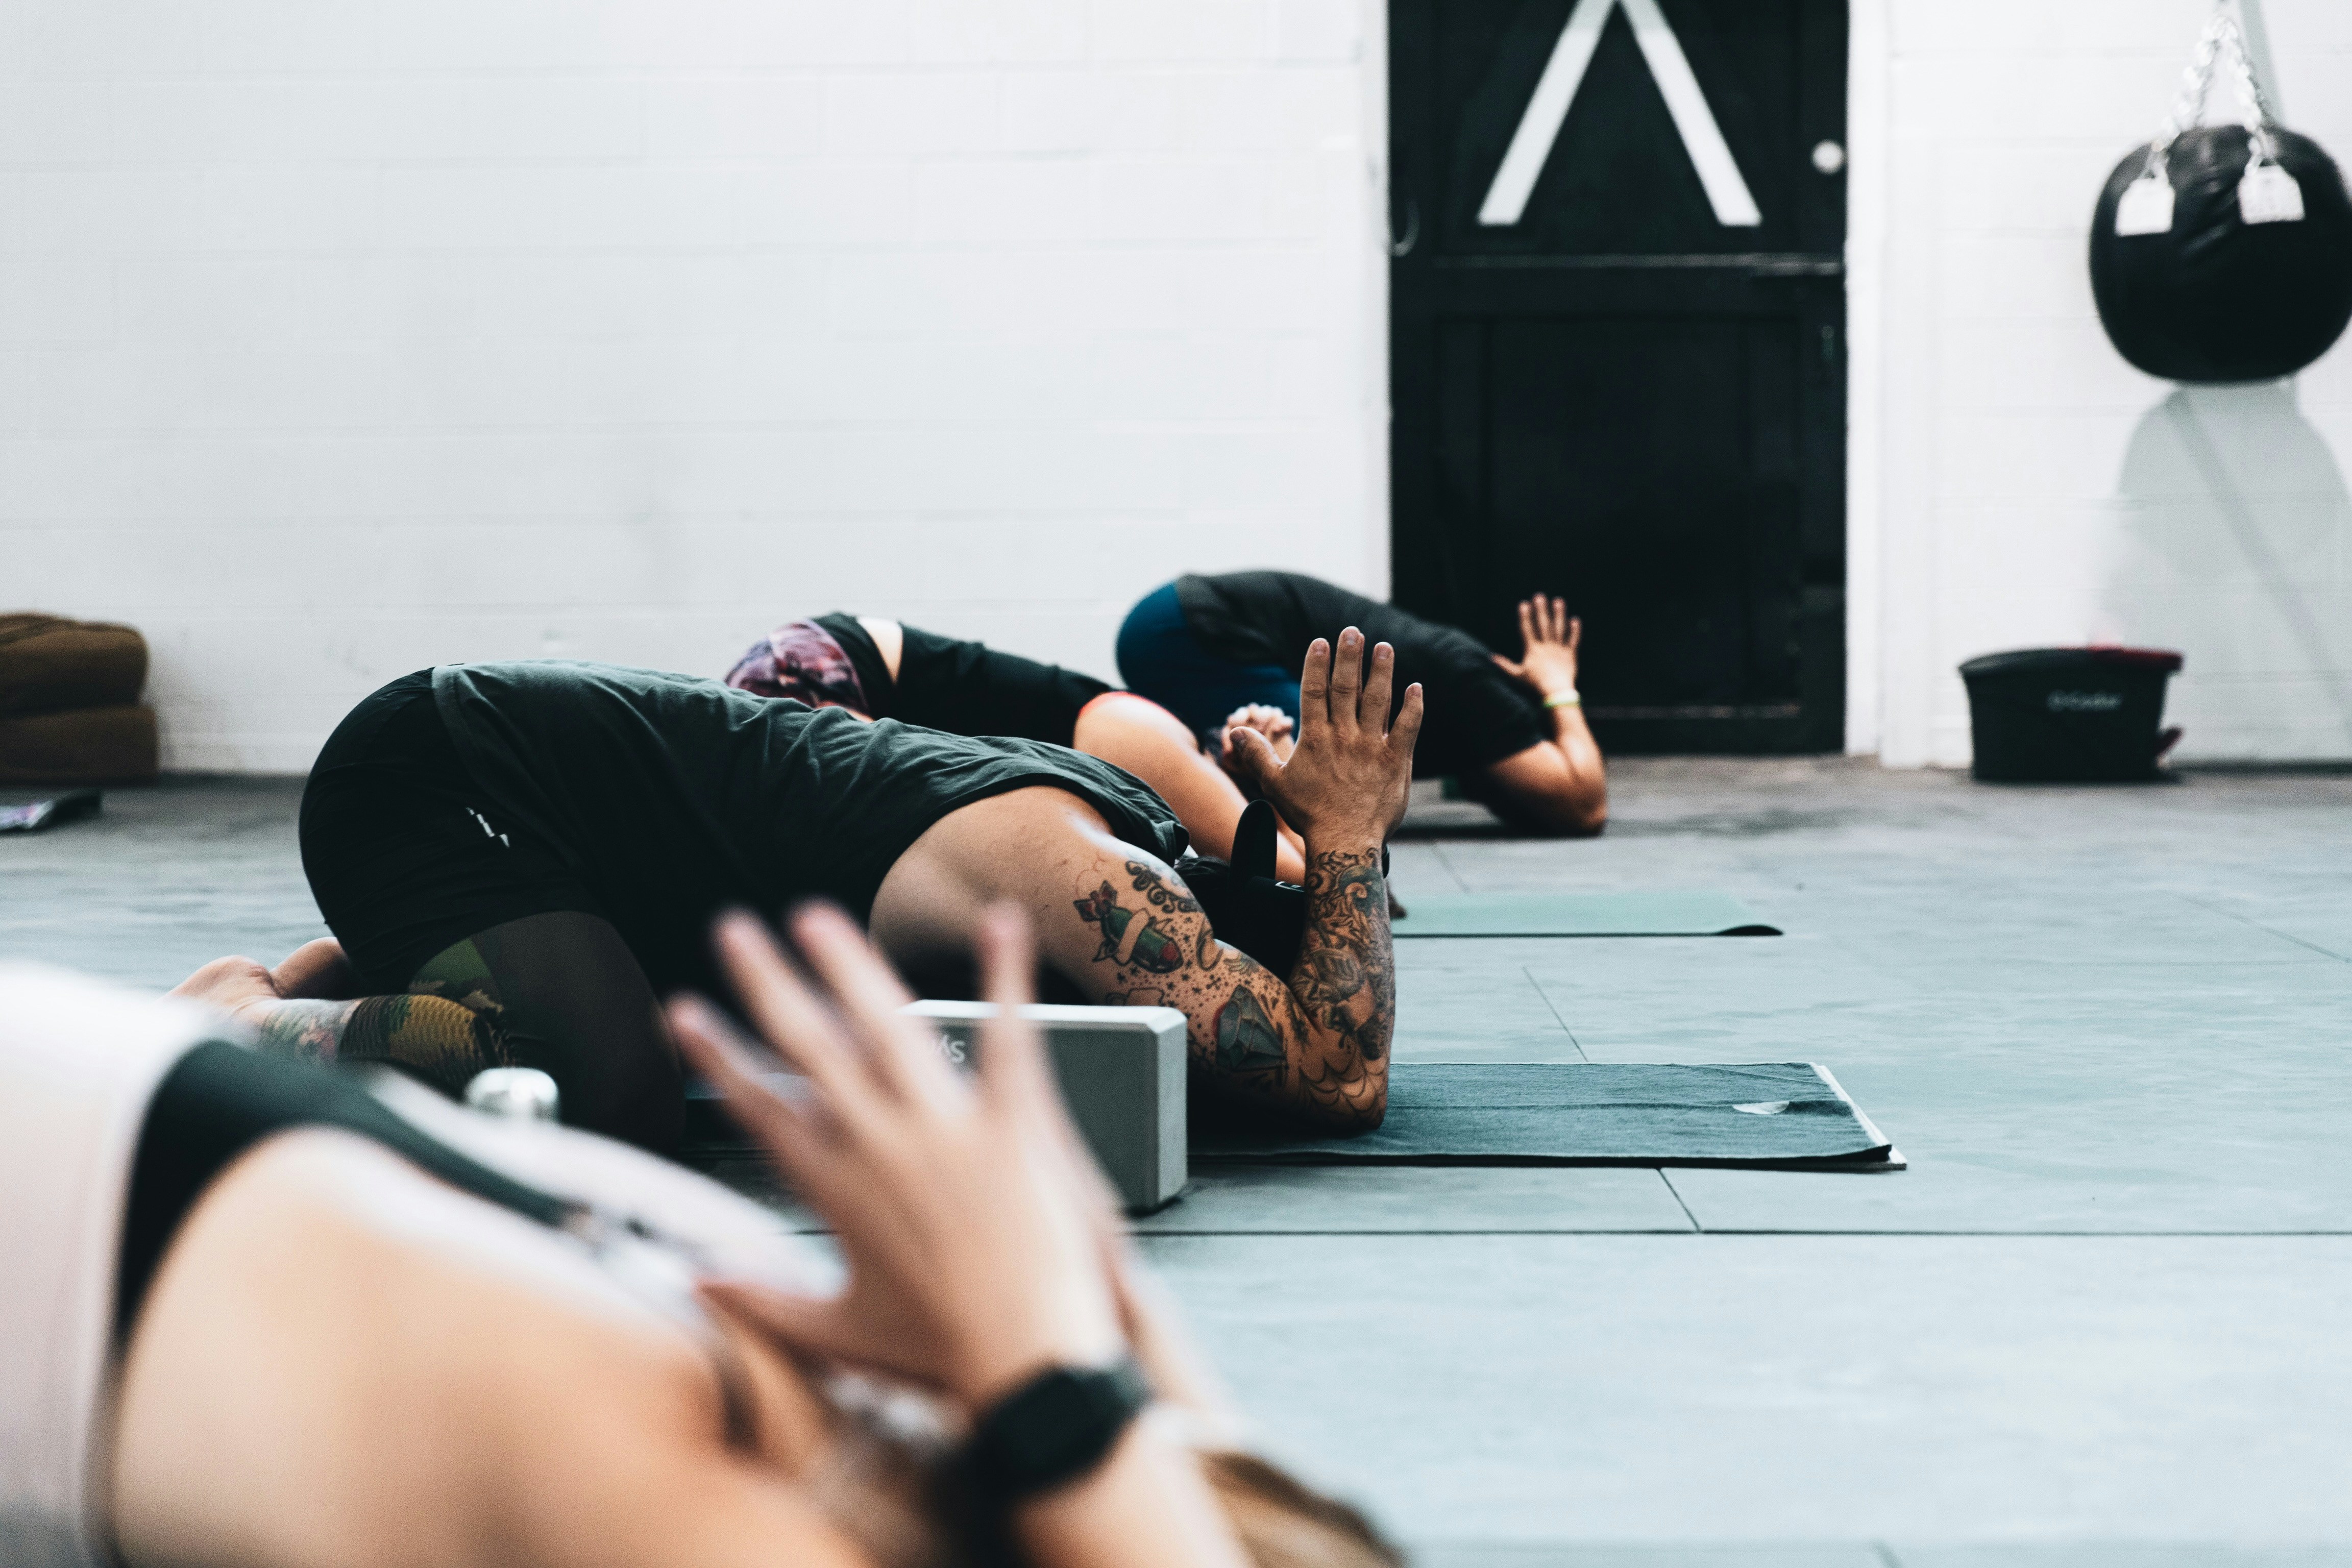
Luckily, you can do something to change that. Today, I’d like to share some yoga exercises and classes of ours that will help you increase mobility in the shoulders, release tension, aches, and the need to go “eeeeh” every time you reach for a book above head height.
Understanding Shoulder Mobility
Shoulder mobility results from the connection between the SC (sternoclavicular), AC (acromioclavicular), and GH (glenohumeral) joints that allows you to freely move your arms in all directions.
Sounds straightforward, right? But when you really get down to it, the shoulder is one of the most complex joints in your body. A fascinating mix of flexibility and strength that allows you to push, pull, lift, and wave hello to a friend across the street.
Shoulder Kinetics
The shoulder joint, or the glenohumeral joint for those who fancy a bit of technical jargon, is a ball-and-socket joint. Because of the way this type of joint is designed, you can enjoy an extraordinary range of motion—waving your arms in every possible direction.
To keep that mobility in check and avoid dislocations, you've got a team of muscles, tendons, and ligaments, collectively known as the rotator cuff, with a supportive function. The rotator cuff holds the joint in place while allowing movement. Just like any other muscle in your body, the muscles and tendons of the rotator cuff need exercise and rest to stay healthy.
Why Do Shoulders Hurt?
Our modern lifestyle doesn't do much to keep the shoulders happy. Hours spent typing with arms forward or scrolling on phones put your shoulders in a static state that generally does not contribute to a healthy posture. This leads to tightness, imbalance, and sometimes pain—the body's not-so-subtle way of saying that it can’t keep up. If you add to this genetics, which might have given you an unfavorable starting point in the first place, things quickly become difficult.
If you don’t exercise your shoulders in your fitness routines, you may lose mobility and become prone to shoulder injuries, and you certainly don’t want that. An injured shoulder can severely impact your quality of life through muscle pain, stiffness in the neck, headaches, and tingling sensations throughout the arm.
People need a balance between strength and flexibility, work and rest, pushing their limits, and listening to their bodies. In everyday life, you need to counterbalance unhealthy lifestyle habits—or genetics—with mobility exercises.
Opening The Shoulders: Yoga Poses and Classes
Before jumping headfirst into the exercises, let’s briefly discuss some key considerations.
Pre-Exercise Considerations
- Warmup: do a few minutes of arm circles, shoulder shrugs, and a sun salutation or two within your safe range of motion. Warming up increases blood flow, preparing your muscles for action and reducing the risk of injury.
- Assessment: observe how your shoulders feel during basic movements like raising your arms overhead or reaching behind your back. Notice any stiffness, discomfort, or limitations in movement. This will help you choose the right movements for your shoulder needs and to prevent going overboard.
- Goals: set some realistic goals for your shoulder mobility. Focus on long-term targets, but set small milestones. Maybe it's reaching further up your back, performing a full range of motion in your arm swings, or simply moving through your day without shoulder pain. This will keep you motivated to return to the mat every week.
- Consistency: consistency trumps intensity every time. Doing a little bit every day is far more effective than going all out once a week. One yoga session alone won’t do much when it comes to shoulder mobility. You need to choose the poses and classes that fit well with your body and time schedule and practice them regularly. Fortunately, our amazing teachers have created many for you to choose from!
Yoga Poses for Stronger Shoulders
Many yoga poses activate the shoulders, even the classics such as downward-facing dog and most backbends. Below I’d like to share some of my favorites!
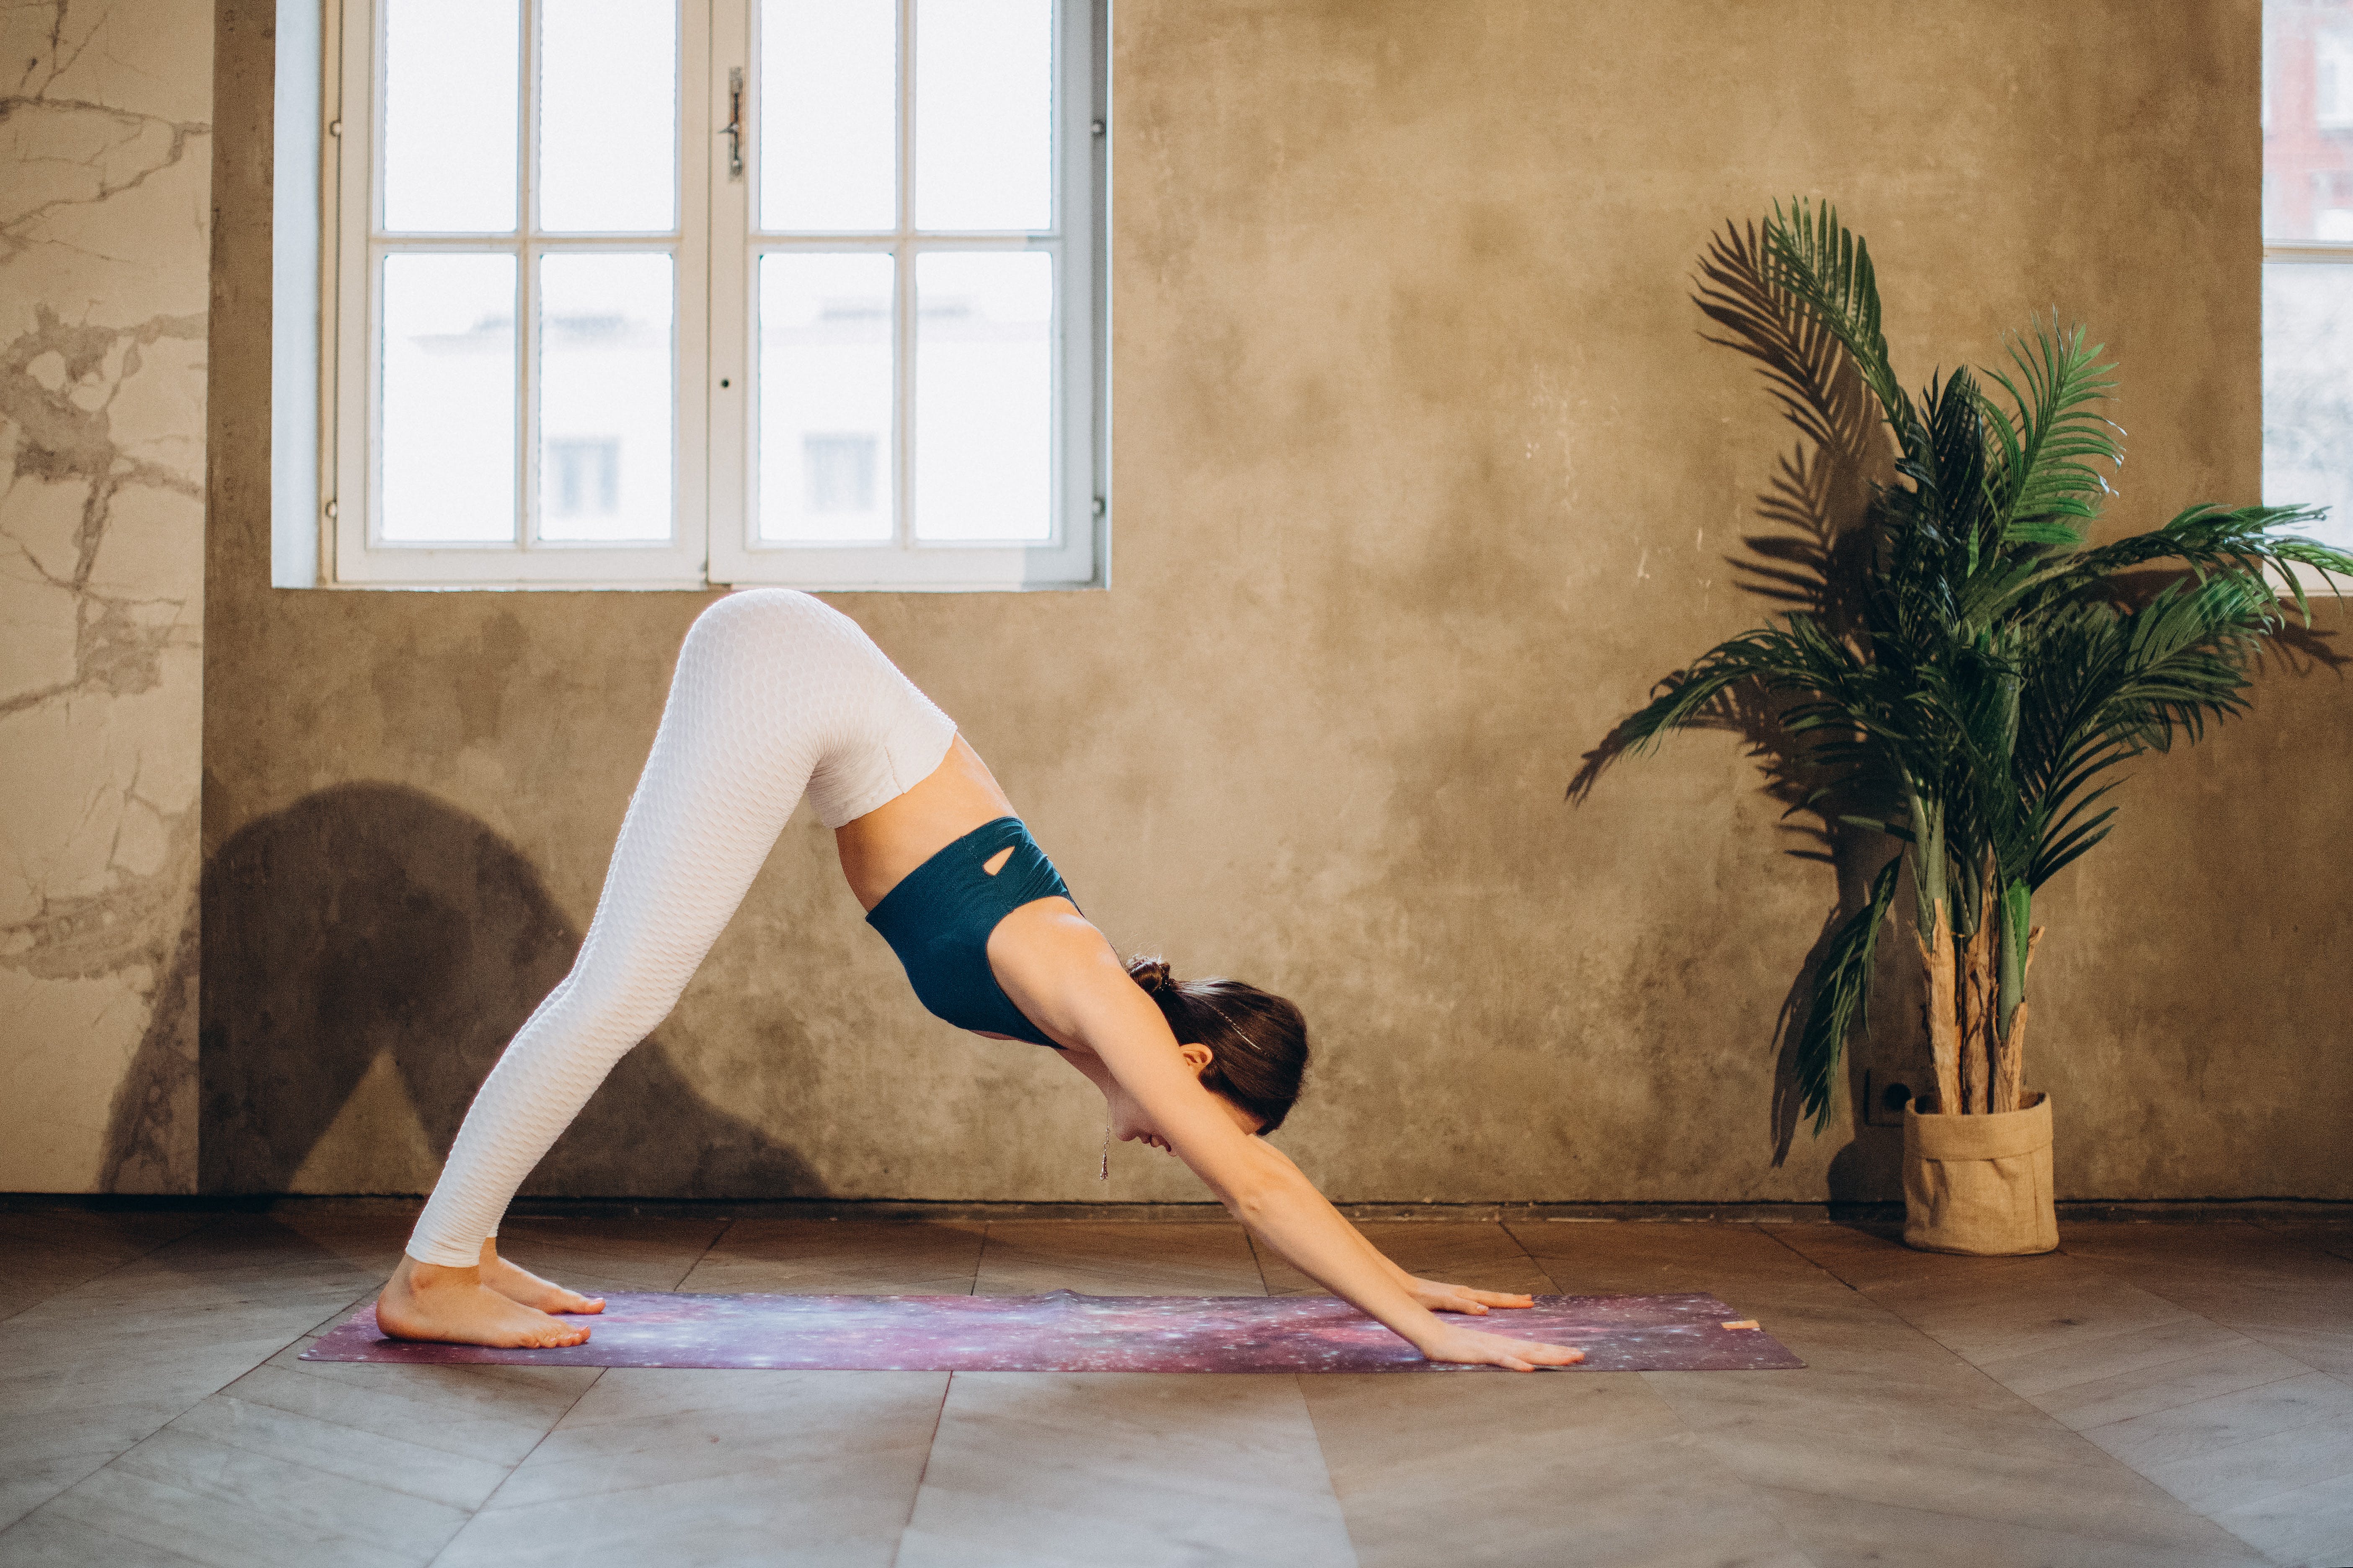
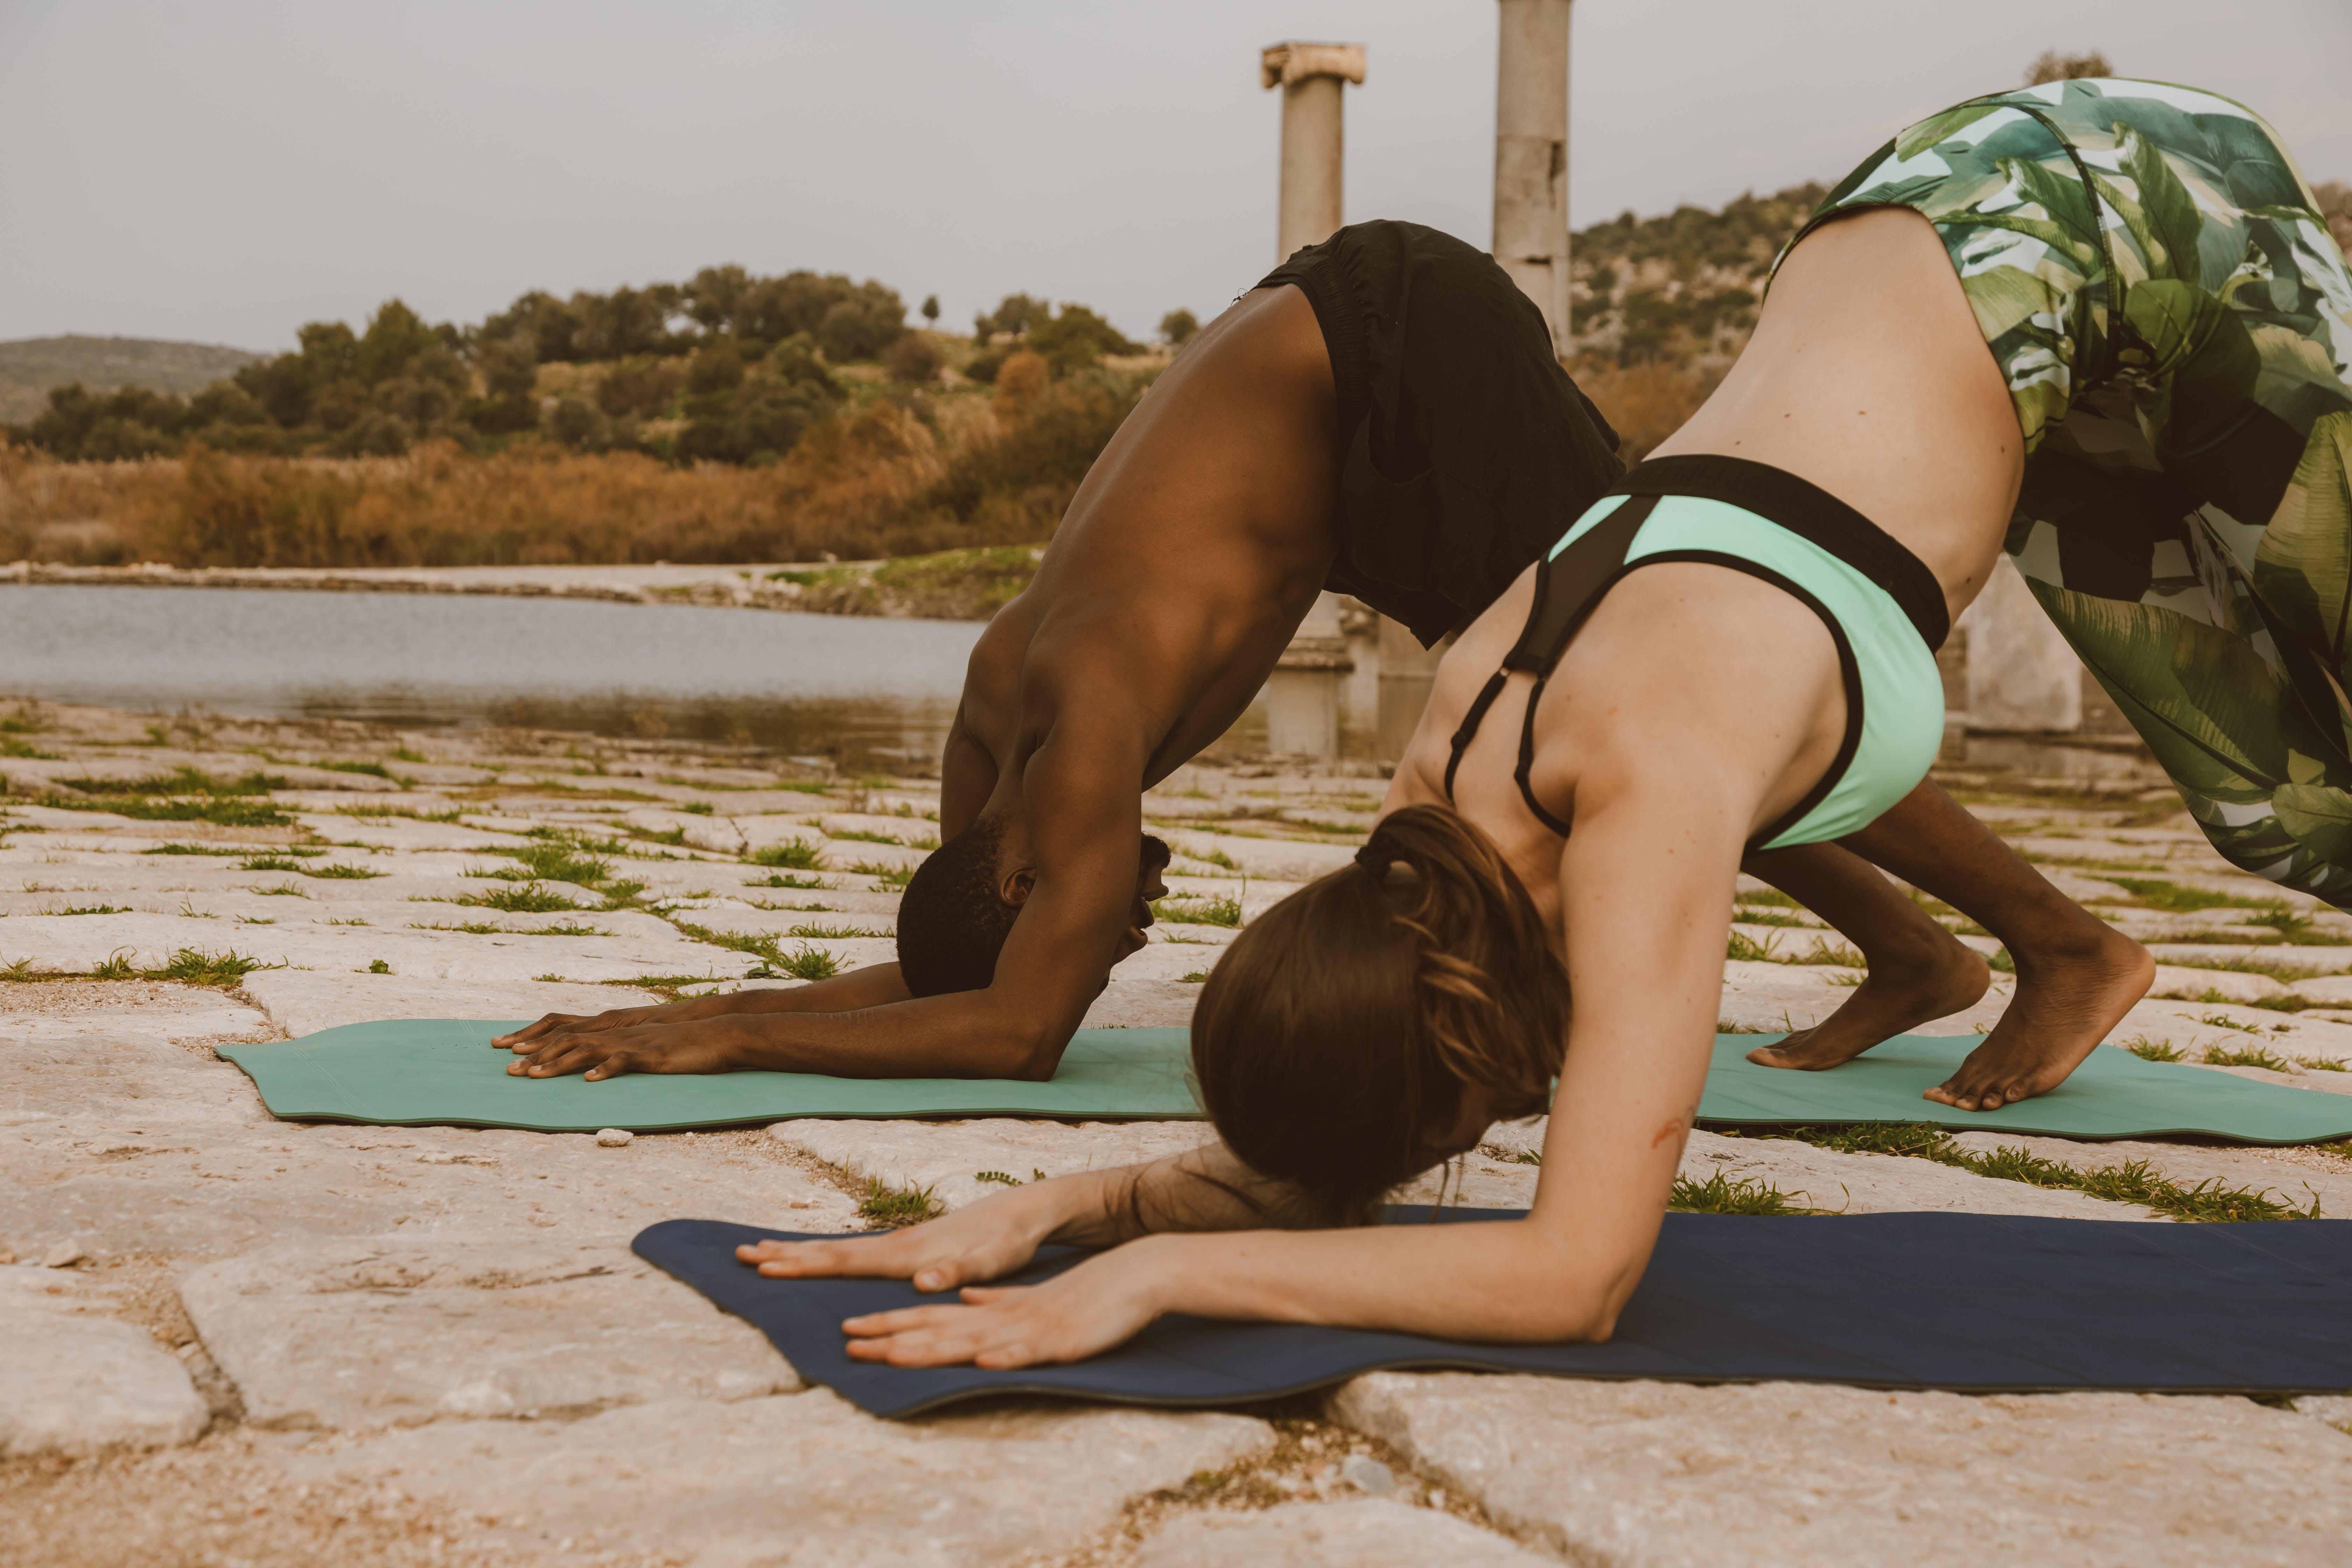
1. Downward-facing dog (adho mukha svanasana)
A staple in virtually every yoga practice, downward-facing dog is an amazing shoulder-opening asana. It stretches and strengthens the shoulders, elongates the spine, and gently increases shoulder mobility. Try to hold the pose for five breaths or more.
How to Perform downward-facing dog:
- Start on your hands and knees, with your wrists under your shoulders and your knees under your hips.
- Spread your fingers wide and press firmly through your palms.
- Exhale as you lift your knees off the floor, straightening your legs and raising your hips toward the ceiling.
- With your palms, press the floor away from you as you bring your chest toward your thighs. Remember not to tense your shoulders, keep them spread out away from your ears.
- Hold the position for a few breaths, focusing on keeping the shoulders away from the ears and active, not passive.
- To release, gently lower your knees back to the floor.
2. Dolphin pose (ardha pincha mayurasana)
Dolphin pose is essentially a more advanced version of a downward dog as you’re on your forearms instead of your palms. It's excellent for building upper-body strength, particularly in the shoulders, arms, and core. This pose also stretches the shoulders, hamstrings, and calves, and can help prepare you for more advanced inversions.
How to Perform:
- Begin on your hands and knees, then lower your forearms to the floor, keeping them as parallel to each other as you can and about shoulder-width apart.
- Tuck your toes and lift your hips up and back, as you would in downward dog, but keep your forearms on the ground. It’s ok to have bent knees here.
- Press firmly through your forearms and lift your hips high, keeping your neck relaxed and your gaze between your legs.
- Try to bring your chest toward your legs, feeling the stretch in the shoulders.
- Maintain the pose for several breaths, then gently lower your knees to release.
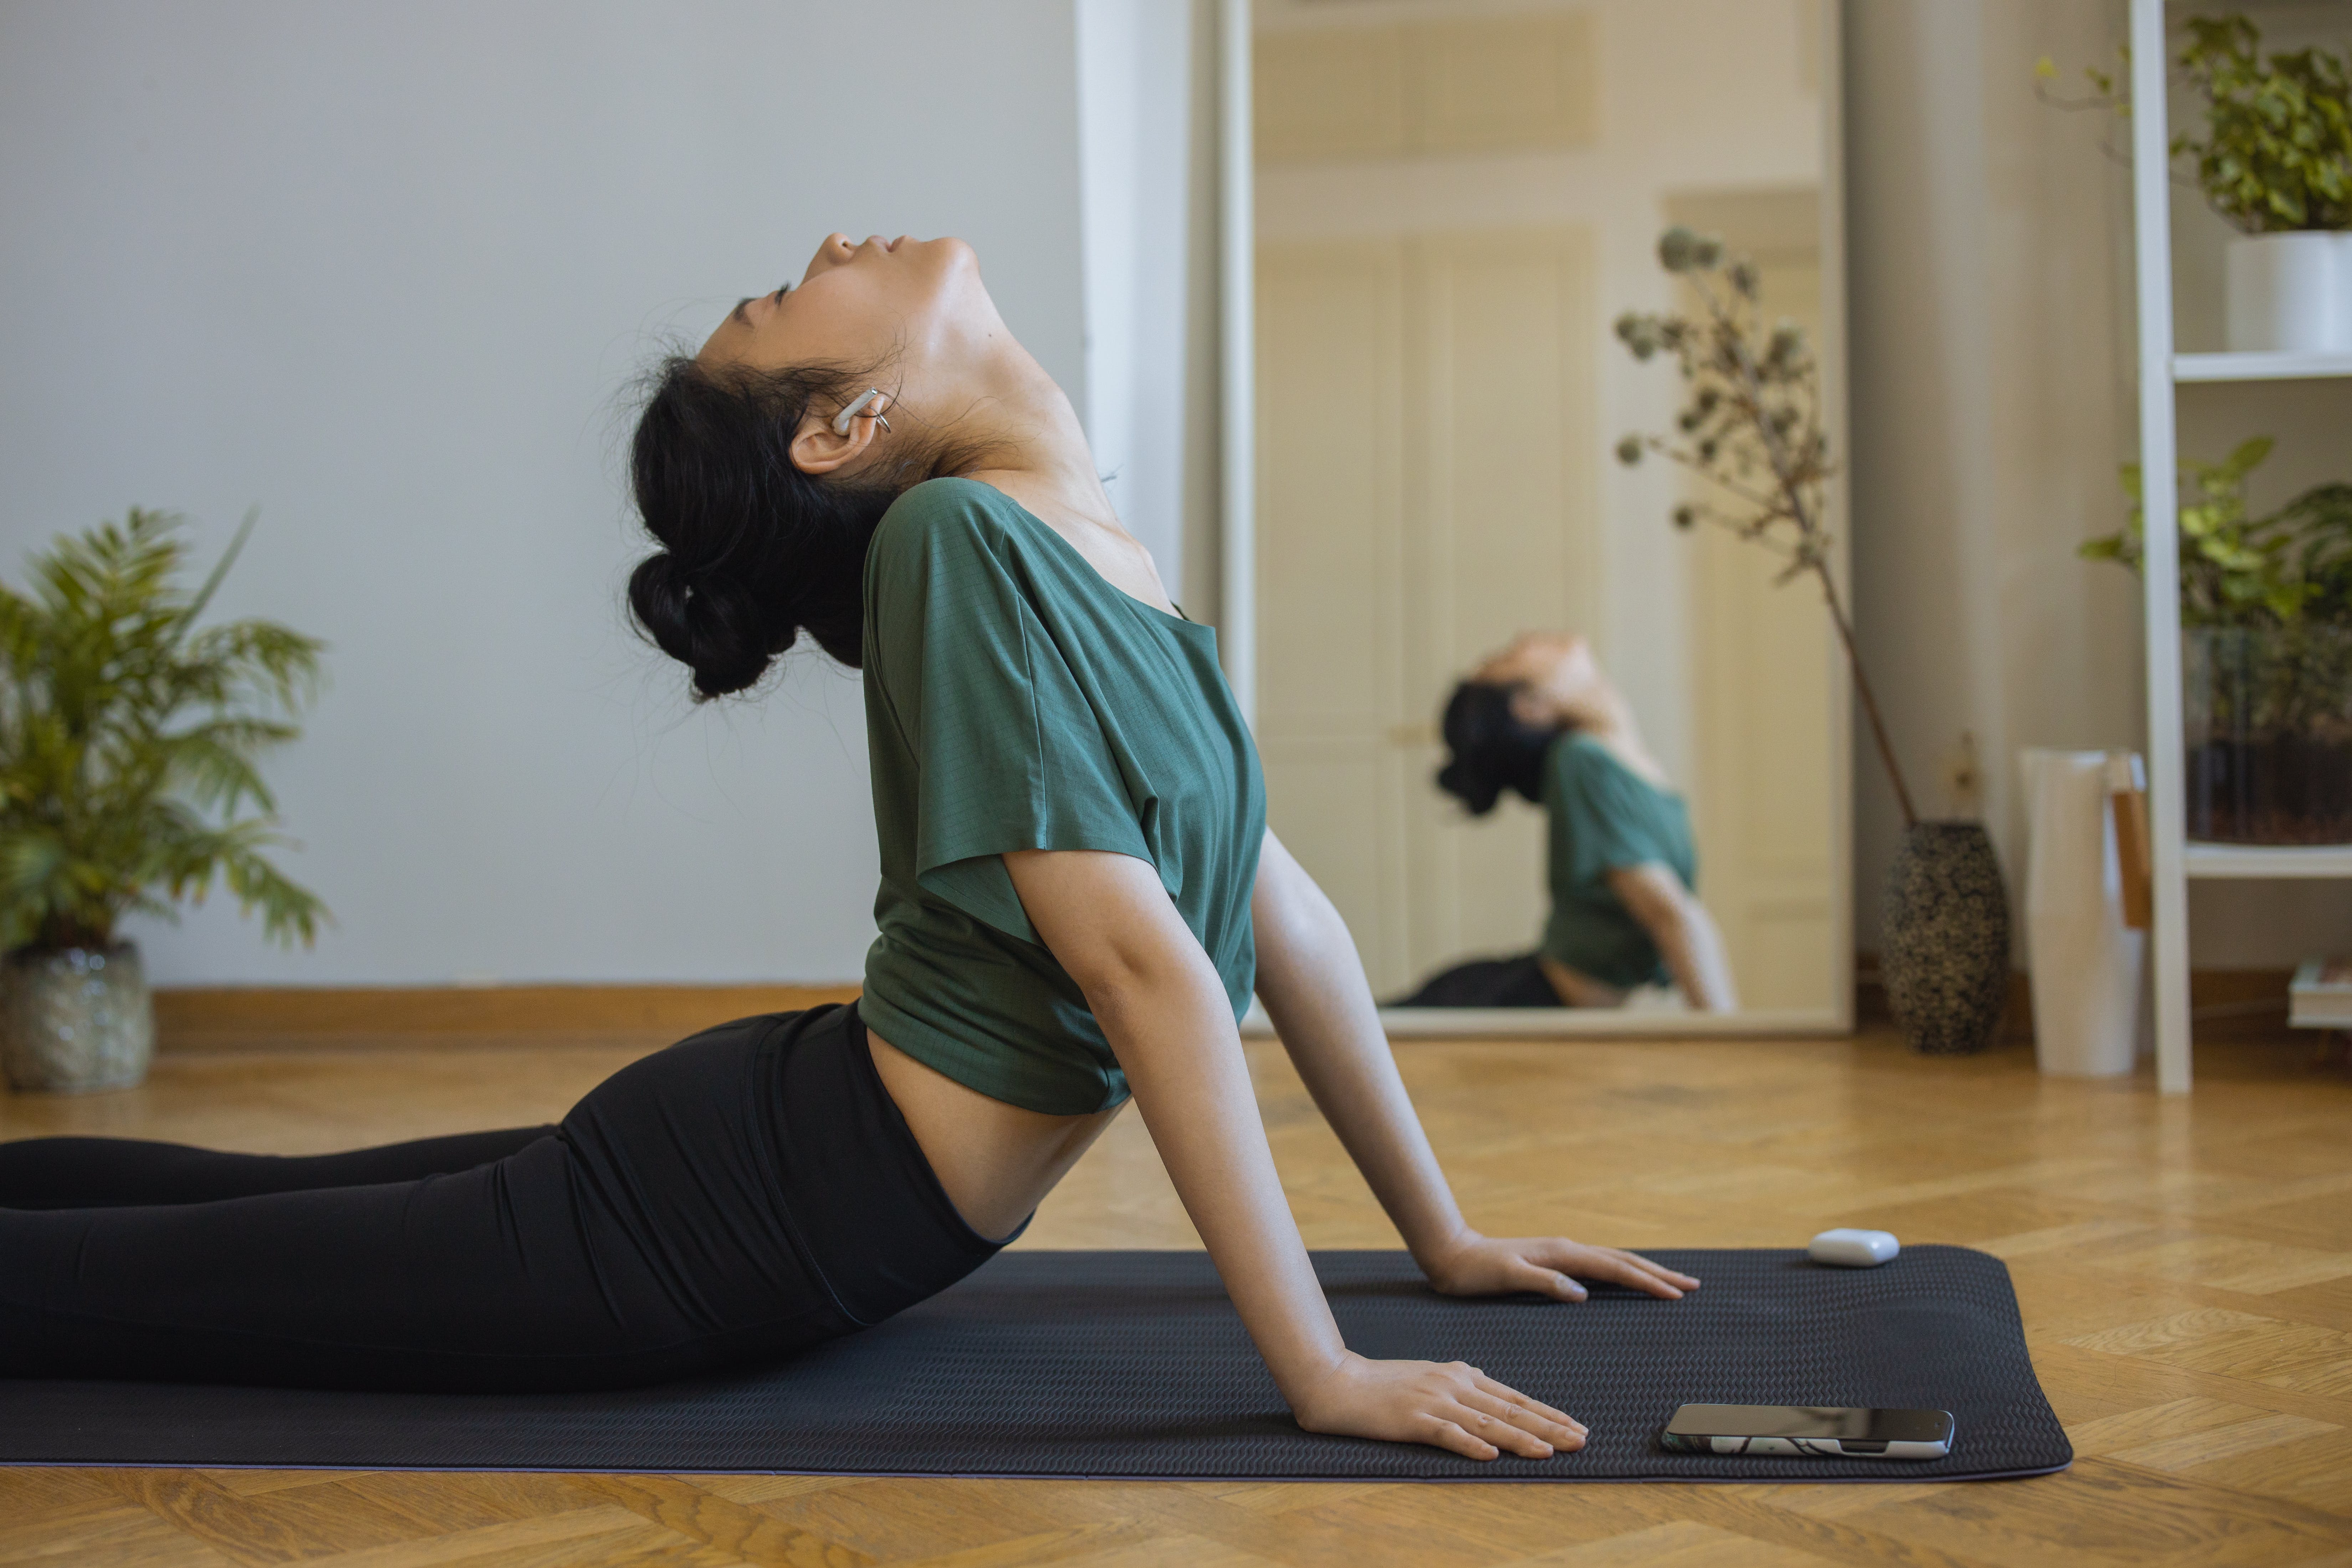
3. Cobra pose (bhujangasana)
Cobra pose is a gentle backbend that opens the heart and stretches your entire upper body, including the shoulders. It's a fantastic counterpose to the forward-bending motions of daily life and it may even feel cathartic!
How to Perform:
- Lie on your stomach with your legs extended behind you and your palms flat on the ground under your shoulders.
- Keep your elbows close to your body, and as you inhale, push your hands onto the floor to lift your chest. Elbows can remain bent or depending on your flexibility and comfort level, you might straighten your arms.
- Bring your chin up and toward the ceiling, if it feels safe for your neck. Otherwise, keep your neck in a neutral position.
- Keep your shoulders relaxed away from your ears and engage your glutes and legs.
- Hold for a couple of breaths, then exhale as you gently lower back down.
- Advanced version: If you want to feel the stretch even deeper, try king cobra pose by bending your knees and lifting your feet off the ground toward your head. Imagine that you’re trying to touch the back of your head with the tips of your toes.
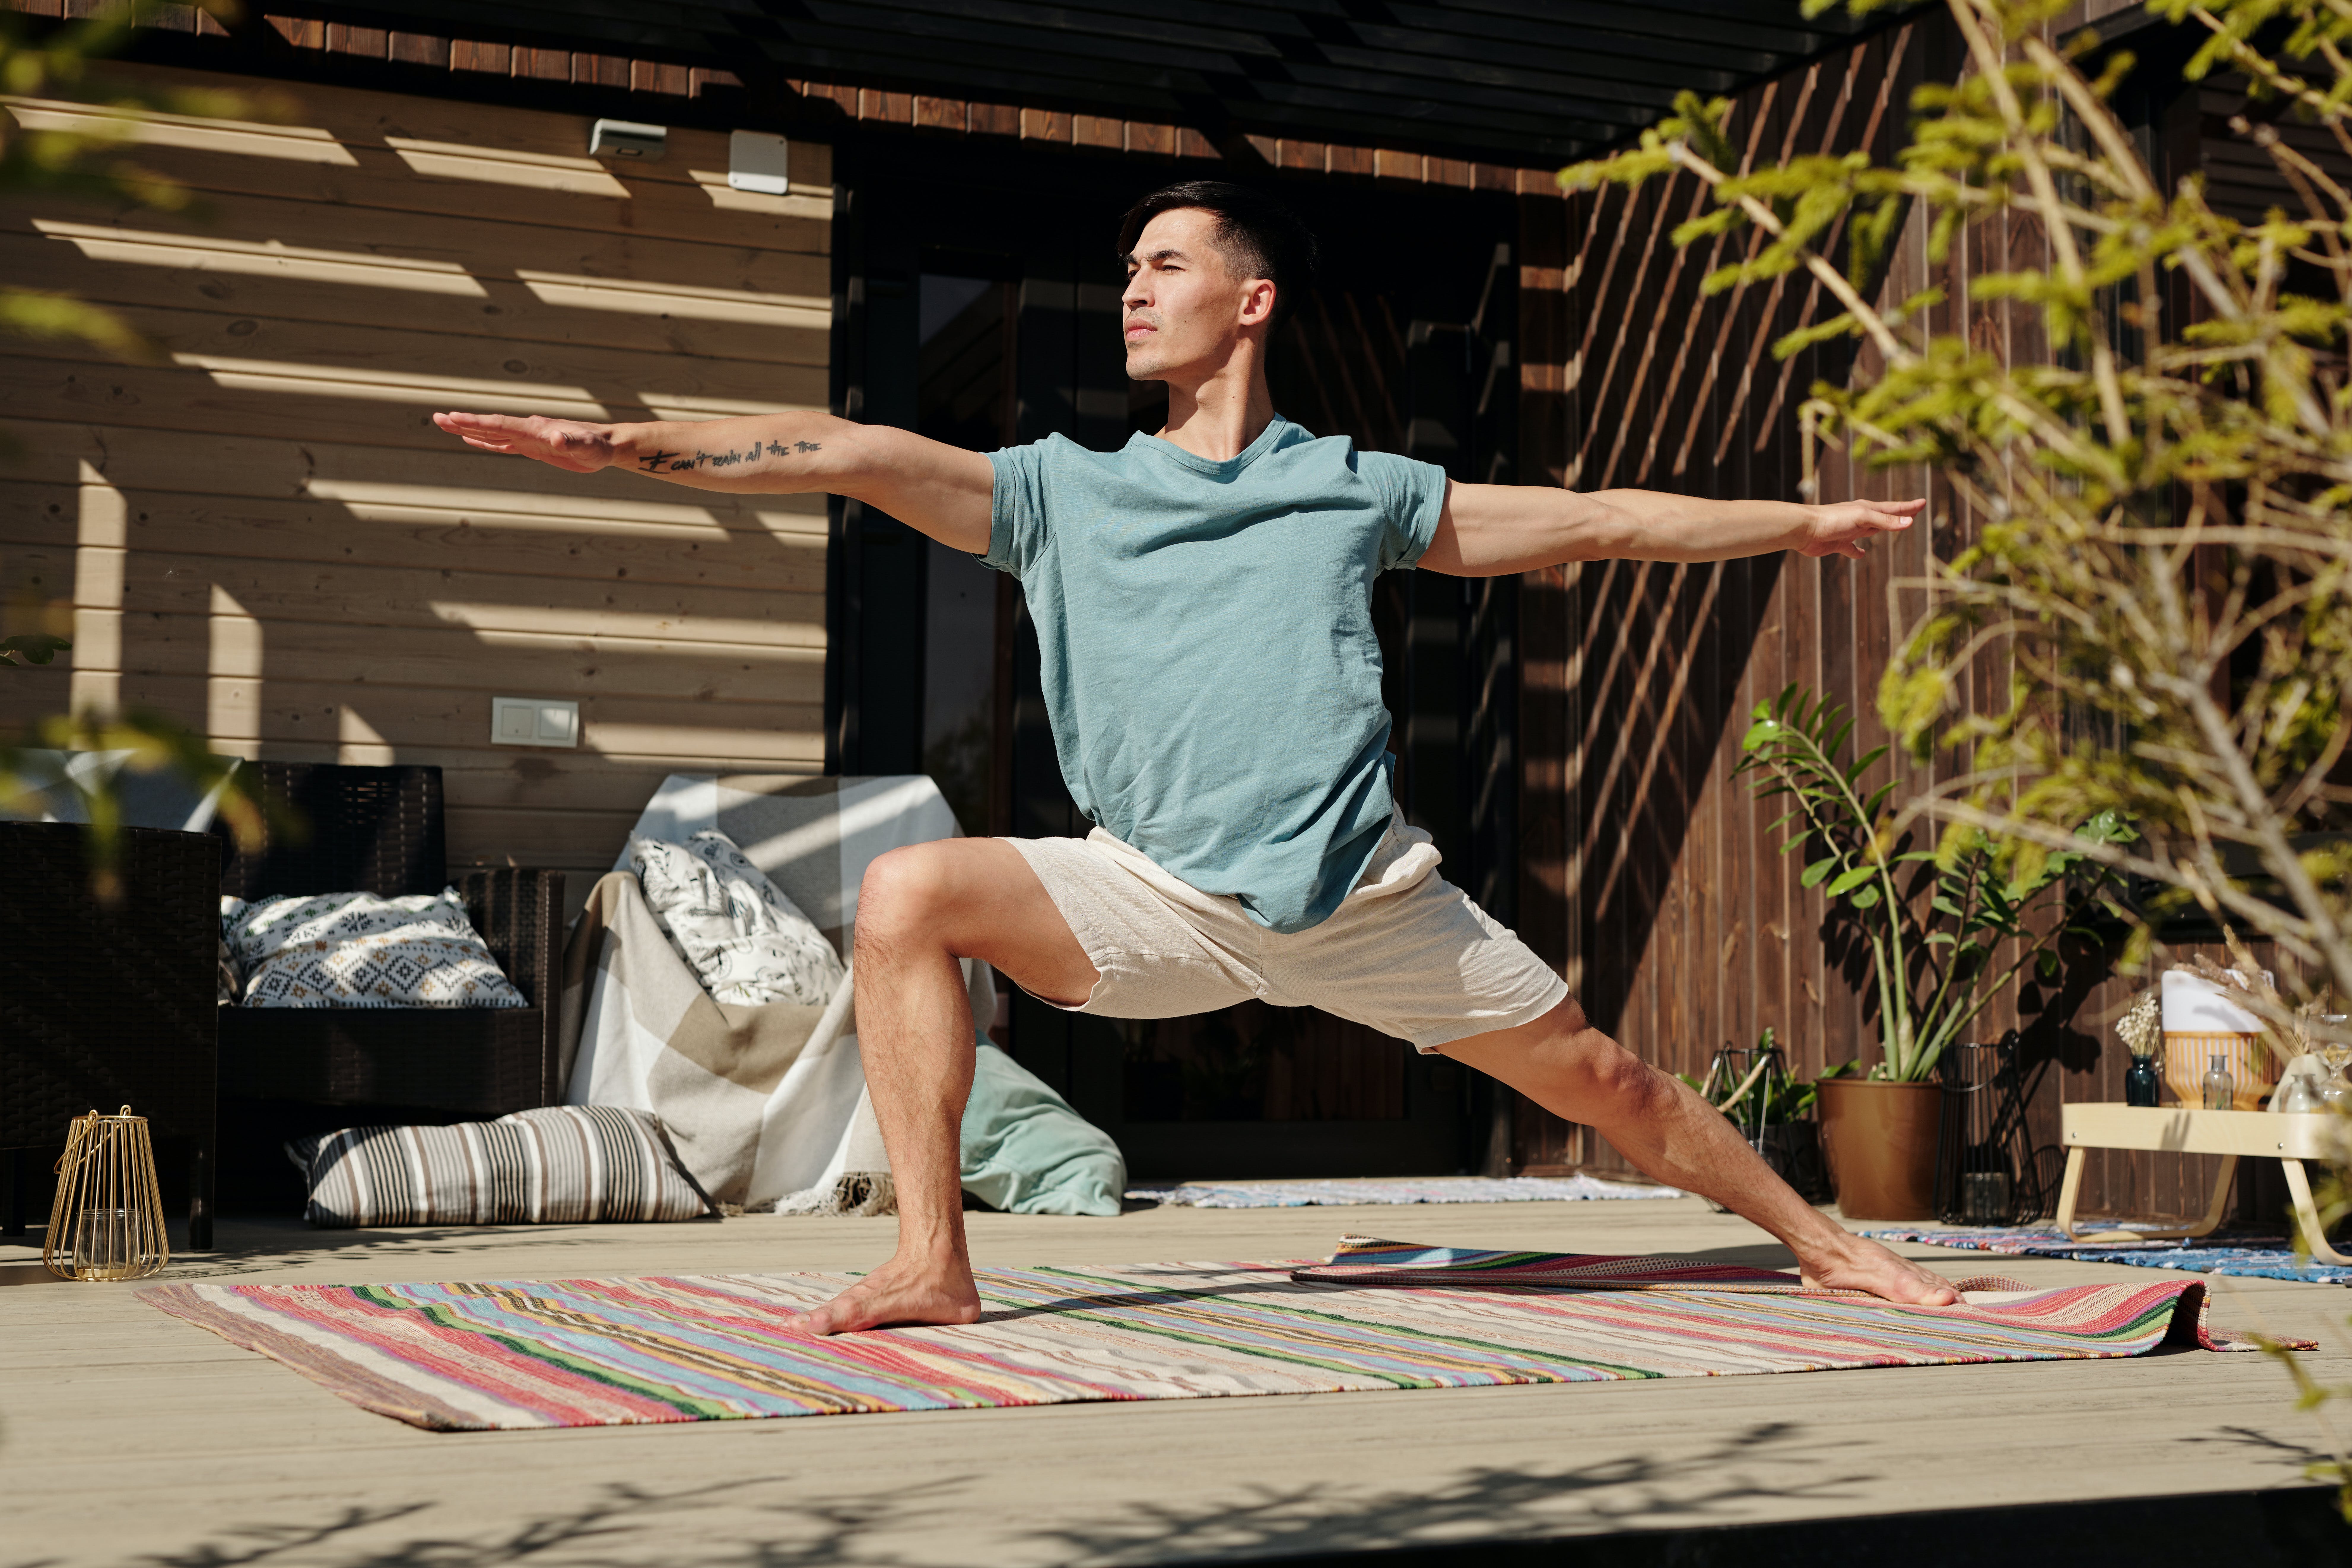
4. Warrior II (virabhadrasana II)
Warrior II pose is one of the best for shoulder stability. It requires you to keep your arms straight at a 90-degree angle to your body, which stabilizes the rotator cuff muscles and makes them stronger.
How to Perform:
- Stand with your feet about 3 to 4 feet apart. Then, raise your arms so they're parallel to the floor (90-degree angle from the torso) and turn your right foot 90 degrees to the right.
- Bend your right knee until it's somewhere over your right ankle, keeping your left leg straight.
- Keep your shoulders down and your chest open. Check your back arm to make sure it hasn’t dropped!
- Gaze over your right hand, hold for several breaths, then switch sides.
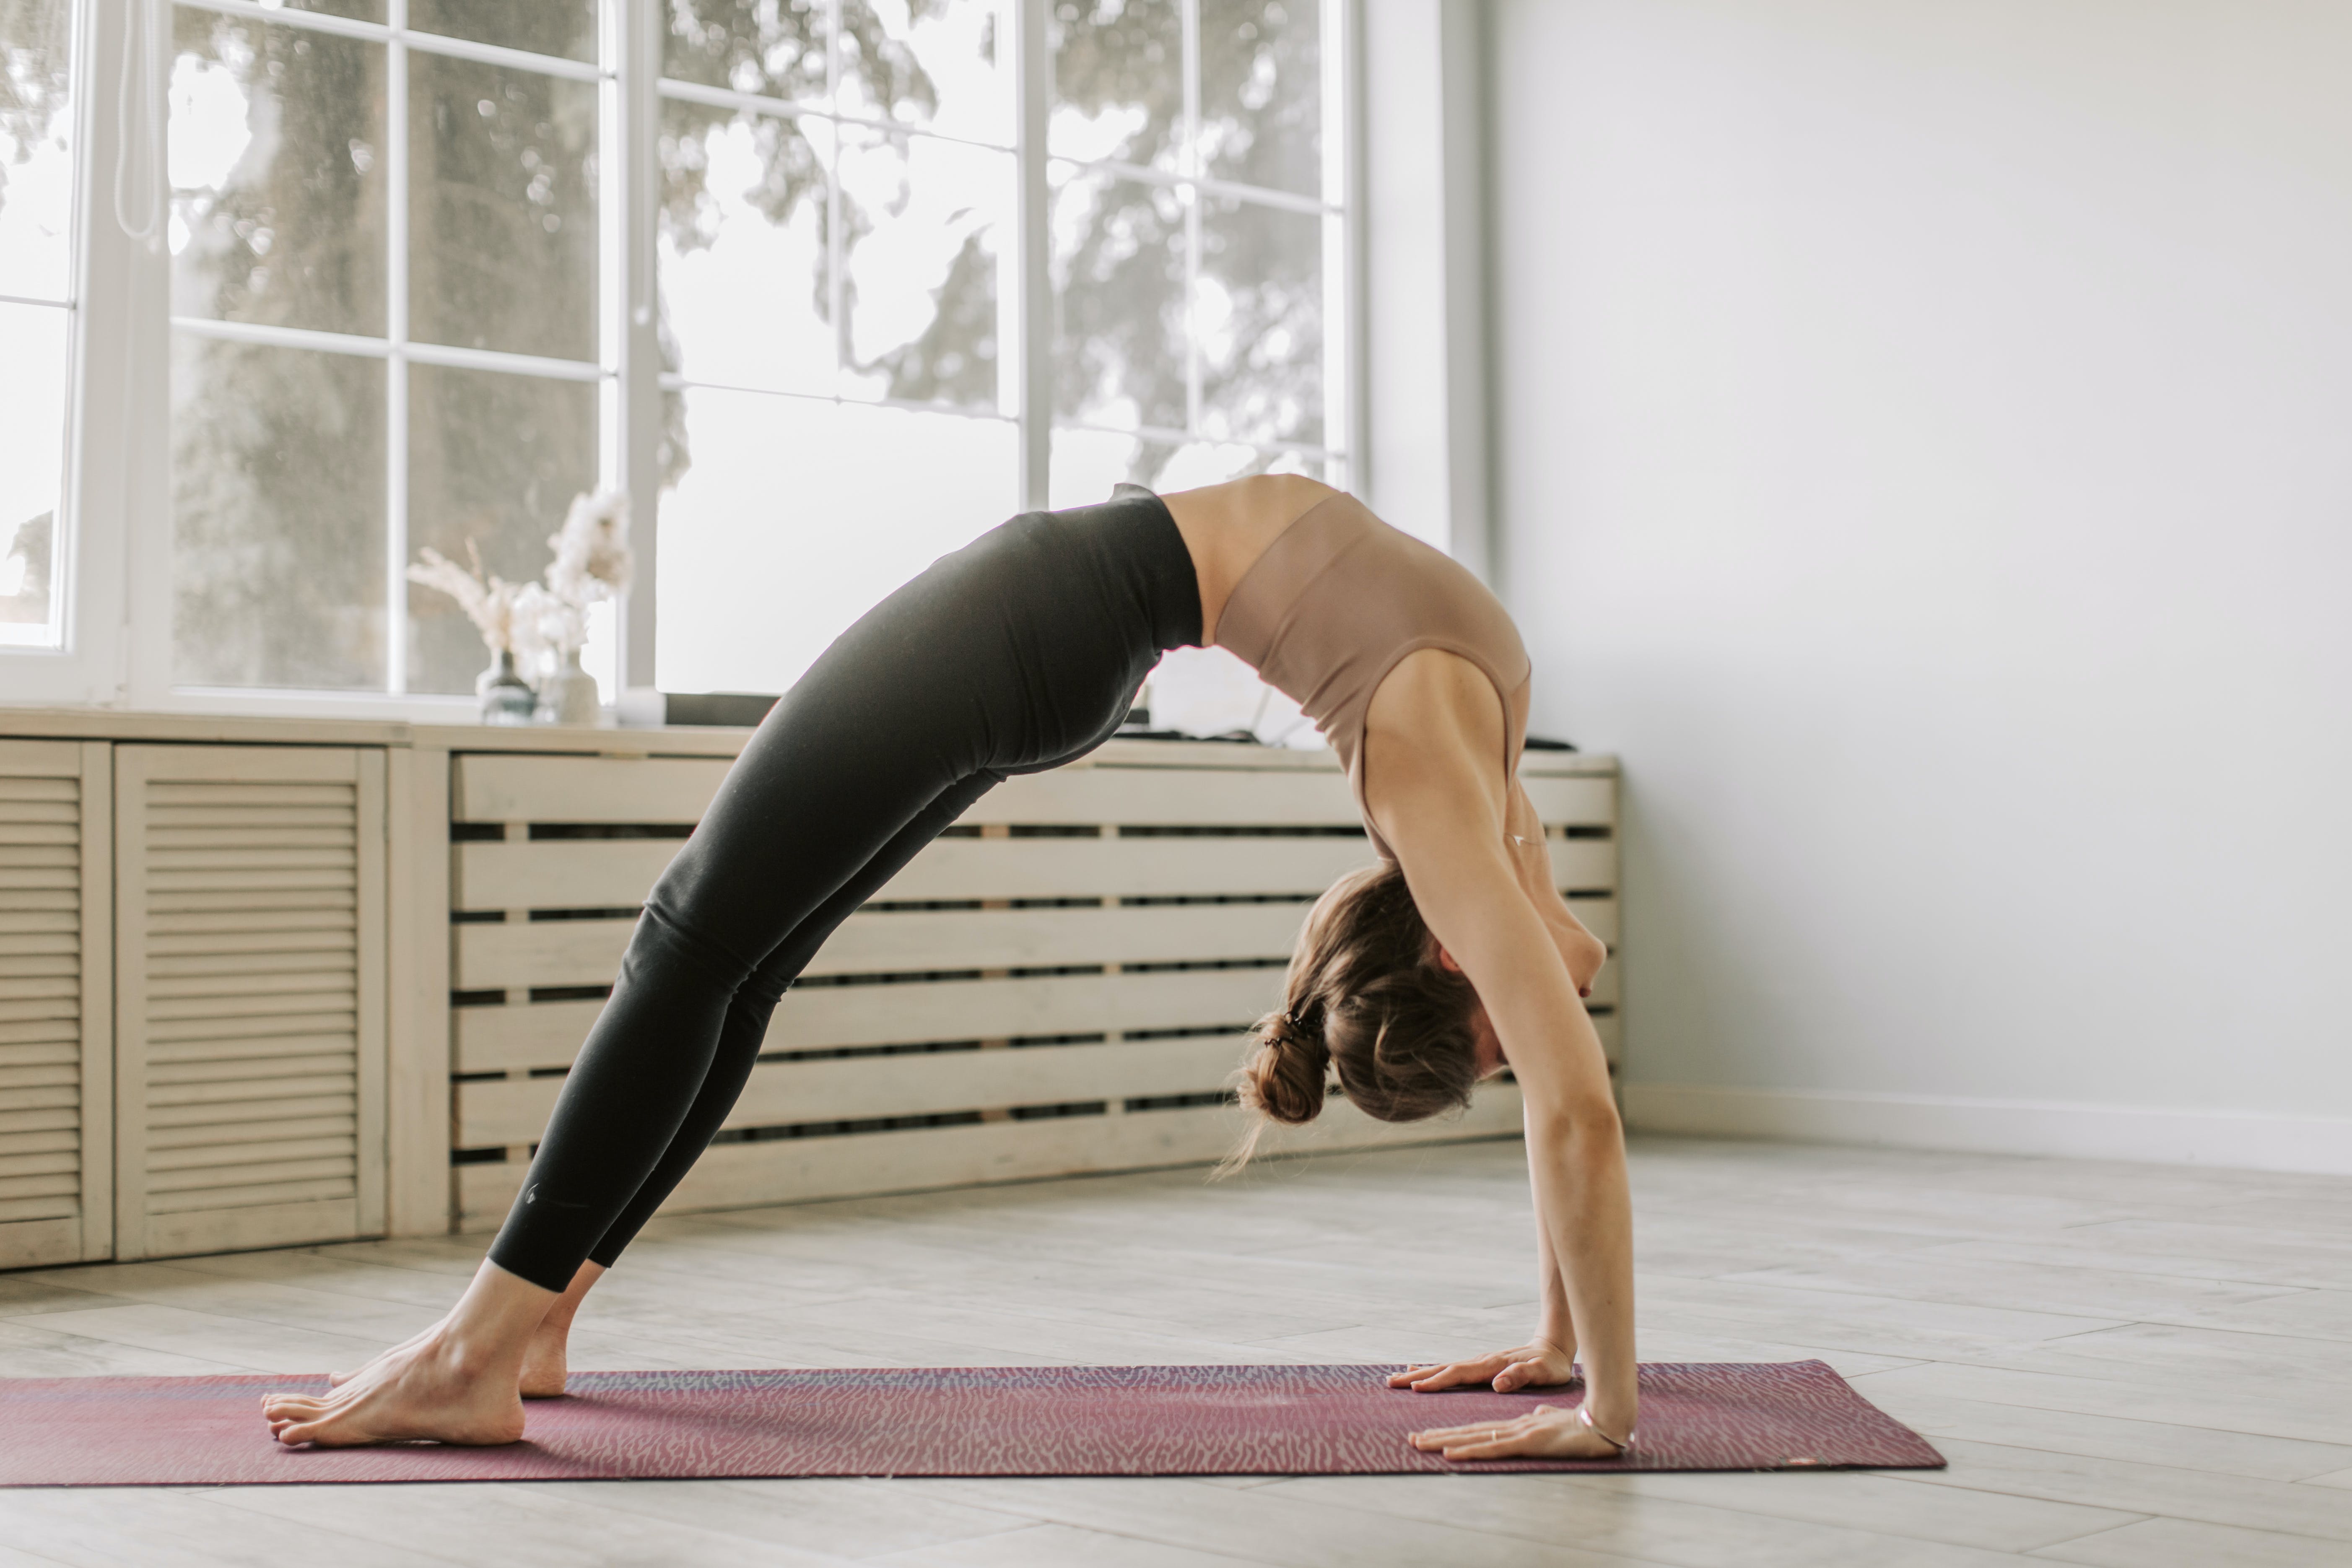
5. Wheel pose (urdhva dhanurasana)
Wheel pose is a challenging backbend that provides a deep stretch in the shoulders. It also strengthens the shoulders, arms, and legs, while opening up the chest and hip flexors. It's a fantastic pose for improving spinal flexibility and building power in your shoulders and arms.
How to Perform:
- Begin lying on your back with your knees bent and feet flat on the floor, about hip-width apart or slightly wider.
- Place your hands on the floor by your shoulders (or wider if your shoulders are tight), fingers pointing toward your feet, elbows pointing up.
- Pressing firmly into your palms and feet, exhale as you lift your hips off the floor, straightening your arms and legs as much as is comfortable—don’t force the position. Over time, your head might come off the floor, and you will be balancing on your hands and feet. While learning and improving shoulder flexibility, many people start with the top of their head still resting on the ground.
- With practice, start trying to find more parallel lines in your wheel: feet and knees, elbows and forearms. Don’t worry if you never get there!
- If comfortable, let your head hang gently, or look down at the floor to open the throat.
- Hold the pose for a few breaths, focusing on lifting through your chest and extending through your arms and legs.
- To ease out of the pose, gently tuck your chin to your chest, and slowly bend your elbows and knees, lowering your head, shoulders, and back to the floor.
- Rest on your back for a few breaths before moving.
Note: Wheel pose is advanced and may not be suitable for beginners or those with shoulder, back, or wrist injuries. Always warm up thoroughly and consider working with a yoga instructor if you don’t feel safe doing a pose alone.
Yoga Classes for Shoulder Mobility
In addition to practicing some of the above poses, you can enjoy some of our yoga classes designed specifically by our teachers to help improve your shoulder mobility.
Yoga For Shoulder Strength and Stability
Level: Beginner I
Why You'll Love It: Fiji’s beginner-friendly class can be your go-to for building shoulder strength and stability while having fun. Whether you're a newbie or a dedicated yogi, expect to learn how to develop a resilient shoulder girdle that'll support your yoga journey and your life beyond the mat.
A Gentle Release for the Shoulders and Back
Level: Beginner I
Why You'll Love It: Ever wish you could hit a "reset" button for your shoulder and back tension? Araba's gentle hatha class is the next best thing. Perfect for anyone who needs soothing relief, this practice releases the tightness and leaves you feeling light and refreshed.
Activated Asana Series: Shoulders
Level: Intermediate II
Why You'll Love It: If you’re ready to further strengthen your shoulders, try Day 2 of the activated asana series, which focuses on awakening your upper body's true potential. Fiji’s intermediate class is ideal for aspiring arm balance enthusiasts or anyone looking to add some oomph to their upper body strength.
Subtle Joint Movements
Level: Beginner II
Why You'll Love It: Sarada's Sukshma Vyayama practice offers a series of gentle stretches that feel oh-so-good and do so much good, too. It’s like a soothing spa for your joints! It’s perfect for yogis of any level looking to enhance mobility with zero stress. Also, it’s a must-try if you feel that clicking sensation when you move your shoulders.
PNF Stretch: Rotator Cuff
Level: Beginner I
Why You'll Love It: Stretching the rotator cuff will no longer be a challenge thanks to David's expert guidance. Using your body weight and some clever PNF (Proprioceptive Neuromuscular Facilitation) techniques, he shows you how to find those hard-to-reach spots that hold tension and gently release it.
A 30-Minute Class For The Shoulders
Level: Beginner I
Why You'll Love It: Stiff shoulders? Tight neck? Only got half an hour? David to the rescue. This quick class is targeted at freeing tension from your stiff shoulders. Expect to stretch, relax, and smile all within 30 minutes that end with a blissful 2-minute relaxation.
Reaching High!
With a regular yoga practice and our shoulder opener recommendations, you’ll hopefully soon be able to reach for books and pots and pans and all sorts of things that are way above head height without feeling pain or stiffness in your shoulders.
Remember, the path to shoulder mobility is a marathon, not a sprint. Celebrate your progress, no matter how small it might seem. Every little bit of movement and every moment of mindfulness adds up to significant changes over time. Your shoulders didn't get tight overnight so they won't open up in a day, but with consistency, patience, and fun, you'll get there.
Comments
Existing Comments