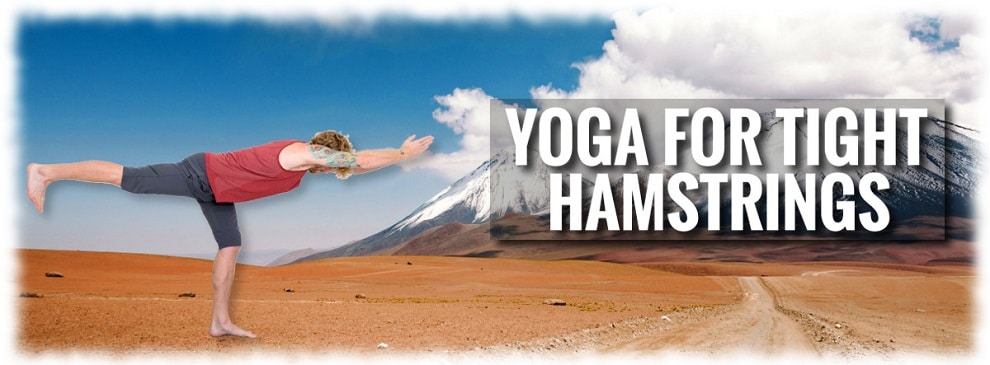

Tight hamstrings are the bane of modern life!
We sit at desks, drive in cars, and then sit down again in front of the television. All of this sitting flexes the knee, which contracts our hamstring muscles - the long muscles on the backs of the legs - into a shortened position. Over time, tight hamstring muscles can tug the bottom of the pelvis under and forward, compromising the alignment of the lumbar spine and leading to back pain.
Fortunately, yoga is a fantastic practice that counters this tendency and provides the perfect antidote.
Unlike most sports that tighten and strengthen the hamstrings (such as running, hiking, and biking), yoga includes many poses that are hamstring stretches. Once the hamstrings are lengthened, the pelvis can more easily find a neutral position relative to the femur (thigh bone), which helps the lumbar spine resume its healthy lordotic curve.
Here are three yoga poses that will help you to safely stretch your hamstrings. It may be helpful to have a few props handy: I recommend a strap (if you don’t have a strap, use a necktie or a towel) and a couple of blocks (or stack of books). Hold each pose at least 90 seconds per side for maximum benefit.
Pose 1: Supta Hasta Padangusthasana: Reclining Hand To Foot Pose

Photo courtesy of Rachel Scott
This pose is one of the safest hamstring stretches because you are lying on your back. With your spine and pelvis completely supported by the floor, you can direct the stretch efficiently into the back of your leg, rather than cheating by tucking the pelvis. Also, because you can feel the floor under your back body, you will able to immediately sense if you are becoming misaligned (ie: rolling to one side, hiking up a hip, or rounding your lower back). Using the floor for feedback will help you maintain a neutral spine and get the most out of your stretch.
-
Lay on your back with your knees bent.
-
Pause to feel the shape of your back into the floor. In this position, your spine is usually in its natural curves; you should feel the lower back lift slightly away from the floor and the upper back moving into the floor. If your chin is lifting up, place a thin book or blanket under your head so that your face is level to the ceiling.
-
Feel the “four corners” of the back: each shoulder and the back of each buttock.
-
Draw your right knee into your chest and place your strap around the ball of your foot. Hold one side of the strap in each hand.
-
Keeping your right hip firmly anchored down, stretch your right foot up towards the sky.
-
Stretch the leg as fully as you can, engaging the quadriceps.
-
Notice your back: have you moved out of neutral alignment? Ensure that the lower back has maintained its curves and the length of your side bodies have stayed even.
-
Walk your hands up your strap toward your foot so that your elbows are off the floor but that your shoulders can still press firmly down.
-
Spread the ball of your foot into the strap so that the inner and outer foot are pressing evenly up.
-
If you can keep the spine neutral, you may consider extending the left leg forward along the floor so that it is straight. If you extend the leg, straighten it fully and actively. Press your left thigh firmly down into the earth so that the leg stays neutral and your left toes are pointing directly up.
-
Actively stretch your legs.
-
Breathe.
-
Hold for 2 minutes.
-
Switch sides.
Pose 2: Prasarita Padottanasana - Wide Legged Forward Fold
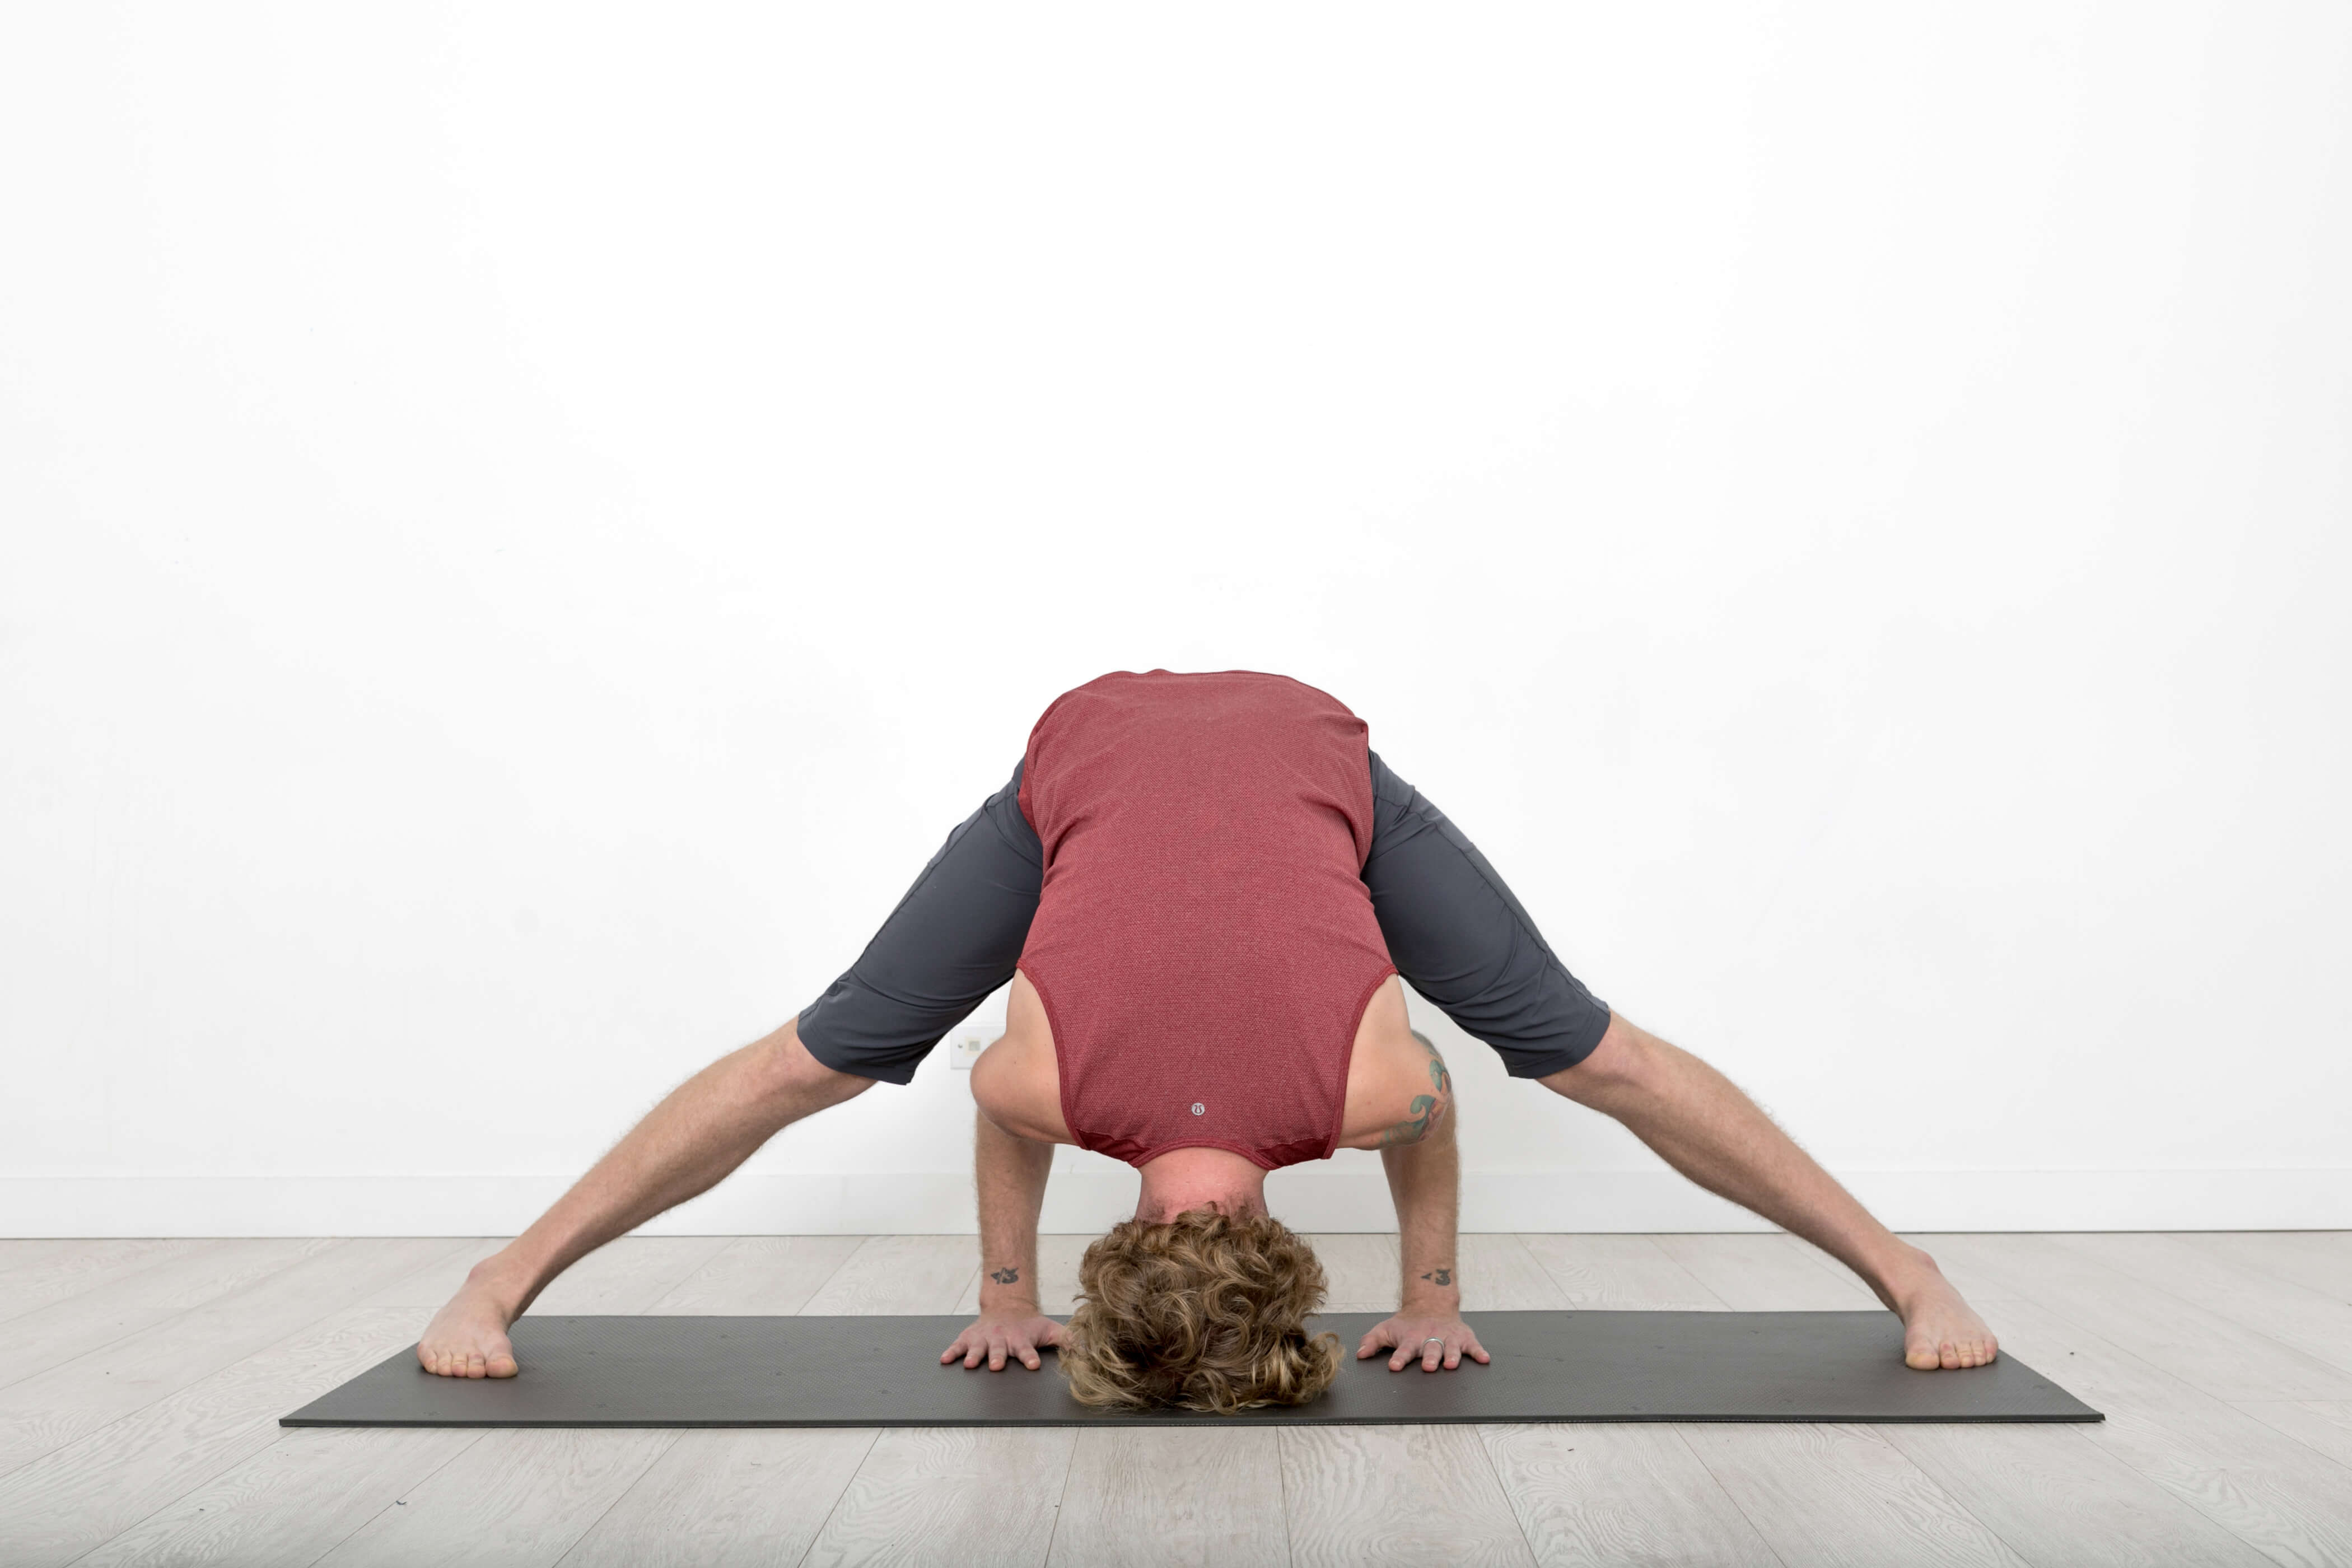
Photo courtesy of Rachel Scott
This pose is an excellent hamstring stretch that also opens the adductors (groin muscles).
-
If you have tight hamstrings, place the two blocks in front of you. If you don’t have two blocks, you could also use an ottoman, small table, or a stack of books.
-
Take a wide stance (if you lift your arms in line with your shoulders, your feet should be under your wrists).
-
Place your feet parallel (toes straight forward) and place your hands on your hips.
-
Actively engage your legs.
-
Inhale, and lift tall through your spine. As you exhale, hinge forward from your hips (where the pelvis meets the thigh) and place your hands on the floor or blocks. If it’s hard to reach the floor with your legs straight, bend your knees. If it is easy for you to reach the floor with your hands, you will eventually walk the hands back towards your feet (pictured).
-
Inhale to stretch your chest fully forward so that you have a long, straight spine.
-
As you exhale, keep the front of your front body long as you forward fold. While it is natural to round your spine slightly in this pose, continue to work to lengthen the front of your body so that you are directing the stretch into your hamstrings rather than your back.
-
Root strongly down through all four corners of both of your feet as you engage and lift up through your legs.
-
Relax your head and neck. Breathe.
-
Hold for 2 minutes.
To come out, lift your torso up halfway so that your arms are straight. Bend your knees and place your hands on your hips. Root through your feet and lift up to stand.
Pose 3: Virabhadrasana Iii At The Wall - Warrior Iii With Wall
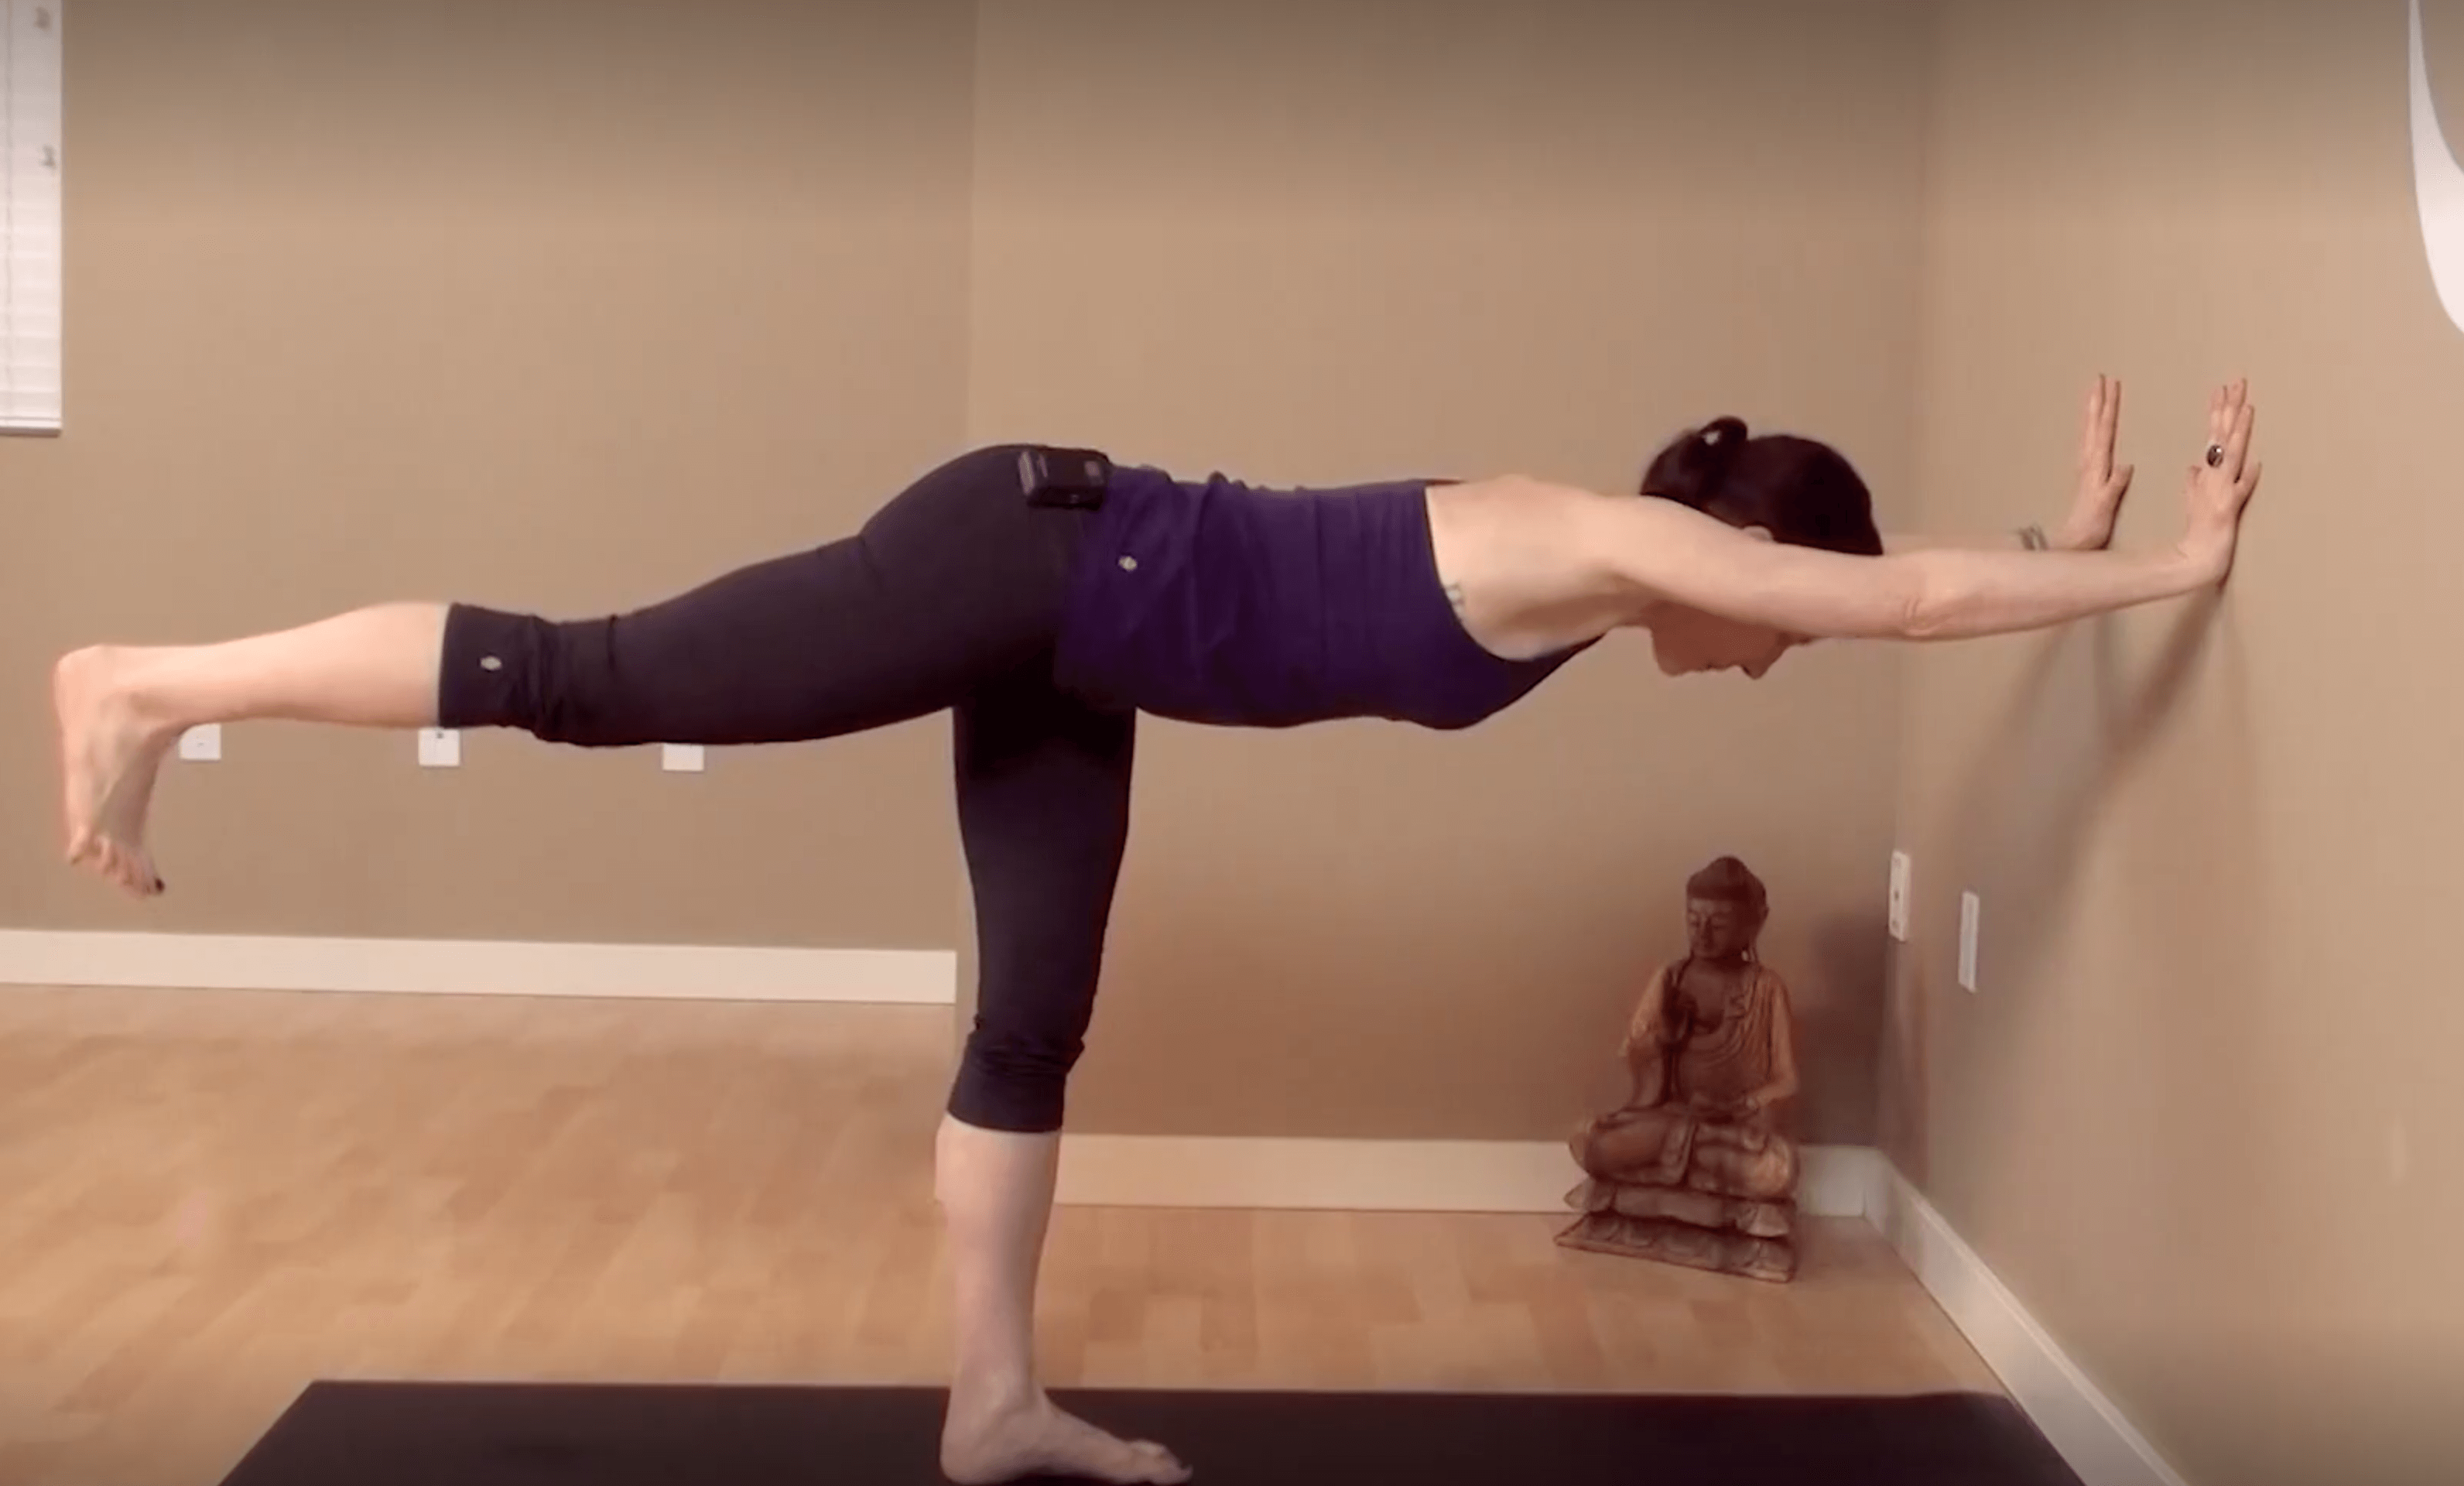
Photo courtesy of Rachel Scott
This is one of my favorite poses, and can be done anywhere. It is the perfect pose to practice midway through your day at the office to stretch the back line of your body. Not only does this pose stretch your hamstrings, it also opens the shoulders and gives traction to the spine. It is also a great preparatory pose for more weight bearing postures such as downward facing dog.
-
Place your hands on a wall so that your hands are at the height of your pelvis.
-
Walk your feet back until your ankles are under your hips (you will resemble an “L” shape).
-
Press into your hands and bend your knees so that you can pull your hips strongly back into the center of the room. Stretch your chest towards your thumbs as you press your thighs strongly back to create a long straight line through your spine. Keep your head in line with your upper arms (not dropping).
-
Pressing strongly into your feet and keeping your spine straight, begin to lift your quadriceps to straighten your legs.
-
Press your quadriceps back into your femurs (thigh bones) as you reach your chest forward.
-
Hold two minutes per side.
-
Switch sides.
Advanced:
-
If your arms, spine and legs are straight and stable, then - without shifting or compromising your alignment, slowly lift one leg back and stretch it back into the center of the room.
-
Keep your hips square by rolling the lifted leg hip down and pulling the standing leg hip strongly back
-
Press into your hands, straighten your arms, and reach strongly back through your lifted heel.
A consistent practice of hamstring and leg stretches can have a profound impact on the happiness of your back and hips. Choose one of these variations to practice every day (it’s under a five minute daily commitment!) for two weeks and notice how your body feels.
Happy stretching!
RECOMENDED CLASSES
Yin Yoga for the Hamstrings
Instructor: Sarah Jane Steele
Comments
Existing Comments