
The yoga block, a humble yet mighty prop, has the power to transform a torturous yoga session into an accessible and refreshing exercise. Instead of reaching for an extra inch, while you forget to breathe and your face becomes red, bring the ground closer with a yoga block. Such a simple modification, yet groundbreaking, I know!
Yoga blocks can help you find balance in standing poses, deepen stretches when you want to push yourself a bit further, make difficult asanas more accessible, and even build strength by providing resistance.
Let’s learn more about yoga blocks and how to incorporate them into your daily practice.
The History of Yoga Blocks
Now a staple in modern yoga practices, yoga blocks, also called yoga bricks, have an interesting history that aligns with the evolution of yoga into a global phenomenon. The exact origins of the yoga blocks are somewhat hazy, as yoga practitioners have used similar objects for support and to deepen their stretches for centuries.
However, B.K.S. Iyengar is often credited with the introduction of the yoga block as we know it and use it today.
In the 20th century, Iyengar began using yoga bricks as props in his classes to help practitioners get into tricky asanas without straining themselves. He was a big advocate for the use of props, including yoga blocks, straps, blankets, and bolsters, because he believed that proper alignment is crucial and that yoga should be accessible to all, regardless of age, flexibility, or health conditions.
His innovative approach was detailed in his seminal book Light on Yoga, first published in 1966. It has since become a sort of bible for yoga practitioners worldwide.
Materials, Size, & Shape
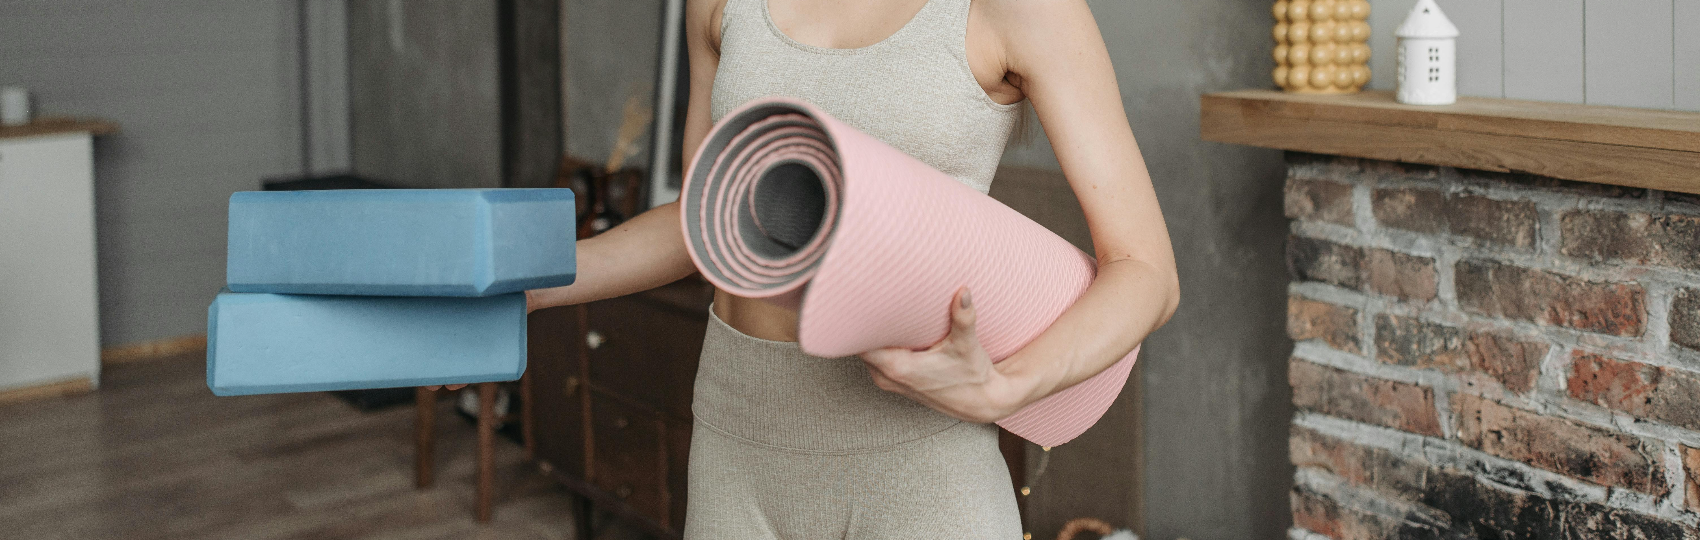
Initially, these blocks were made of wood. The good thing about wooden yoga blocks was that they provided extra support and durability but at the same time, some practitioners found them too hard and uncomfortable. So, it’s not surprising that over time, as yoga's popularity grew, manufacturers began producing yoga blocks from various materials, including foam and cork, to cater to different preferences and needs.
Foam blocks are common and affordable these days. They’re also more comfortable for use under hands, feet, or as a support for the back. However, they may not be the best choice if you plan to mainly put weight on them for support during balance poses. Foam blocks are ideal for beginners and for those who practice more restorative or gentle yoga styles.
However, not all foam blocks are made equal—especially when we consider the environment. These blocks are typically made from EVA foam, which is not biodegradable. If you do want an affordable and soft block, you can try blocks from recycled EVA foam or foam offcuts.
Cork blocks are a great alternative because their material is eco-friendly. They’re also denser and heavier, making them ideal for supportive functions and poses that require a lot of balance and strength. They have a natural texture that provides extra grip.
When it comes to size, yoga blocks are typically 9 inches long, 6 inches wide, and 4 inches high, although some variations may exist to accommodate different needs and preferences.
The adoption of yoga blocks and other props has been instrumental in making yoga more inclusive and adaptable, and knowing how to use them in your practice can help you immensely!
Here are a few ways you can use blocks.
How to Use a Yoga Block…
…to Find Balance in Standing Asanas
Using a yoga block in standing asanas will improve your practice by helping your balance, alignment, and depth in the pose. Despite the common misbelief that yoga blocks are “just for beginners,” they’re a handy companion to yogis of all levels. Some of my favorite asanas to try with a yoga block are: triangle pose (trikonasana), half moon pose (ardha chandrasana), and warrior III (virabhadrasana III).
To modify triangle pose, place a block on the outside of your front foot. As you reach down, rest your hand on the block instead of reaching for the floor. This helps maintain alignment in your spine and allows you to open your chest more fully. If you can’t get down that far, you could even stack two blocks!
To modify half moon pose, position a block about 6-12 inches in front of your standing foot, on its longest side. As you lift into half moon, place your hand on the block. This will help you remain stable while you focus on opening your hips and expanding your chest.
To modify warrior III pose, place the block in front of you, on its longest side. As you lean forward into the asana, put both hands on the block.
…to Make Difficult Asanas More Accessible
Accessibility is a crucial aspect of all yoga practices. It’s not uncommon to see newcomers intimidated and wondering whether they’re too stiff or inflexible to start practicing yoga, but, as teacher Julia Crouch emphasizes, that’s like saying, “I’m too dirty to take a shower!”
Regardless of your fitness level, strength, or flexibility, you can definitely do yoga! For the difficult asanas, well… that’s what yoga blocks are there for. With yoga blocks, you can modify the postures to make them accessible to your current abilities.
Here are a few examples of how:
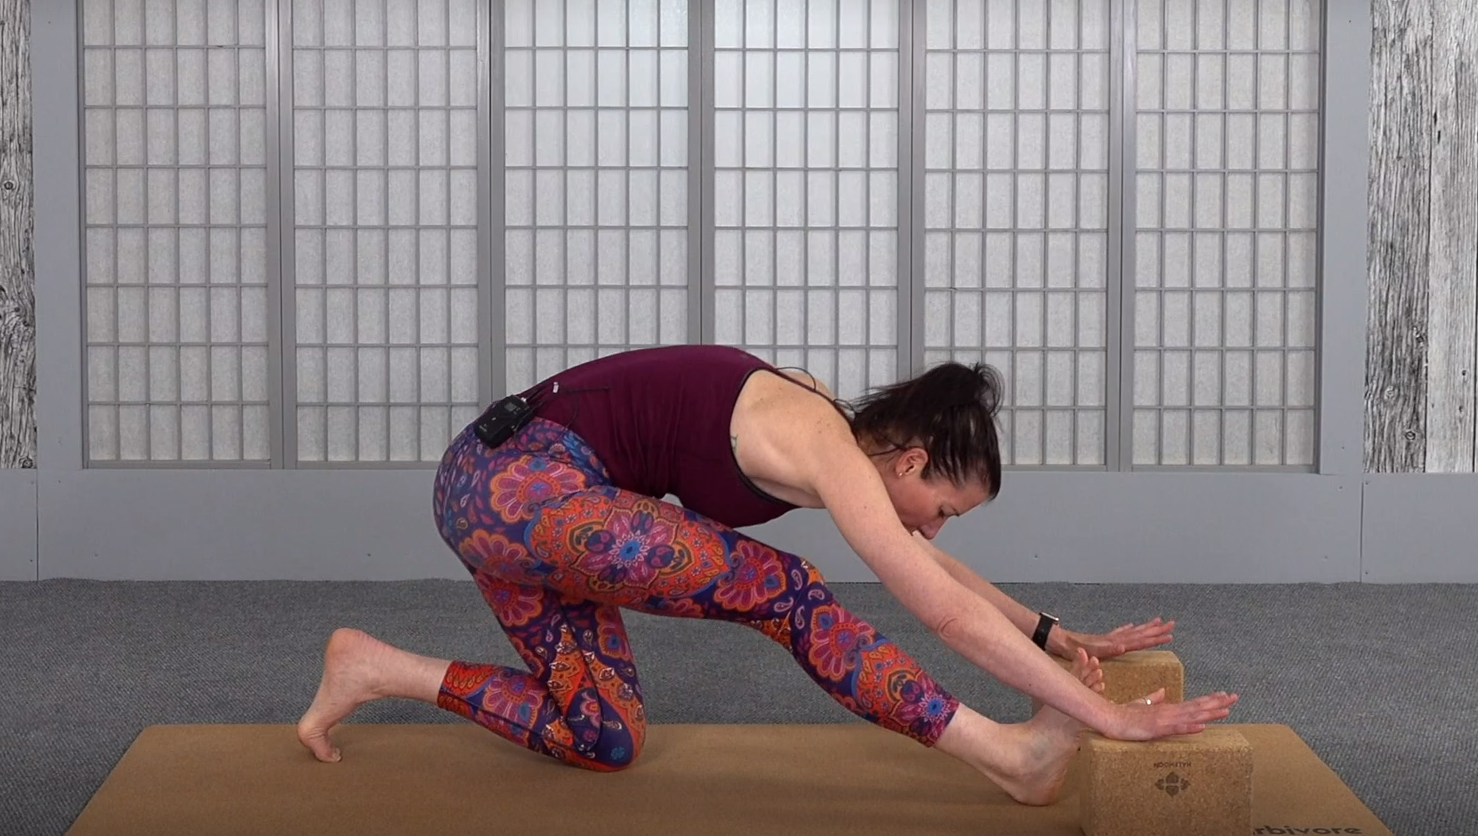
- Seated forward folds (paschimottanasana): place the block on your thighs, and as you fold forward, allow your forehead to rest on the block. This modification will decrease the stretch in your hamstrings and lower back, making the pose more achievable while giving your neck a break.
- Crow pose (bakasana): place the block in front of you on its longest side. The position of the block should be such that when you do a crow pose, you can easily rest your forehead on the block. This time, the block works as a safety net that prevents you from falling on your face (the most common fear of everyone who’s learning bakasana).
- Pigeon pose (eka pada rajakapotasana): place the block under your bum, on the side of your front, bent leg. This modification will reduce the depth of the stretch, easing off your knees while your hips remain properly aligned.
- Bridge pose (setu bandhasana): place the block under the sacral area of your lower back in a restorative version of the bridge pose. You’ll be able to open your chest and abdomen while minimizing the strain on your back.
When you’re using the yoga blocks to make difficult asanas more comfortable, experiment with placement and height until you find what works best for you. However, while doing this, always listen to your body, focus on alignment, and be patient.
…to Deepen Your Stretches
If you’re like me and you love to push your limits, then yoga blocks can help you too. Just like how they can make a pose easier, they can also make it more difficult.
Just a word of warning before we get down to it: don’t force any stretch, be very present in the moment, and always listen to your body! If it hurts, back off. Feeling slight discomfort and tightness is usually okay, but pain never is.
Anyway, Here’s how to make that happen:
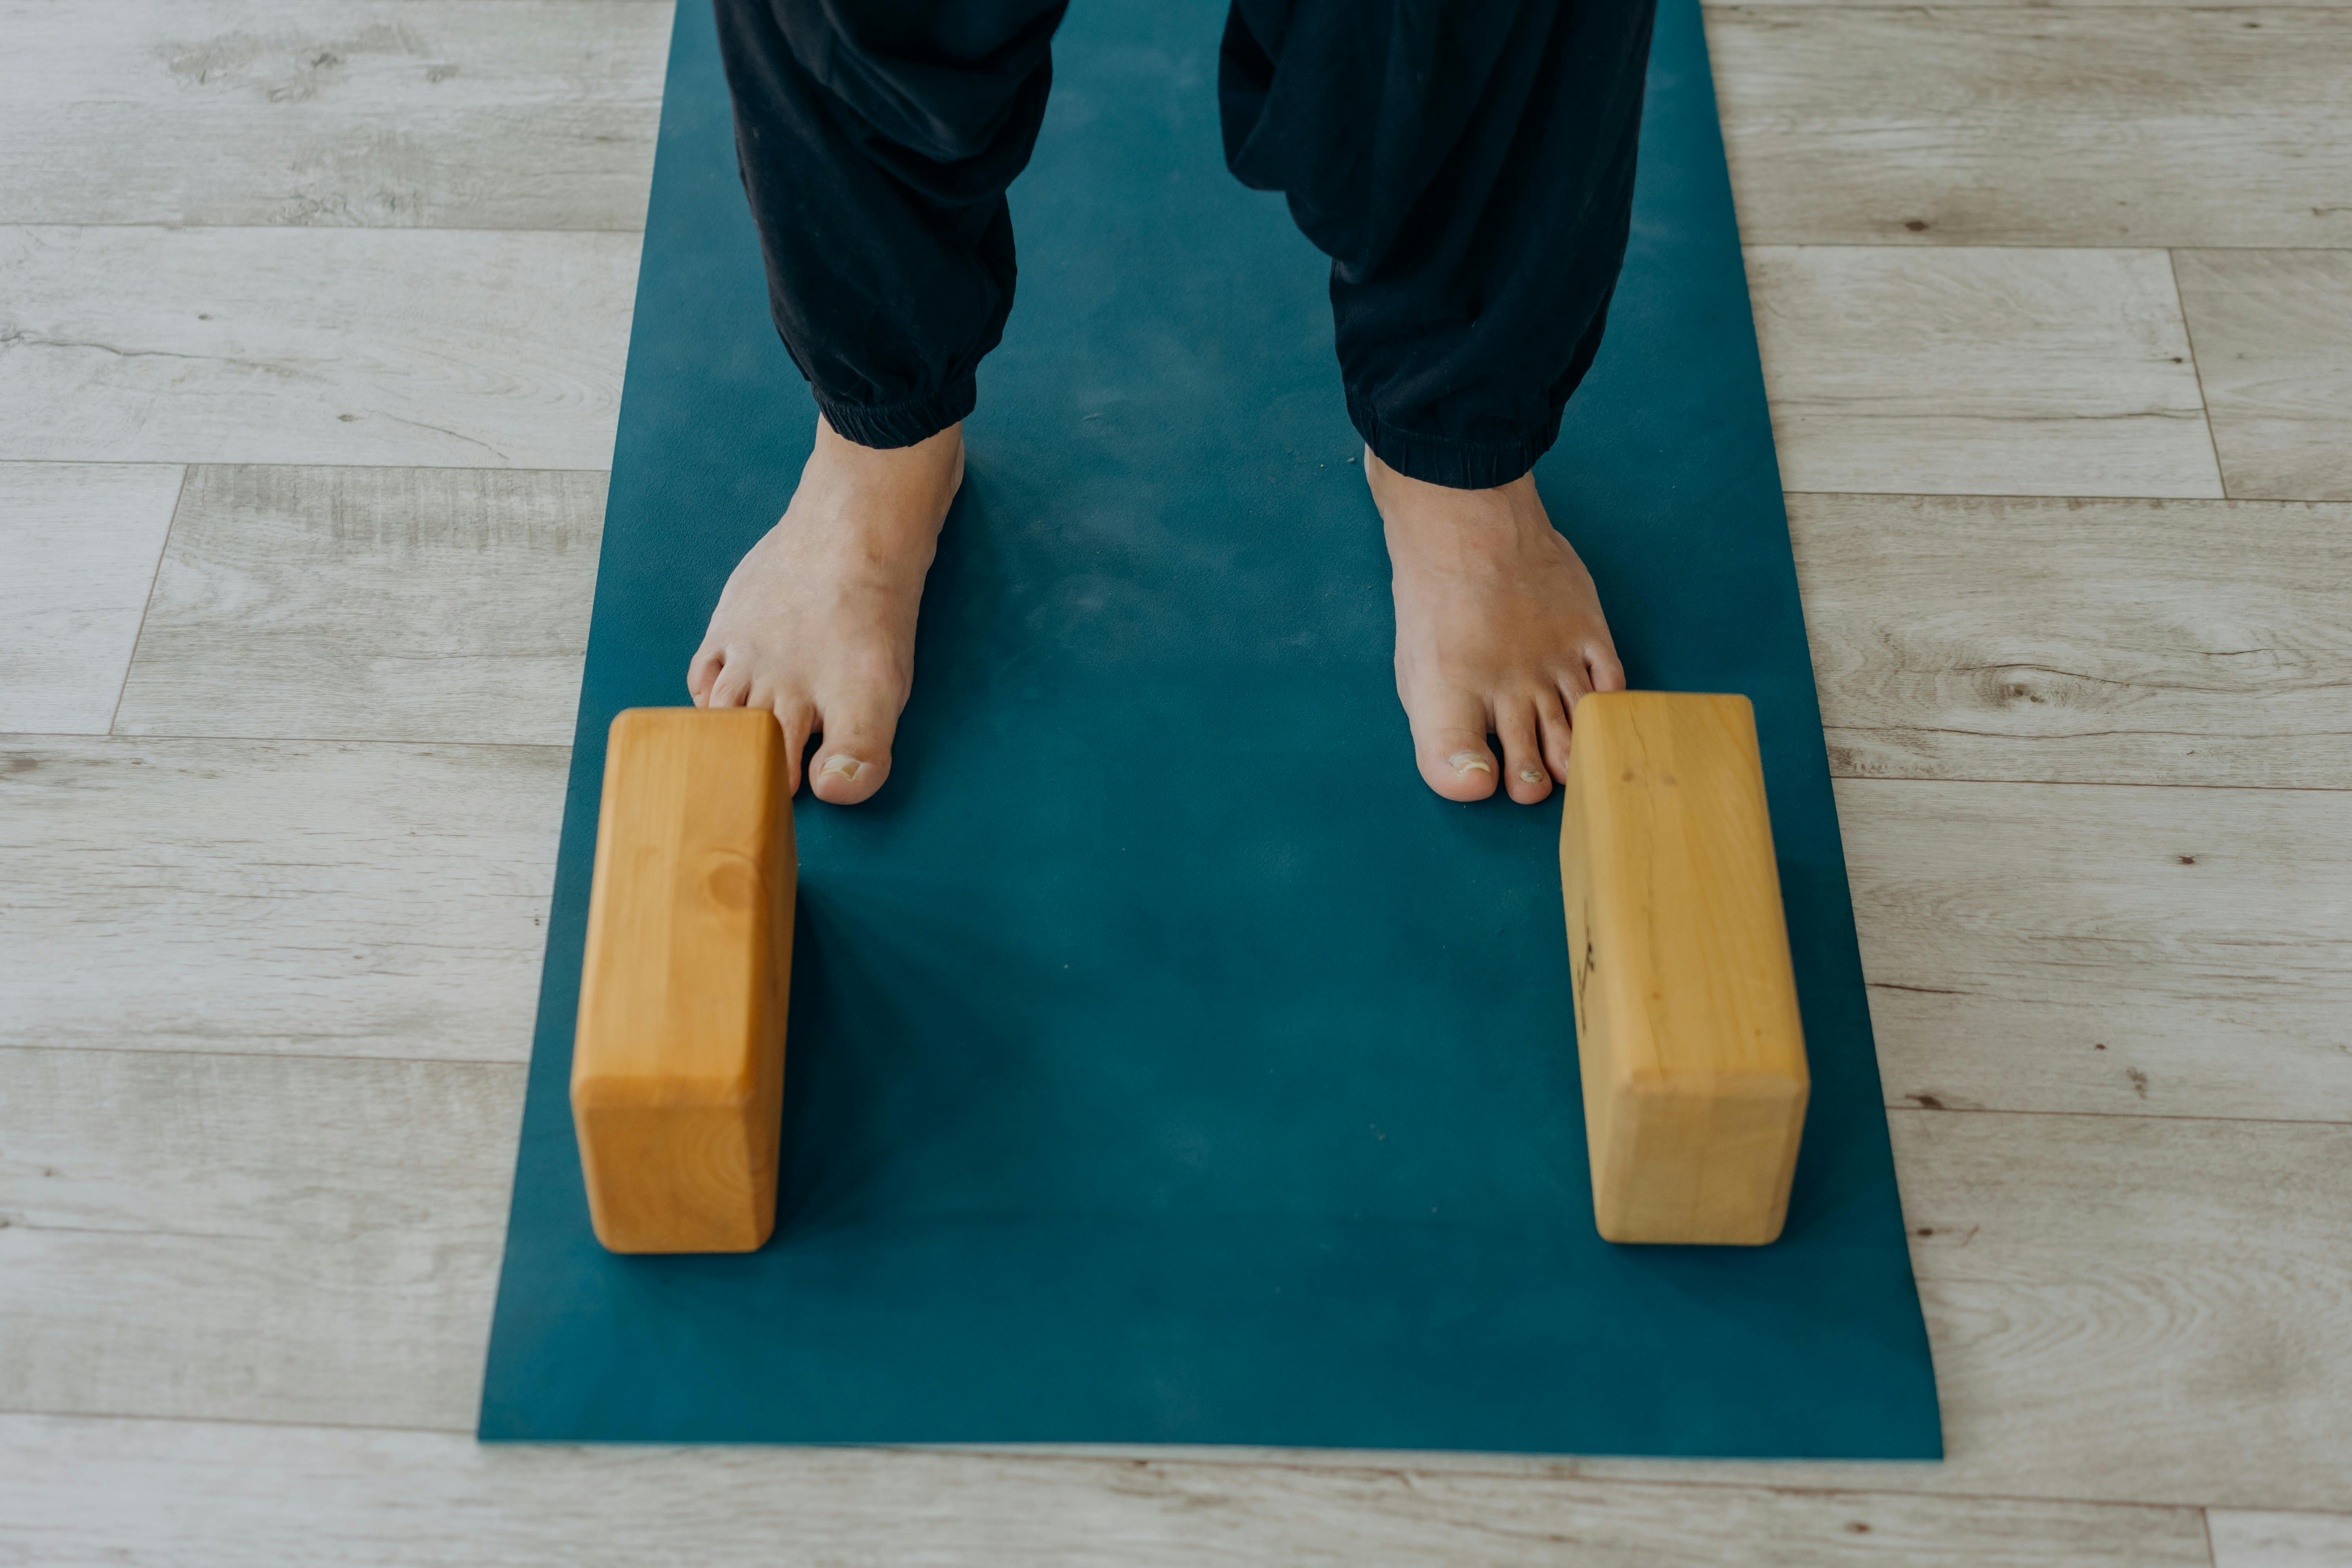
- Standing forward fold (uttanasana): on the mat, place the block on its broadest side (or two if you’re hyperflexible) and stand on it. Then, as you fold forward, mindful of your alignment, try to reach the ground with the tips of your fingers.
- Bound angle pose (baddha konasana): prepare for the pose, take a block, and place it under your feet. This modification will elevate your feet, thus making it more challenging to open up your knees and bring them toward the ground.
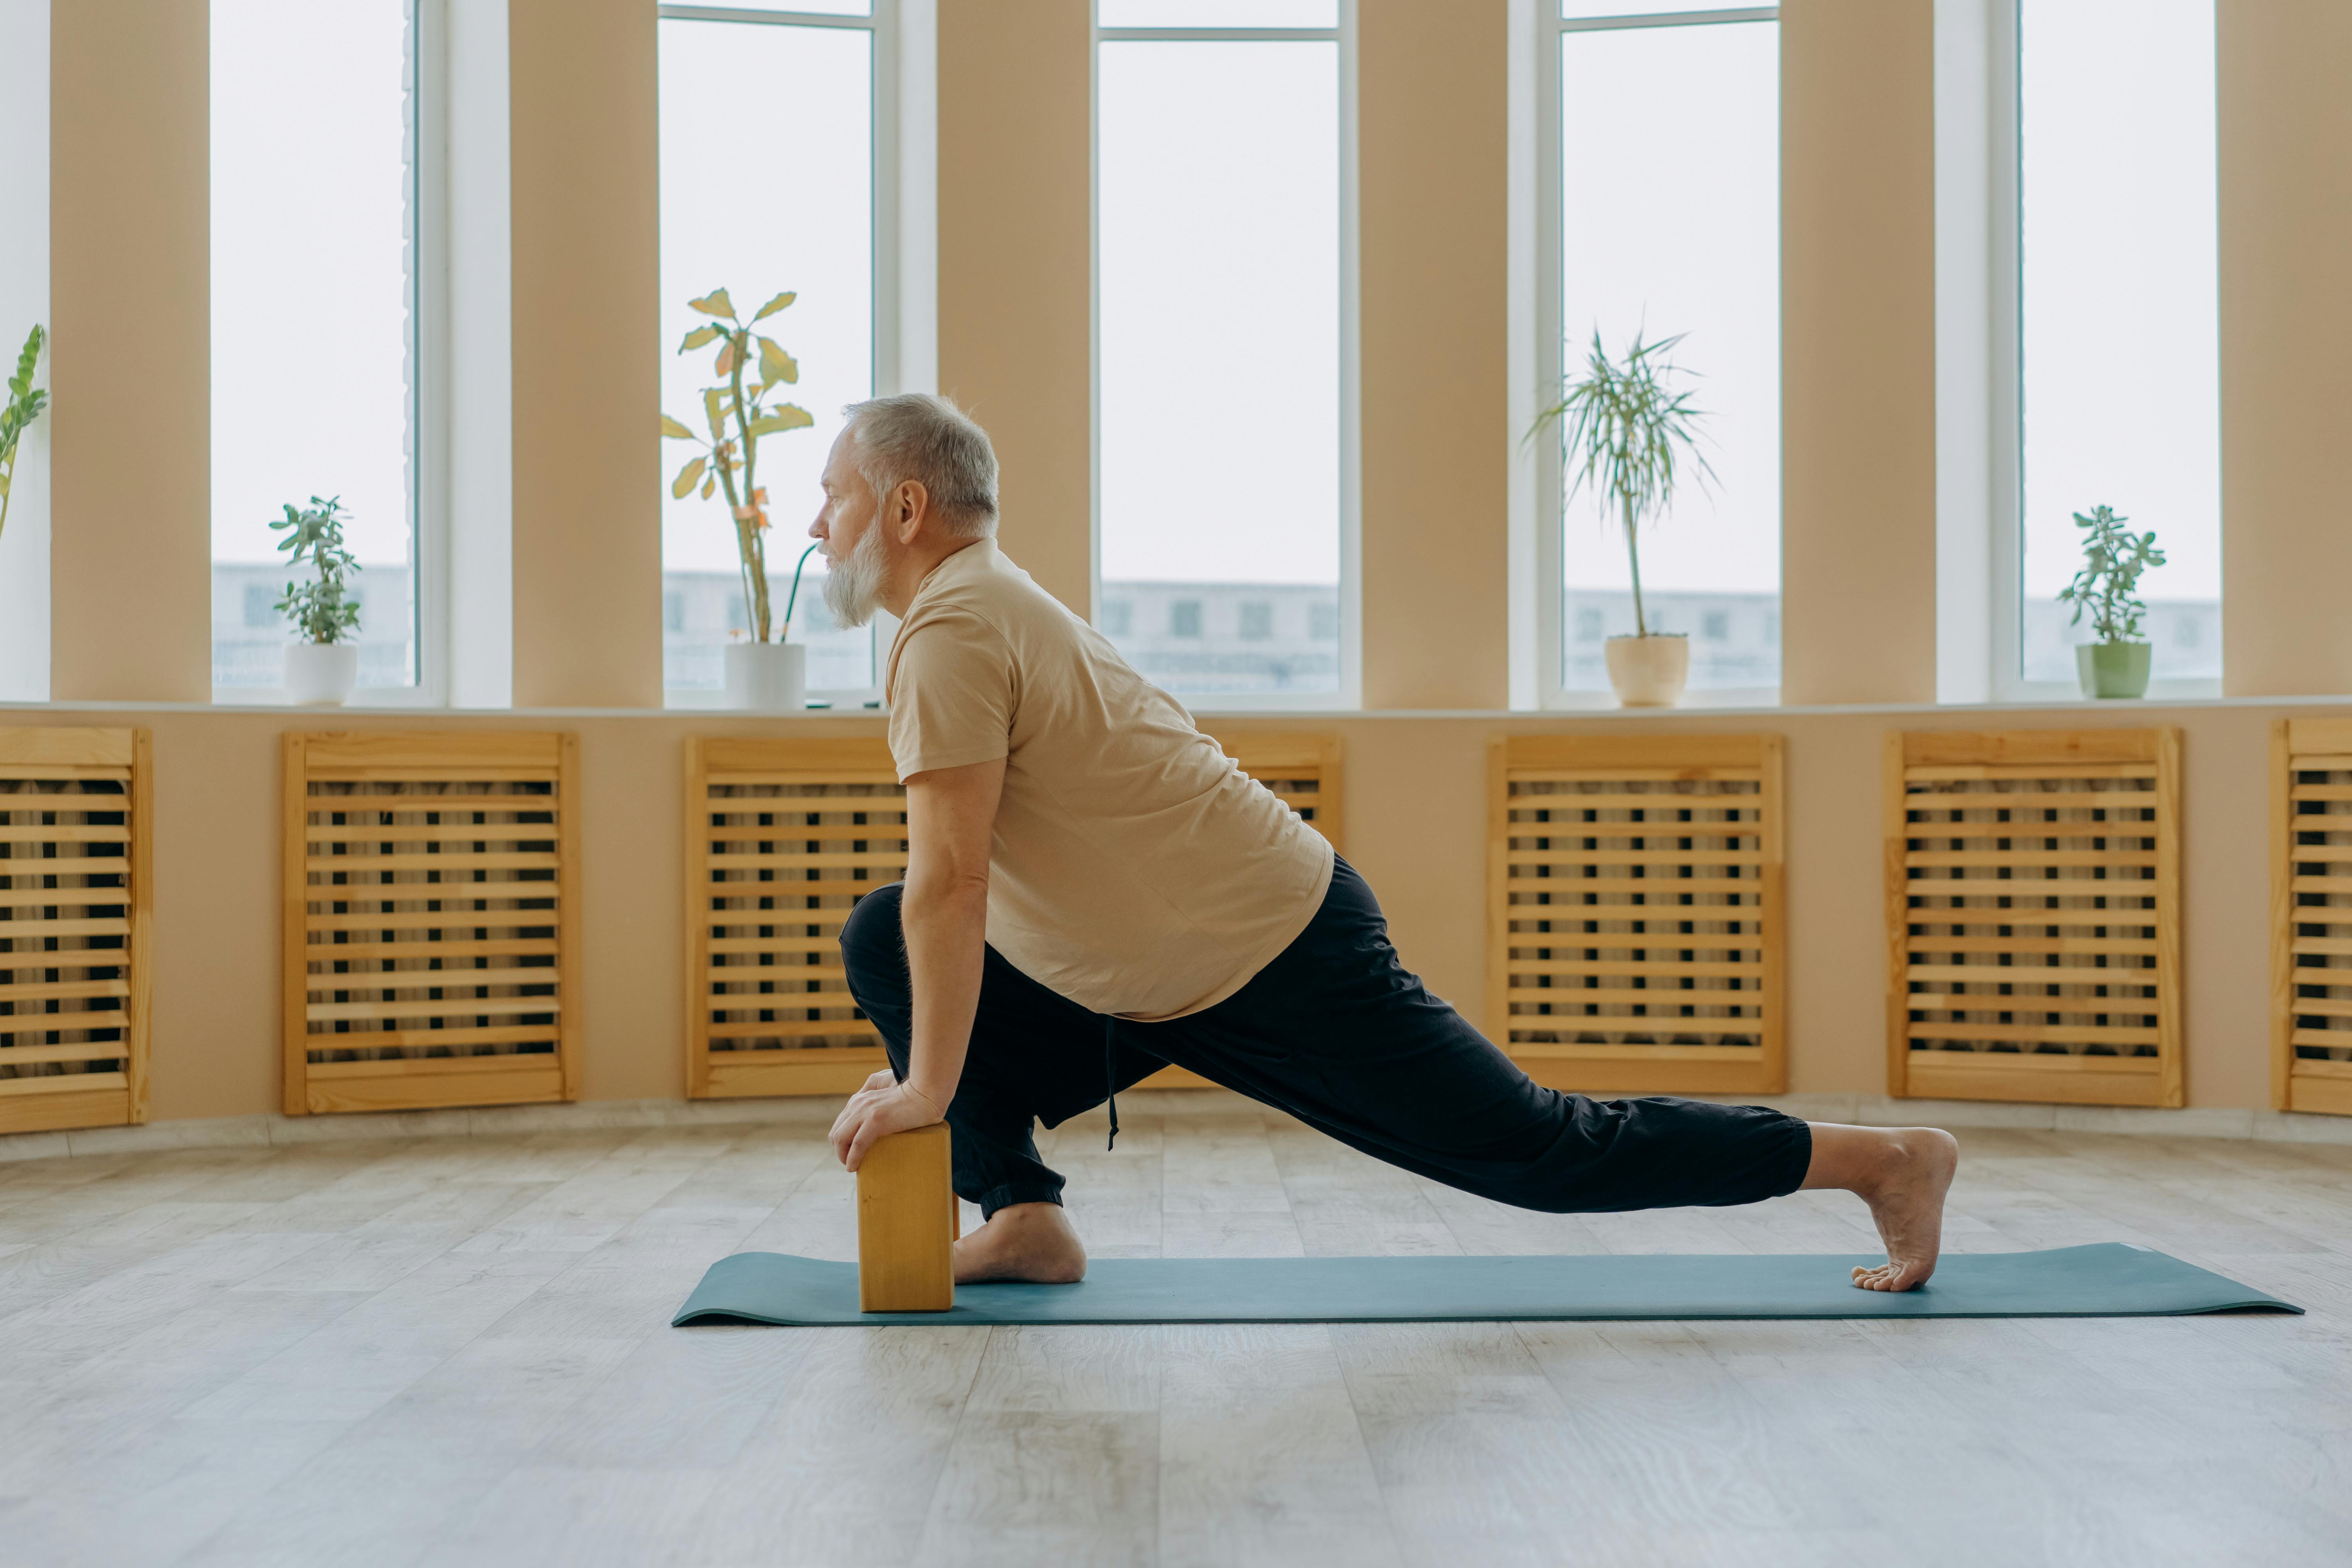
- Low lunge (anjaneyasana): place a block under your front foot and stand on it while you’re in low lunge. Elevating the front leg will deepen the stretch in your hip flexors, hamstrings, and quadriceps.
- Extended puppy pose (uttana shishosana): there are two ways to deepen the stretch in a puppy pose with blocks. One way is to place them under your elbows as you bring your palms into prayer and move them toward your back. The other way is to place them under your palms while your arms are extended forward. You should feel the stretch in your shoulders and back.
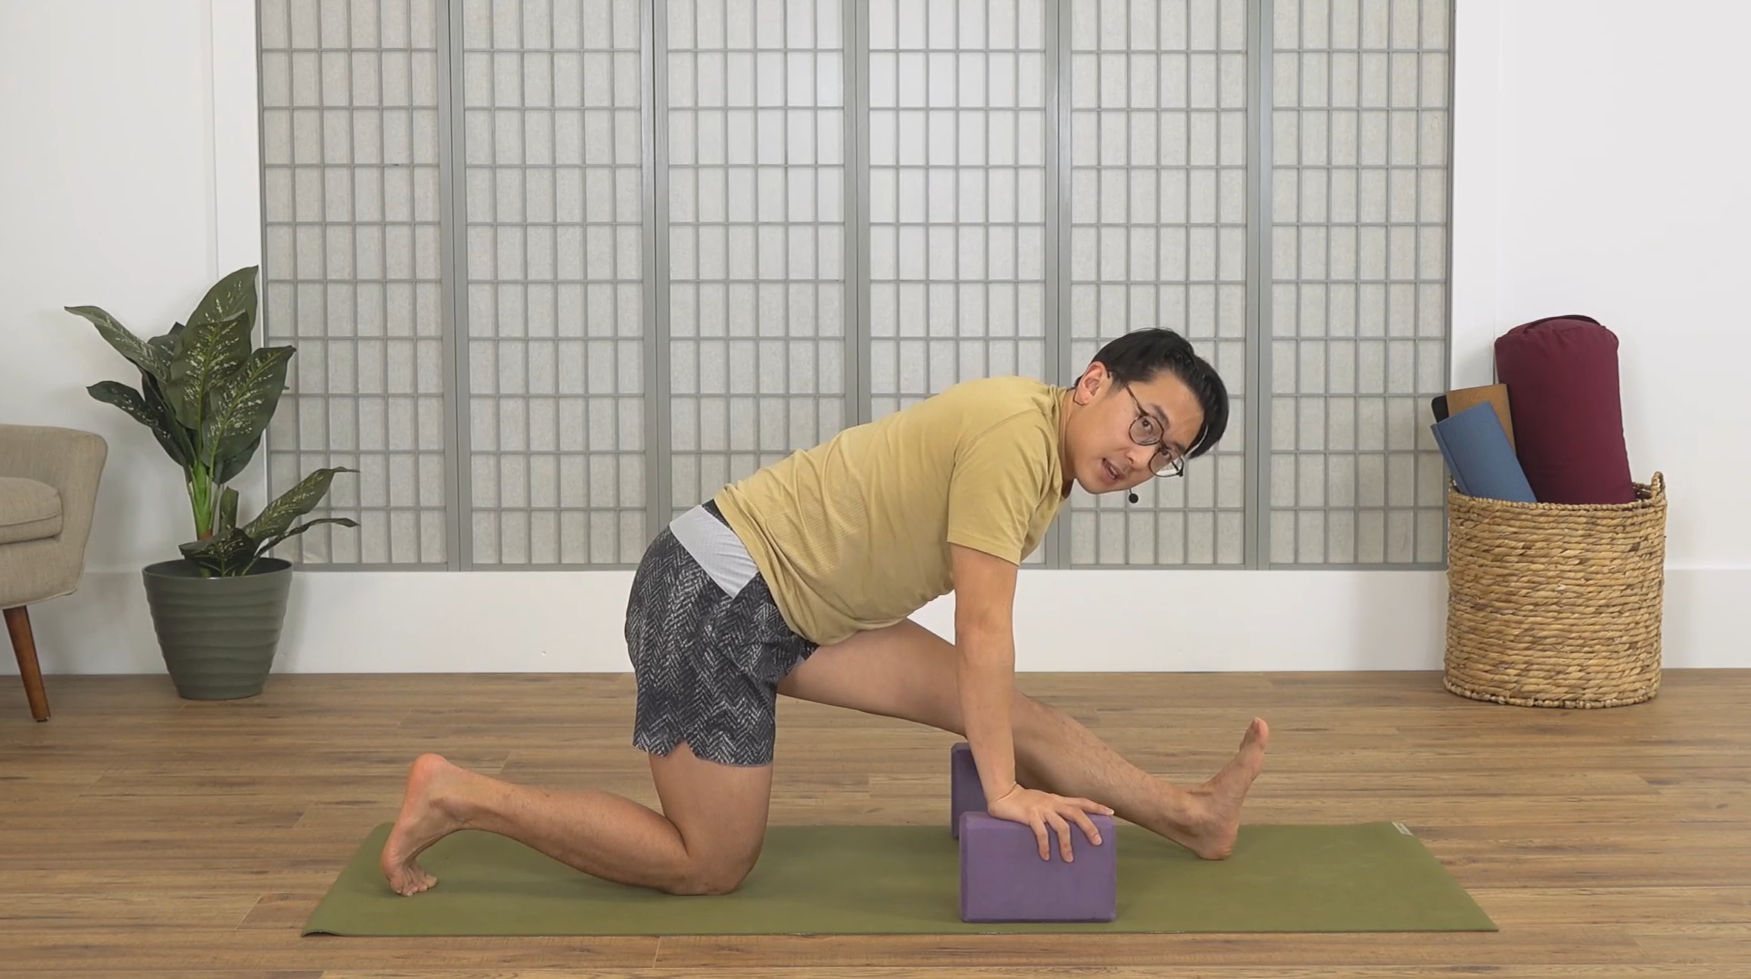
- Half frog pose (ardha bhekasana): take a block and place it under the shin of your bent leg, which will create a deeper stretch in your hips and groin.
Always be mindful of how you place the block—it should support the stretch without causing pain. Aim for gradual progression and breathe deeply—relax your muscles on your inhales, and try to go deeper on your exhales.
…to Relieve Tension from Muscles
In restorative sessions, you can use the yoga blocks to apply gentle pressure on trigger points, relax muscles, relieve tension, and loosen tight areas of the body.
For instance, you can position the block between your shoulder blades during a restorative session and feel tension slowly melt away. That’s definitely one of my favorite ways to use yoga blocks.
Here are several ways to use yoga blocks for muscle tension relief:
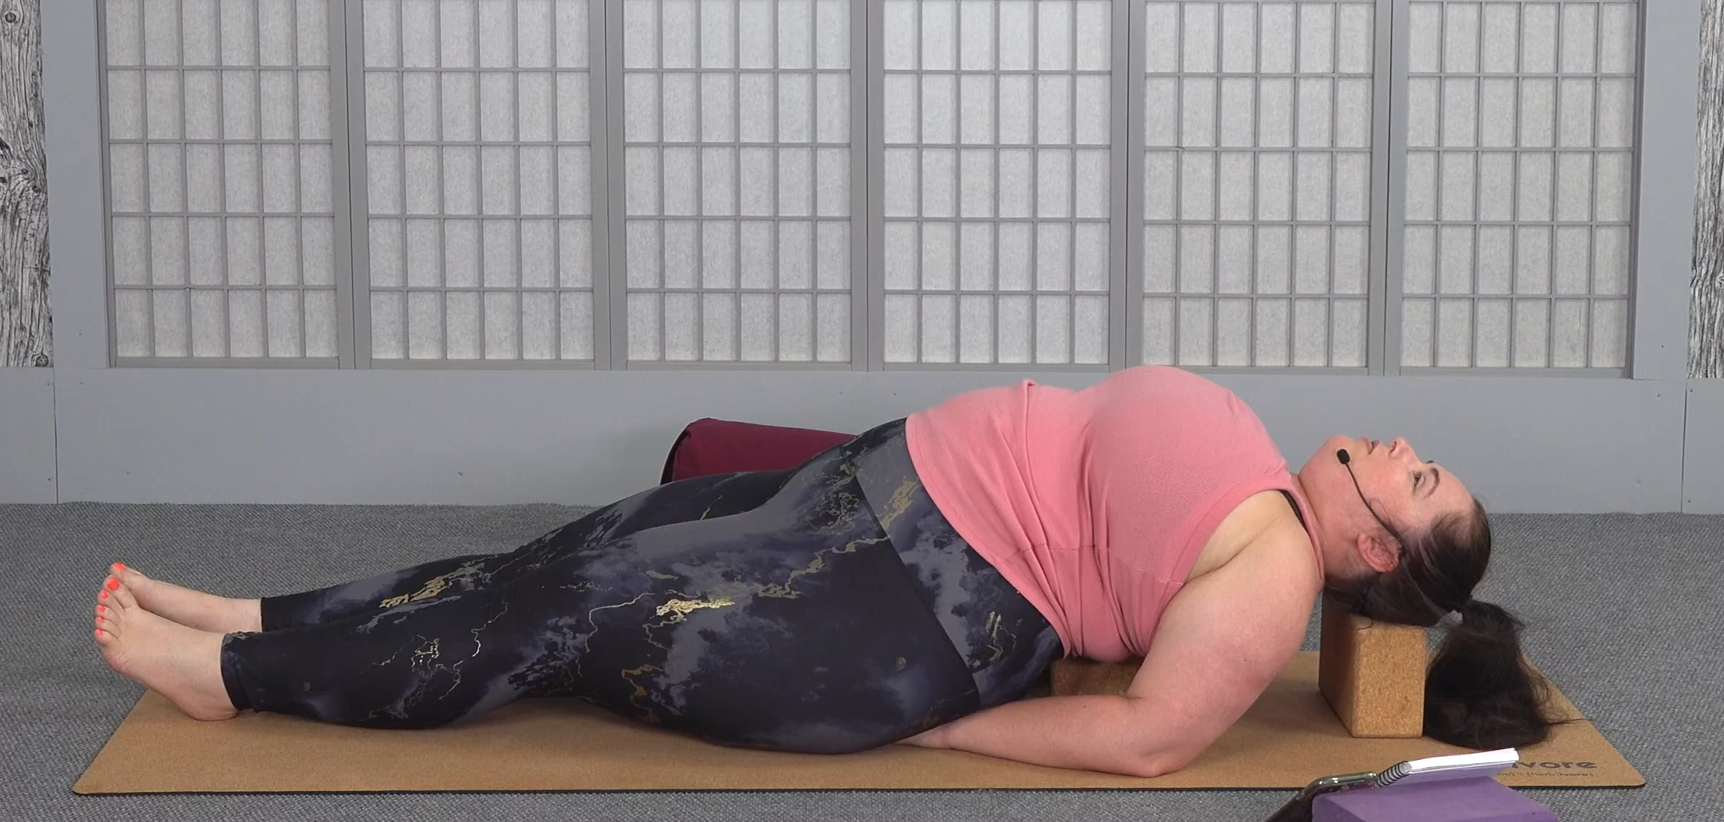
- Fish pose (matsyasana): place the block under your back, just below the shoulder blades, on its medium or smallest side. Lean on it and allow your chest to fully open, while your shoulders fall to the ground. Relaxing your back muscles releases tension from your upper back and neck. You can also use a second block to support your head if it’s too much on your neck.
- Supported shoulderstand (sarvangasana): place the block under your sacrum while your legs are up (feet towards the ceiling) and allow your hands to rest on the mat. This modification will help you relax your abdominal muscles and relieve tension in the lower back.
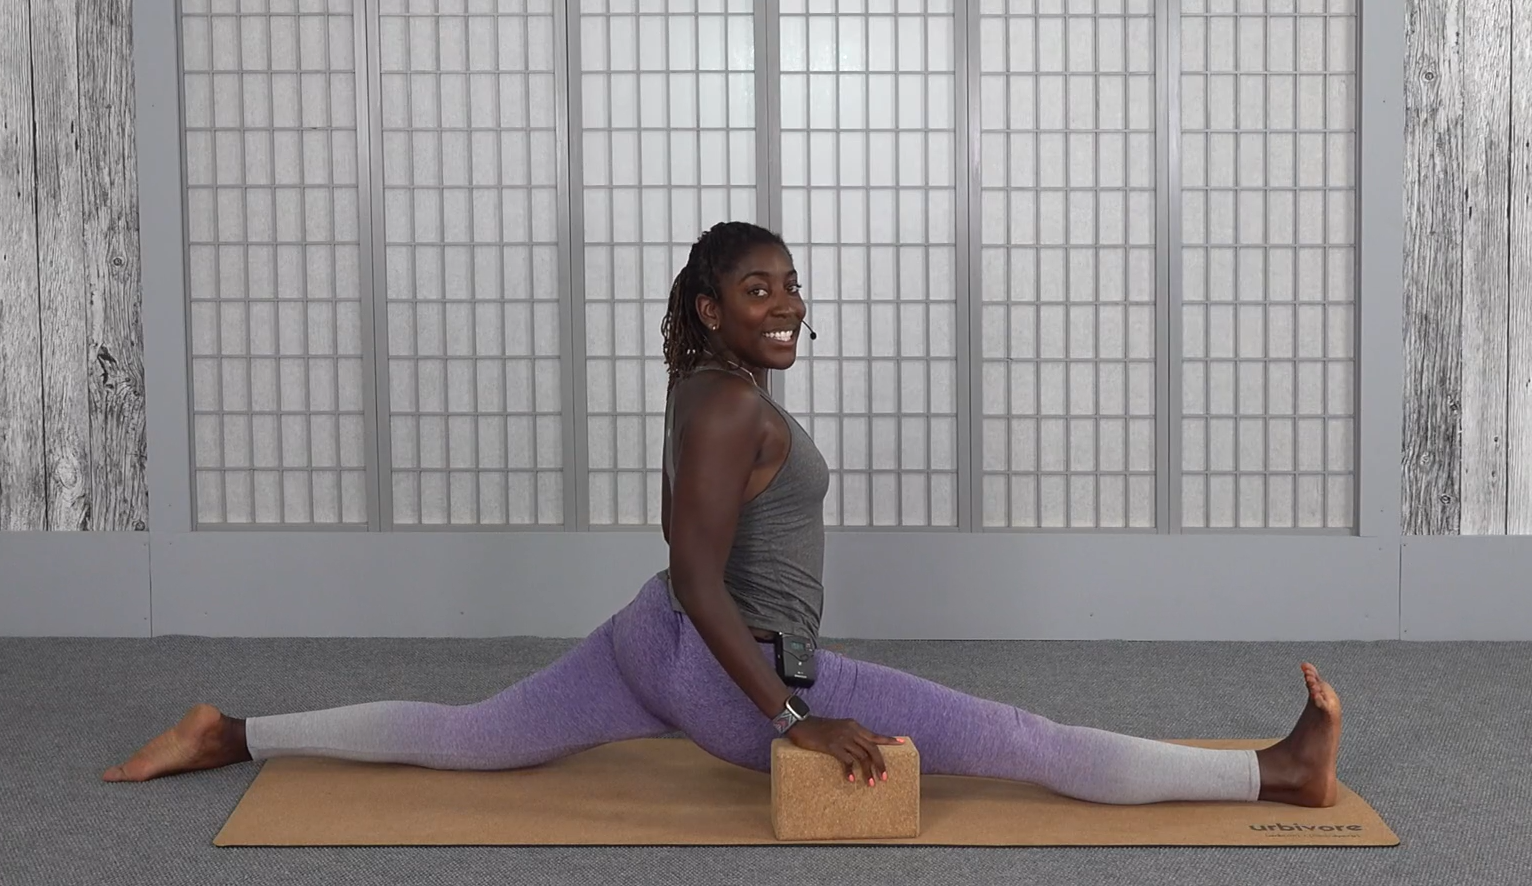
- Front split (hanumanasana): take two blocks and place them under the glute of your front leg. This modification will, first, make the pose so much easier, and second, help you release tension from your tight hamstrings.
…to Build Strength
Last but not least, you can use the yoga block to slowly build strength. Incorporating yoga blocks into your practice for strength-building asanas will make your sessions more intense and help you improve muscle tone and endurance.
Here are a few ideas on how to use the blocks to build strength:
- Plank pose (phalakasana): place a block between your thighs and squeeze it as you hold phalakasana or chaturanga. The thigh muscles increase the activation in your core, which will make the pose more challenging, but your core will thank you for it.
- Four-limbed staff pose (chaturanga dandasana): take two blocks and place them under your shoulders. Start with a high plank pose and lower yourself into chaturanga dandasana, trying to touch the blocks with your shoulders. Repeat this movement five to ten times, a few times in your session.
- Chair pose (utkatasana): if you think holding a chair pose for five breaths is hard, try holding it while squeezing a block between your thighs. This modification engages the inner thighs and glutes. The added resistance strengthens the legs and hips, improving stability and muscle power.
- Warrior III (virabhadrasana III): place a block in front of you and as you enter into the pose, try to touch the block with your hands without losing your balance. It’s quite a challenge and the asana requires a lot of leg strength, so be prepared.
Build Your Foundation, Block by Block
From providing support and enhancing flexibility to deepening stretches and building strength, there’s nothing these mighty props can’t help you do. Learning how to use yoga blocks in your daily practice is beneficial regardless of whether you’re a beginner or a seasoned yogi who is trying to deepen their practice.
I like to describe these props as the building blocks of your practice, helping to build your foundation one brick at a time (all puns intended!)—they add stability, depth, and richness to your sessions.
If you need more guidance on how to integrate blocks into your routine, head over to our website and browse classes with yoga blocks. Following along is a great way to get comfortable with using yoga blocks in your everyday yoga routine.
I have really benefitted from acknowledging that my arms are not the same length as David, Guy, Rachel and Ron! I really like that DYWM has taught me to bring the ground up w blocks, and it helps standing poses a lot. Yin also. Cork is easy to grab and renewable too. Thanks for the article.
Definitely going to try using my block for crow 🤞🙏