
The first time I tried a handstand, after a “lot” of prep work, I was overconfident and convinced I'd gracefully control my body mid-air, hold a perfect line, and gently float back down.
Spoiler alert: that didn't happen.
Instead, I got a crash course (quite literally) in the "ups and downs" of mastering the handstand. But hey, I had to start somewhere, right?
Taking on the handstand journey is like going on a long, adventurous road trip. There are bumps, detours, and moments when you feel like giving up. But with the right roadmap (in this case, exercises) and a full tank (of dedication), reaching that destination is just a matter of time.
Don’t forget that every handstand master started with shaky arms and tumbles. So, buckle up, roll out your mat, and stay committed.
The Handstand: Not Just For Gymnasts And Show-Offs
Handstands (adho mukha vrksasana) have been a showstopper in yoga for centuries, long before they became the Instagram sensation they are today. While good teachers will always tell you that your practice shouldn't come from your ego, we... get it. Who doesn't want the ability to pull off such a cool-looking party trick?
But aside from being a public display of immense strength, form, and balance, there’s actually a reason why this inverted position has deep roots in ancient yoga practices. Handstands, as other inversions, are believed to stimulate blood flow, improve concentration, and bring oxygen to the brain. These physiological changes, in turn, can sharpen our cognitive functions and uplift our mood.
Beyond the physiological and cognitive benefits, the handstand also activates the sahasrara (crown chakra), which is located on the top of the head and promotes awareness. Because of this, many yogis say that handstands offer a fresh perspective, feel liberating, and are the ultimate test of mind over matter.
Of course, not doing a handstand doesn’t make you any less of a yogi! The beauty of yoga is that it can be as physical or as spiritual as you wish it to be! But, if you have decided to climb this mountain, let’s start by laying the groundwork.
Building A Solid Foundation: It's All In The Wrists (And Shoulders, And Core...)
Before we even think about going upside down, we need to ensure our body is well prepared – otherwise, we risk injury.
But even if the risk of injury was not an issue (which, again, it is!), not warming up is setting up to fail. Think of it as planting a seed and then not watering it: no matter how fertile the soil, the seed won't germinate without moisture. Similarly, our handstand aspirations won't take root without doing some “boring” groundwork, regardless of our enthusiasm.
1. Wrist Flexibility
The first and probably most underrated aspect when practicing for a handstand is wrist flexibility. Our wrists are the pillars of our handstand. They bear the weight of our entire body, so it's essential to give them the love and attention they deserve.
We can do this by strengthening them and ensuring they’re flexible enough to handle the pressure.
Preparation: Always start your daily routine with some easy wrist-stretching exercises.
2. Shoulder Stability and Mobility
Our shoulders are key in handstand mechanics, acting as the primary stabilizers in handstands alongside our core. Let’s put our science hats on for a moment to better understand the shoulders' role.
Biomechanically, the rotator cuff muscles in the shoulders are responsible for keeping the head of the upper arm bone firmly within the shallow socket of the shoulder blade. In layman's terms, this means that the muscles of our shoulders keep the much smaller bones in our arms (smaller than the ones in our legs) firmly in place. This stability is crucial when inverting, as it ensures the arms can support the body's weight without causing injury.
In addition to shoulder stability, we also need good mobility. Shoulder mobility allows for a greater range of motion, which is essential for correctly aligning the body in the handstand. If our shoulders aren’t flexible enough, we either won’t be able to get into the handstand position, or we’ll distort our posture and compensate elsewhere in the body.
Preparation: In your daily routine, incorporate exercises that target the deltoids, rotator cuffs, and scapular muscles. Best yoga poses: plank pose, side plank pose, upward facing plank, crow pose, wheel, and puppy pose.
3. Core Strength
While not many people associate the belly with a handstand practice, a strong core ensures we remain balanced and aligned while standing upside down. You can think of the core as the control center responsible for making sure that your upper body and lower body move as one cohesive unit during a handstand.
A strong and stable core prevents the pelvis from tilting, which can throw us off balance. It also minimizes the arching of the lower back, a common mistake in handstands. Essentially, a well-engaged core creates that mesmerizing straight line that gymnasts are known for.
Preparation: In your daily routine, incorporate exercises that engage the rectus abdominis (six-pack muscles), obliques, and deep-set transverse abdominis muscles. Best yoga poses: boat pose, low boat pose, lifted staff pose (l-sit), scale pose, dolphin plank, and knee-to-arm plank.
Pre-Handstand Poses: Strengthening And Preparing The Body
Now that we've got the basics down let's dive into the asanas that pave the way to a handstand. We've identified the key players in our handstand journey: our wrists, shoulders, and core. Knowing which areas of the body to train is a great start, as you can personalize your daily yoga routine.
I’ve handpicked (pun intended!) four poses that I believe should be the staple in your regular yoga routine, especially when you’re working up to this tricky inversion. Here’s why.
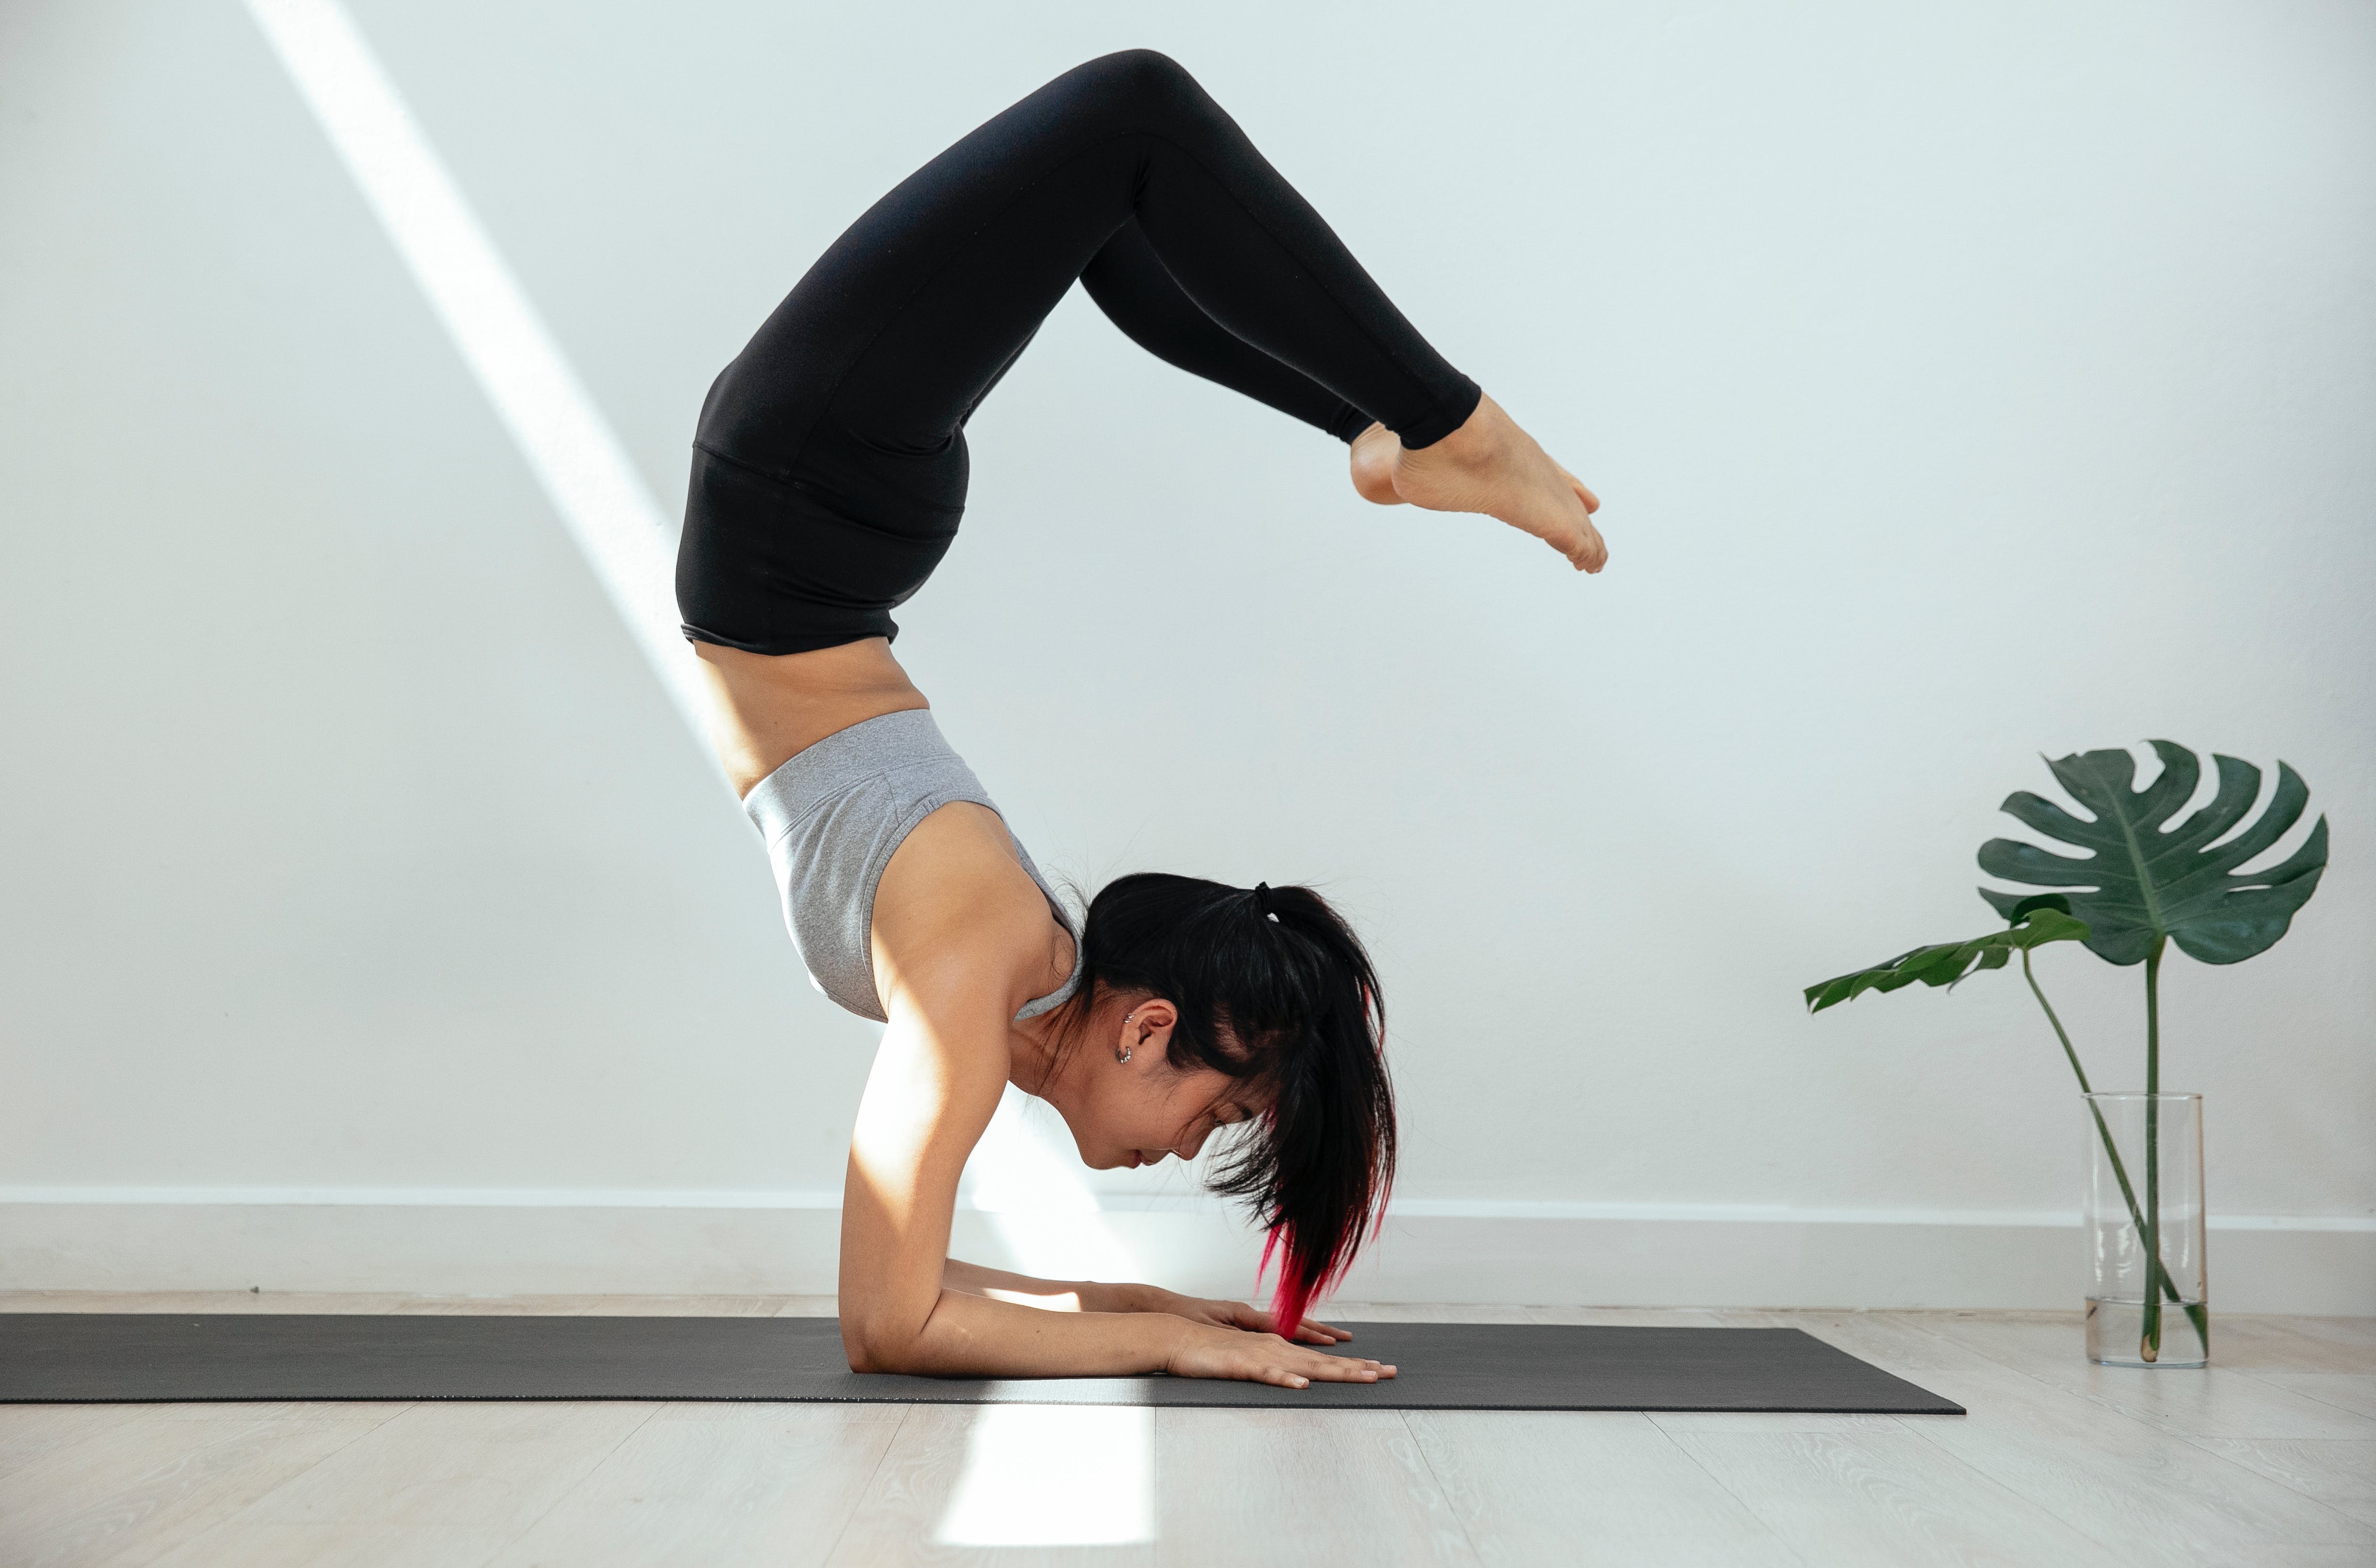
1. Dolphin Pose
The dolphin pose is my go-to for shoulder strengthening and stretching. By pressing the forearms into the mat and lifting the hips up and back, we're essentially mimicking the handstand motion in our upper body, minus the pressure on the wrists.
Trying to hold the pose for three to five breaths is a fantastic way to build endurance in the shoulders and upper back.
Action: Start in a low plank position with your forearms on the ground. Walk your feet towards your elbows, lifting your hips high. Engage your core and shoulders, and keep your head off the ground. Hold and breathe. Feel that burn? That's the magic happening! Focus on the shoulders: with every repetition, try to lean a little bit deeper into the stretch and hold it slightly longer.
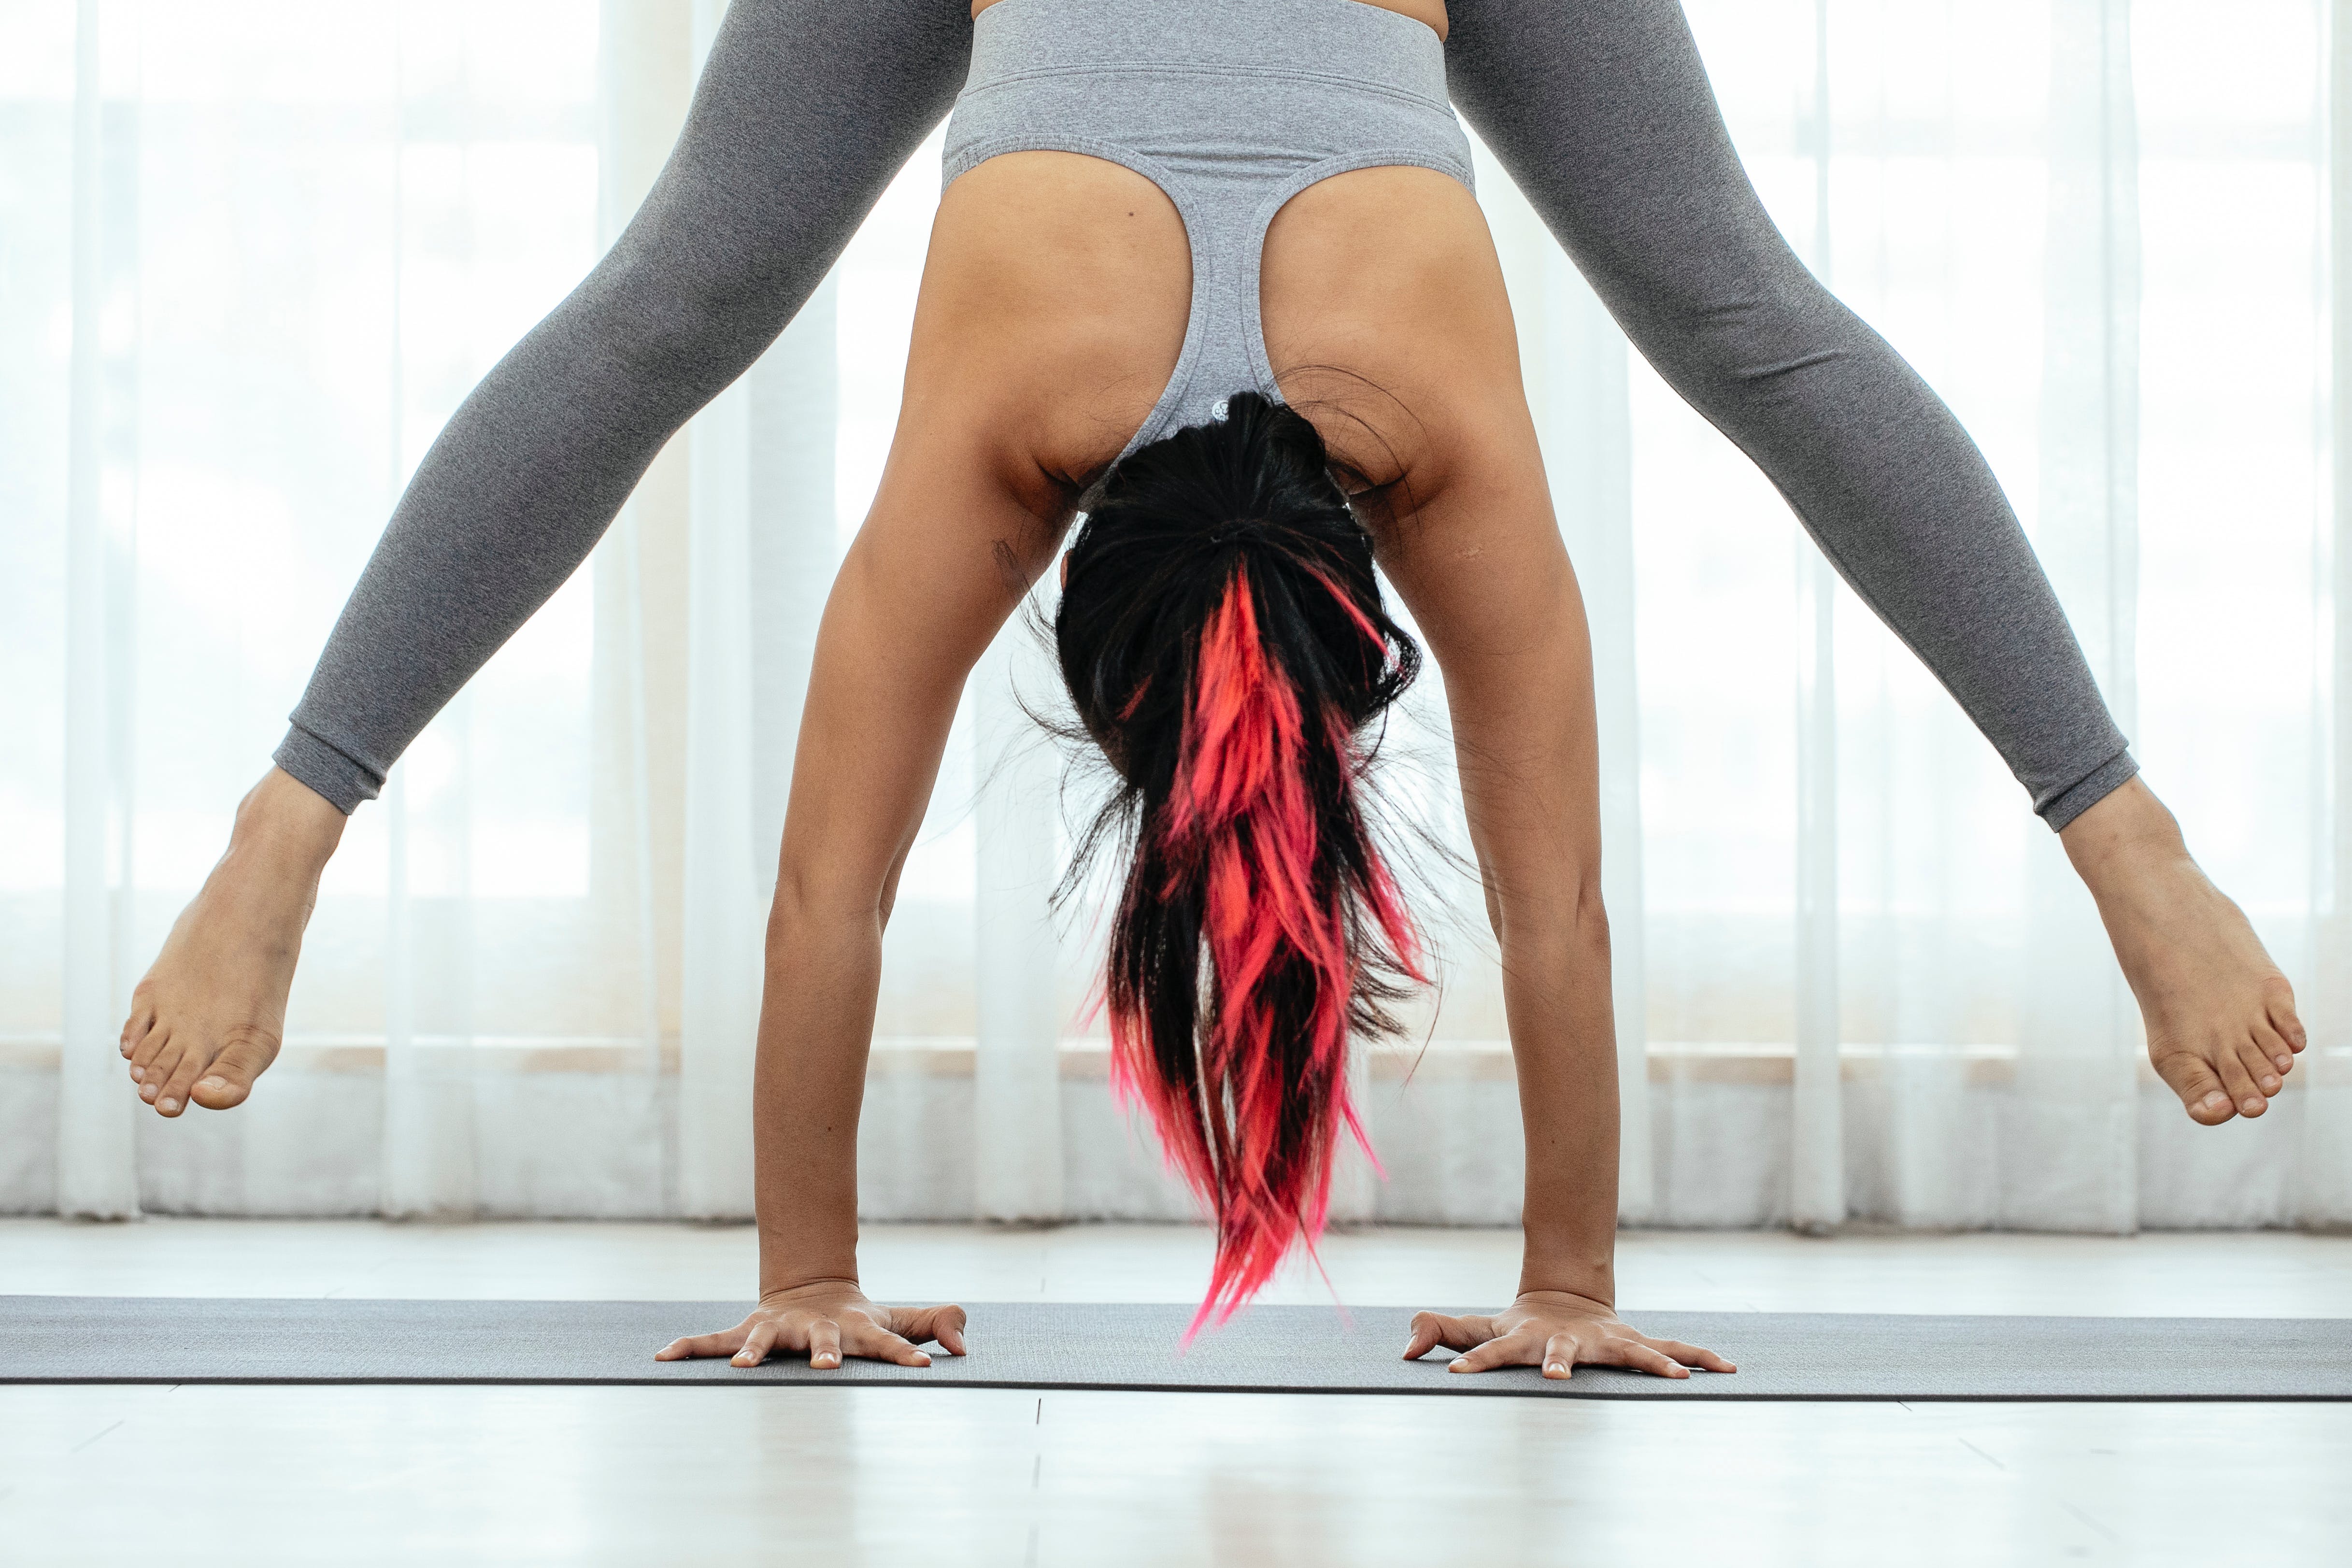
2. Hollow Body Hold (Low Boat Pose)
The hollow body hold is all about engaging that control center we talked about earlier: our core. It's a challenging pose that requires us to maintain a rounded spine while lifting the legs slightly off the ground and extending the arms above our heads. It teaches us how to keep our bodies stiff and in a straight line, something that comes in handy when we’re upside down.
Action: Lie on your back and lift your arms (with the shoulders) and legs off the ground. The challenge is to keep them as low as possible to the ground without touching it. Hold this position for a few seconds, and remember to breathe. Repeat three to five times.
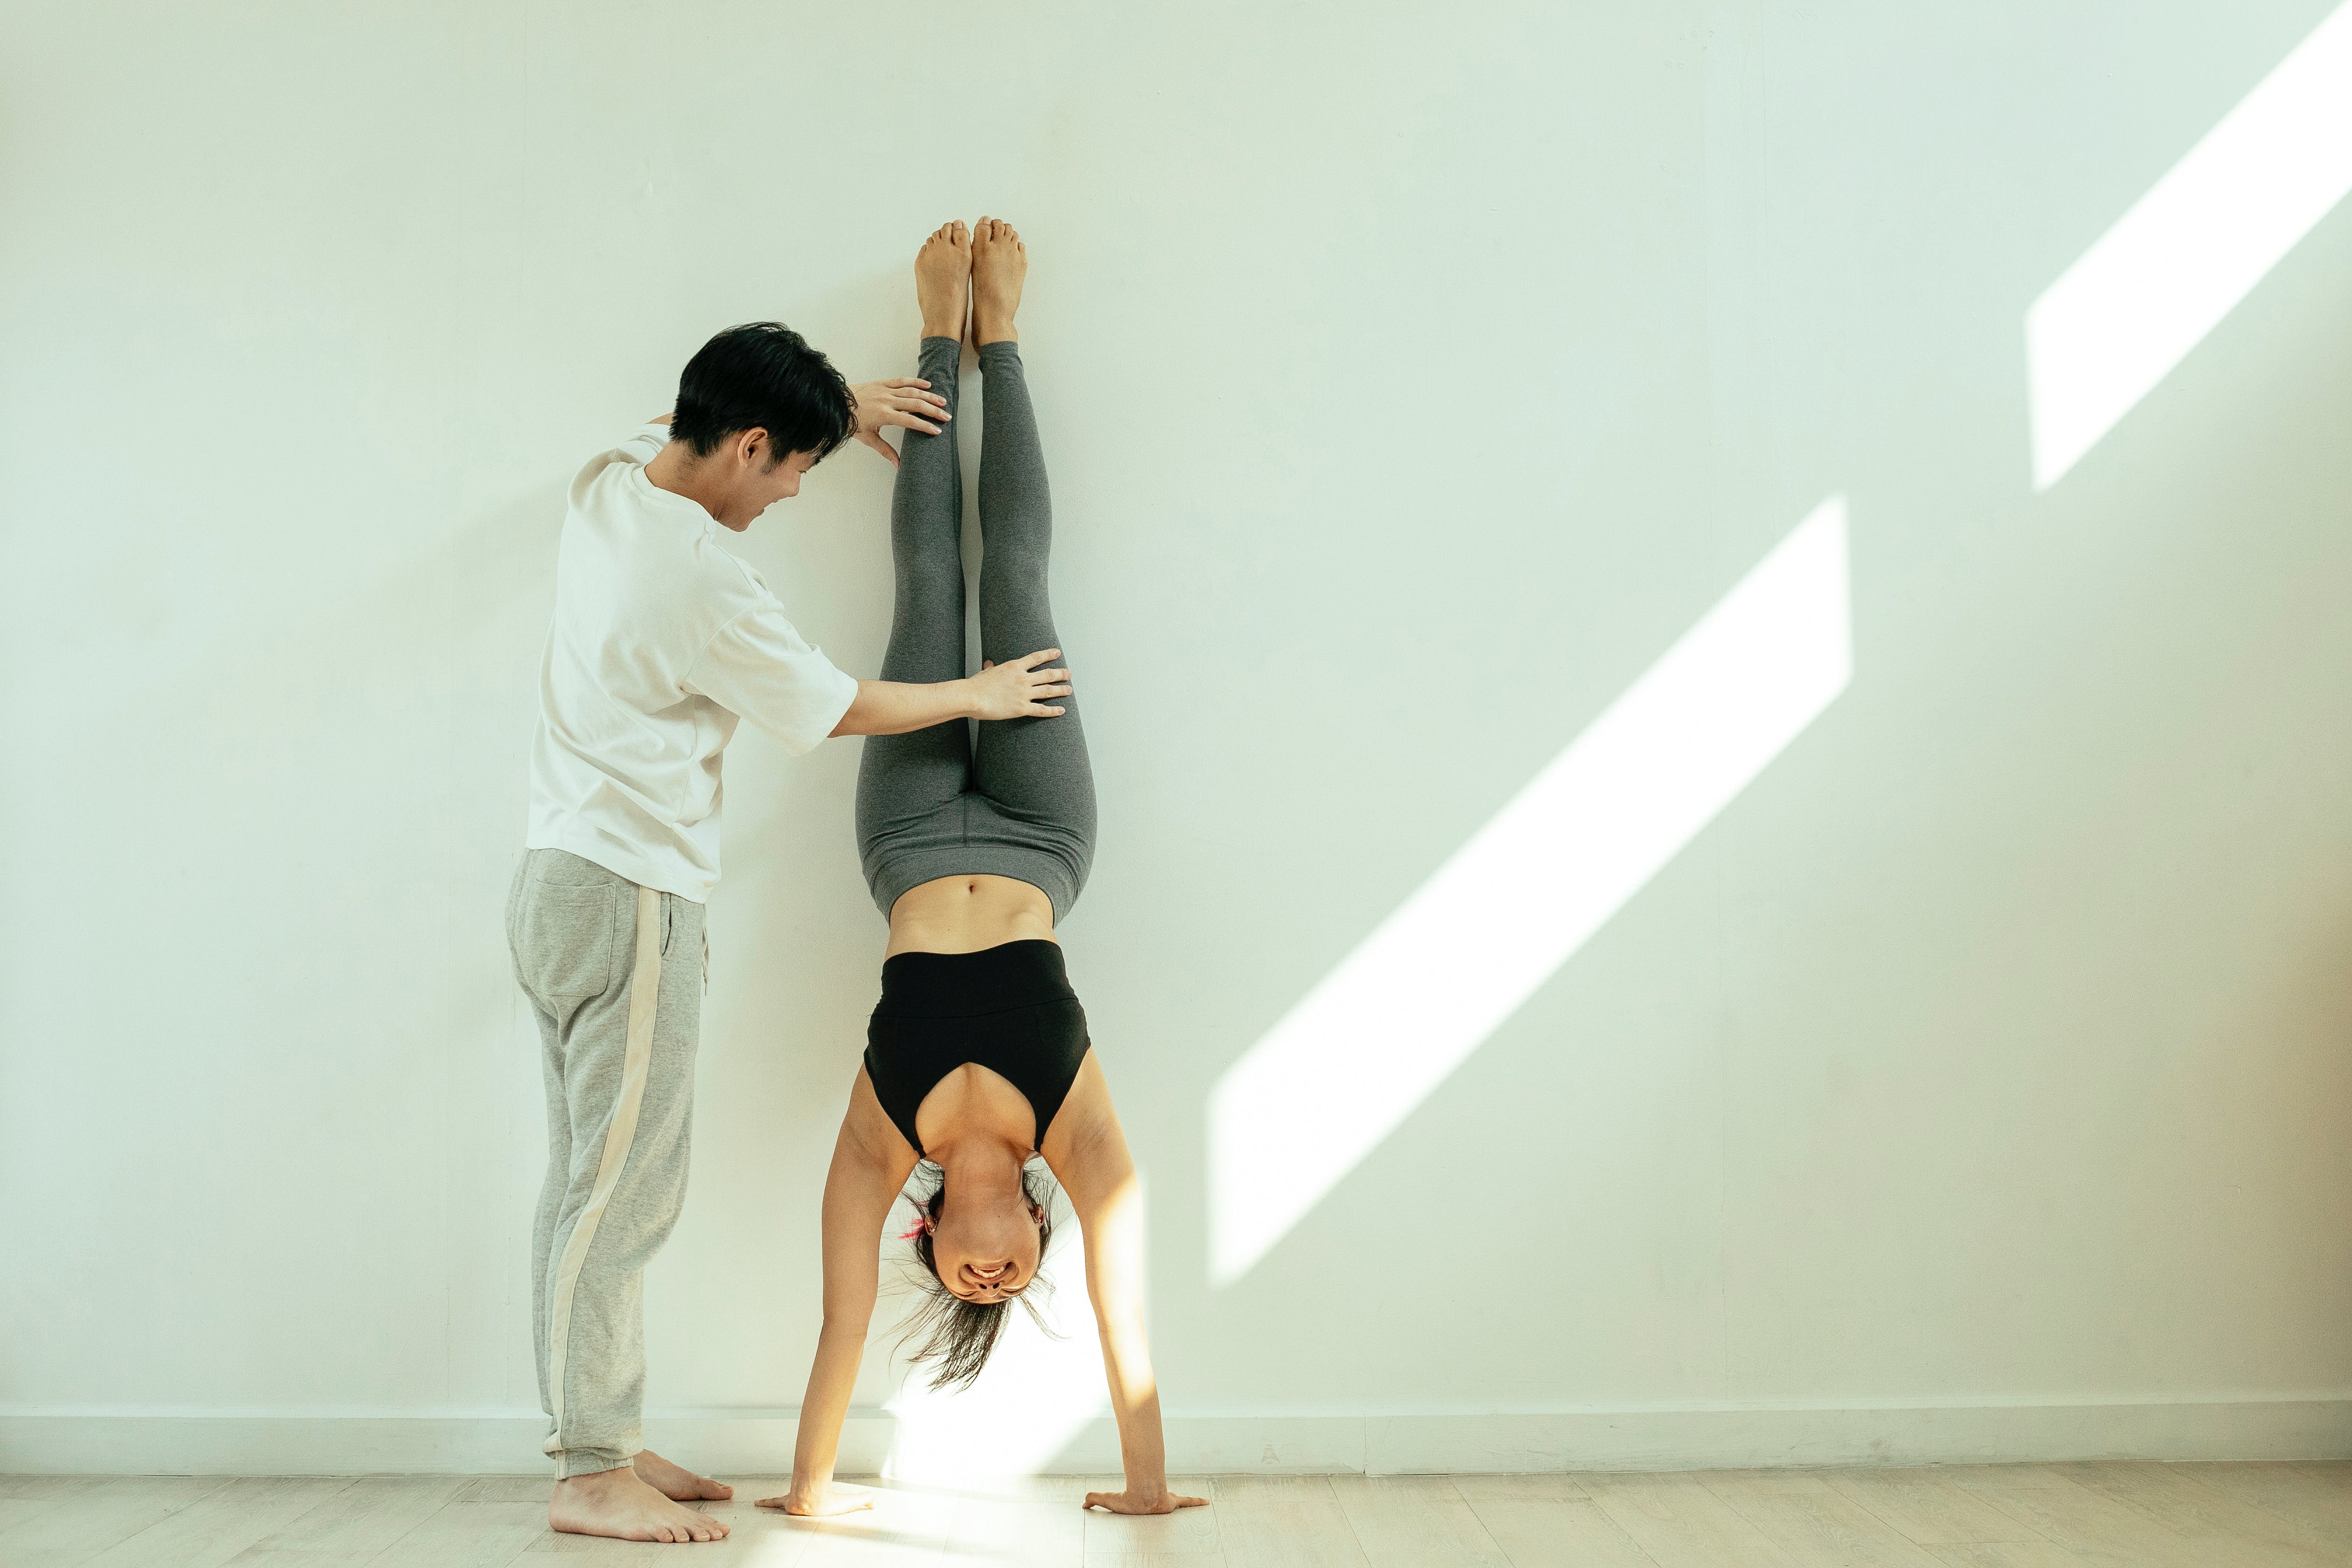
3. L-shaped Handstand
The L-shaped handstand is like a baby handstand. It goes a step beyond the dolphin pose; it engages your wrists and adds more pressure to your shoulders, but you won’t need to balance your body mid-air, as your feet are on the wall. Nevertheless, the L-shaped handstand is the best way to get a feel for the real thing.
Action: Stand facing a wall, about a leg's length away. Then, turn around, place your hands on the ground, and walk your feet up the wall until your body forms an L-shape. Engage your core, push into your palms, and feel the alignment. Hold the position for a few seconds, then repeat three to five times. If you feel confident, you can try walking your hands toward the wall while climbing your feet upwards until your thighs and chest touch the wall.
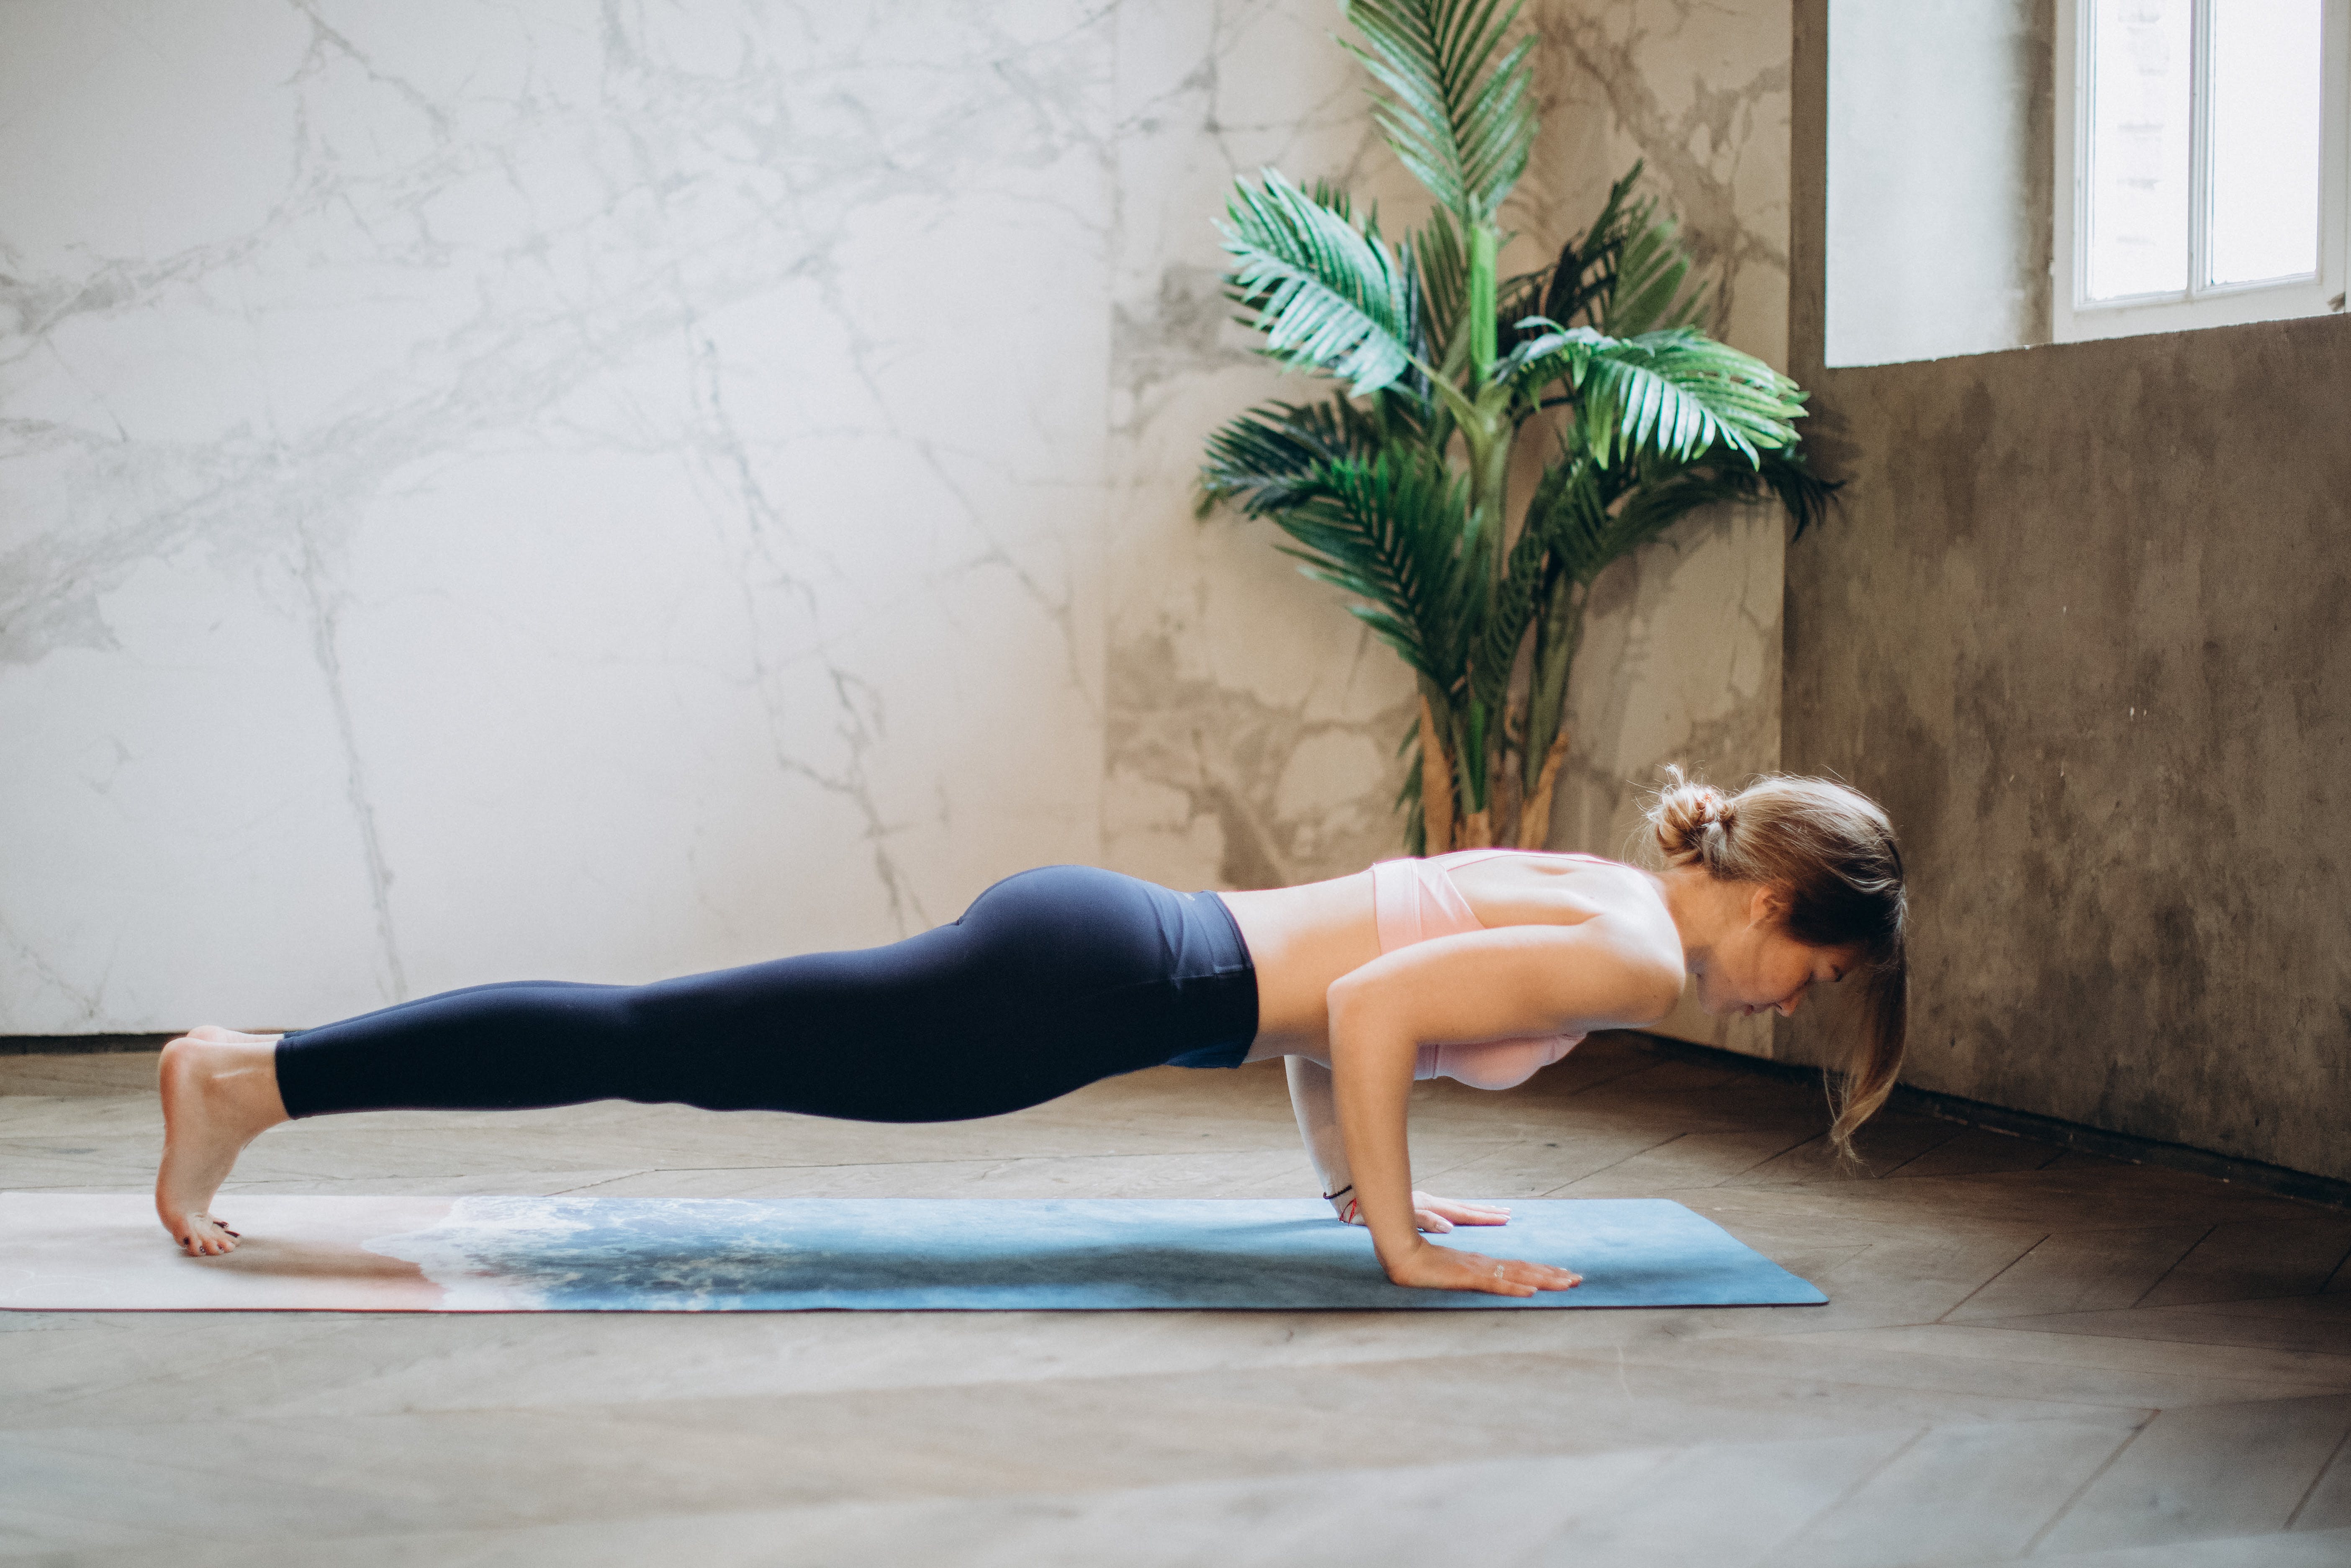
4. Plank Pose
The plank is sort of a holy grail in many sports, and so is the case in yoga. It’s a seemingly easy asana that quickly becomes excruciating if we have the right form and try to hold it for a few breaths. There’s a reason people say, “If you think time moves fast, try holding a plank.”
Similarly to the hollow body pose, the plank is an essential ingredient in any handstand practice because it engages our wrists, arms, shoulders, back, core, glutes, and legs. It’s a pose that engages the entire body, and you can easily incorporate it into your yoga routine.
Best of all, the plank has so many variations. For example, the side plank, or vasisthasana, is unmatched when it comes to wrist stability, while the knee-to-arm plank promotes shoulder stability and gives an extra ab punch.
Preparation: Start in a push-up position with your wrists under your shoulders. Engage your core, squeeze your glutes, and press into your heels. Keep your body in a straight line and hold. You can start by trying to hold a plank for at least 10 seconds, then slowly increase the time limit as you progress.
The Fear Factor: Overcoming The "What If I Fall?" Mentality
Once your body is warmed up, you can try jump-kicking into a handstand! Just kidding – don’t do that just yet.
I remember most of my handstand falls (which is impressive because there were so many), but I recall one in particular the most vividly.
It was the first time I mustered up the courage to do a handstand in the middle of the room without the wall as my safety net. I knew I would fall, as I couldn’t hold a handstand for more than a few seconds, but I also knew that this was the biggest mind roadblock I had to overcome.
So, with a mix of panic and determination, I went for it. And guess what? I fell! But here's the kicker: it was liberating and enlightening.
That fall, that moment of letting go, was a game-changer for me. It taught me two invaluable lessons. First, the fear holding me back was a big distraction. And second, the importance of learning how to fall safely. Once I embraced these lessons, my handstand game changed dramatically.
Because of this, I know that overcoming the fear of falling is just as crucial as warming up your body. In fact, by working on our mindset, we’re building mental resilience and body awareness.
The next time that fear creeps in, remember: it's all part of the journey. Embrace it, learn from it, and watch how it transforms your practice. Then, give it your best and kick your legs up in the air.
Tips For Falling Safely
Learning how to fall safely out of a handstand is a very subjective experience that requires a little bit of trial and error. However, the following tips can help you get started:
- Tuck and Roll: One of the safest ways to fall out of a handstand is to tuck your chin to your chest, bend your elbows, and roll forward onto your back. This method distributes the impact across a larger area of your body and reduces the risk of injury.
- Pirouette Bail: This technique involves twisting your waist and pivoting on one hand to land on your feet. As you feel yourself falling, turn your hips to one side, allow one hand to lift off the ground, and rotate your body to land on your feet. It’s a little bit more difficult than tuck-and-roll, but it may feel more natural.
- Stay Relaxed: If a fall is inevitable, try to stay relaxed. Tensing up can increase the chance of injuries. Breathe out as you fall to relax your body.
- Use a Spotter: When practicing, especially if you’re a beginner, have a spotter. The spotter can help guide you safely to the ground if you start to fall.
- Practice on a Soft Surface: Practice your handstands on a soft surface like a gymnastics mat. This reduces the impact if you fall and gives you more confidence to practice.
The Kick-Up: It's Not About Force, It's About Finesse
Watching experienced yogis kick their way into a handstand makes it seem so easy, doesn’t it? Just kick up, and voila, you're in a handstand!
But, as many of us have discovered (often after one too many ungraceful tumbles), it's not quite that straightforward. The kick-up is less about brute force and more about finesse. It's the art of finding that sweet spot between momentum and control.
When I first started practicing handstands, I remember approaching the kick-up like I was trying to break down a door. If I just kicked harder, I thought, I would surely get my legs over my head.
I didn’t. Instead, I found myself either not getting up at all or overshooting and tumbling over. It was only when I shifted my focus from power to precision that things started to click.
Here are a few tips to help you make this shift:
- Start Small: Begin with small kicks, gradually increasing the force until you find the right amount of force to get your hips over your shoulders without toppling over.
- Engage Your Core: Before you kick up, take a deep breath and flex your abdominal muscles. This will give you stability and control as you lift off.
- Keep Your Gaze Steady: Keep your gaze fixed on a point on the ground. This will help with balance and ensure that you're not throwing your head back, which in turn can throw off your alignment.
- Keep Your Hips Square: Do not rotate your hips while kicking up. Make sure both your hips and shoulders are squared to the front.
- Practice on a Wall: Until you're confident with your kick-up, practice near a wall. It'll catch you if you overshoot and give you a safety net as you refine your technique. Gradually move away from the wall as you gain confidence and strength.
Remember, the kick-up is about understanding your body and recognizing when to push and when to hold back.

Finding Balance: Like Learning To Ride A Bike For The First Time
Do you remember the thrill of letting go of the training wheels when you were learning to ride a bike for the first time? The wobbly start, the wind in your hair, and that triumphant moment when you realized you were balancing all on your own?
Hopefully, yes, because learning how to balance ourselves on a handstand is just like learning to ride a bicycle for the first time. And those micro adjustments are key to staying mid-air.
In our handstand journey, these micro adjustments come from our fingertips, toes, and breathing.
Fingertips
Think of your fingertips as the brakes on a bike. Just as you would gently squeeze the brakes to avoid crashing into a tree without stopping the bike, you can use your fingertips to prevent toppling over in a handstand. By pressing down into the mat and keeping your fingertips in a “claw” position, you create a counterforce that helps stabilize your body. It's a subtle movement, but it makes a world of difference.
Toes
While you may think that pointing the toes is just for show, there's a functional reason behind it. Engaging your legs and pointing your toes helps to align your body, creating a straight line from your hands to your feet. Plus, engaging your legs gives you extra control and stability. So, flex those quads, point those toes, and feel the difference it makes!
Breathing
Breathing might seem like a no-brainer, but you'd be surprised how many of us hold our breath when trying to balance. It's a natural reaction when we're focusing hard, but it's counterproductive.
Holding your breath creates tension and makes it harder to balance your body. Think of it as trying to pedal a bicycle with an overinflated tire: it just won’t work well. Instead, focus on taking deep, even breaths. This will relax your body and help you maintain a steady center of gravity.
Common Mistakes: Been There, Done That
We’ve already covered quite a bit, and I’m sure you feel eager to just get on the mat and put my words into practice. But, stick around a little longer, as I want to bring your attention to some of the things that you should be extra careful about.
These are the things that are most likely to hinder your progress.
We've all had these facepalm moments when trying to master the handstand. But here's the silver lining: mistakes are just stepping stones to success, as long as you recognize and correct them!
1. Arching the Back
This one's a classic. You kick up, and instead of a straight line, you resemble a banana. The culprit? Not engaging the core enough. The fix? Practice pelvic tilts on the ground to get a feel for a neutral spine, and then try to replicate that sensation when you're upside down. Hollow body holds are the perfect solution to correct this issue.
2. Trying to Look Around
Curiosity killed the cat, and it will mess up your handstand. Looking around (even slightly, in any direction) shifts your head and destroys your focus, which will easily throw off your alignment. Keep your gaze fixed on a point on the ground between your hands. It'll help you balance and save you from the clumsy falls caused by a wandering gaze.
3. Bending the Elbows
Unless you're transitioning into a different pose, keep those arms straight. Bending the elbows destabilizes your foundation and makes it extremely challenging to maintain a handstand. So, engage those triceps and push the ground away.
4. Not Using the Shoulders
Your shoulders play a crucial role in stabilizing your handstand. Pushing through your shoulders creates space between your ears and arms, giving you a more solid, stable foundation. To remedy this issue, bring your attention inward and be aware of how active your shoulder muscles are at all times.
Practice Makes Perfect: But Remember, Rome Wasn't Built in a Day
One last mistake, which is not really a mistake in your technique but rather your mentality, is a lack of patience. I understand wanting to rush through the journey and wake up a handstand master, but here’s the thing: mastering the handstand is not a sprint; it's a marathon.
The handstand is a skill, an art form, and like all art forms, it requires patience, persistence, and passion.
In fact, falling in love with the journey and the practice itself is more important than reaching some self-perceived milestone, like maintaining a handstand for a few more seconds. The reason for this is that even if you reach your milestone, maintaining it requires constant practice, and that’s not sustainable if you don’t enjoy the journey itself.
So, when you find yourself wobbling, falling, or even doubting your ability, remember that every great yogi, gymnast, and acrobat started exactly where you are now. They had their fair share of tumbles and setbacks. But with consistent practice, they built their Rome. And you will, too.
Comments
Existing Comments