

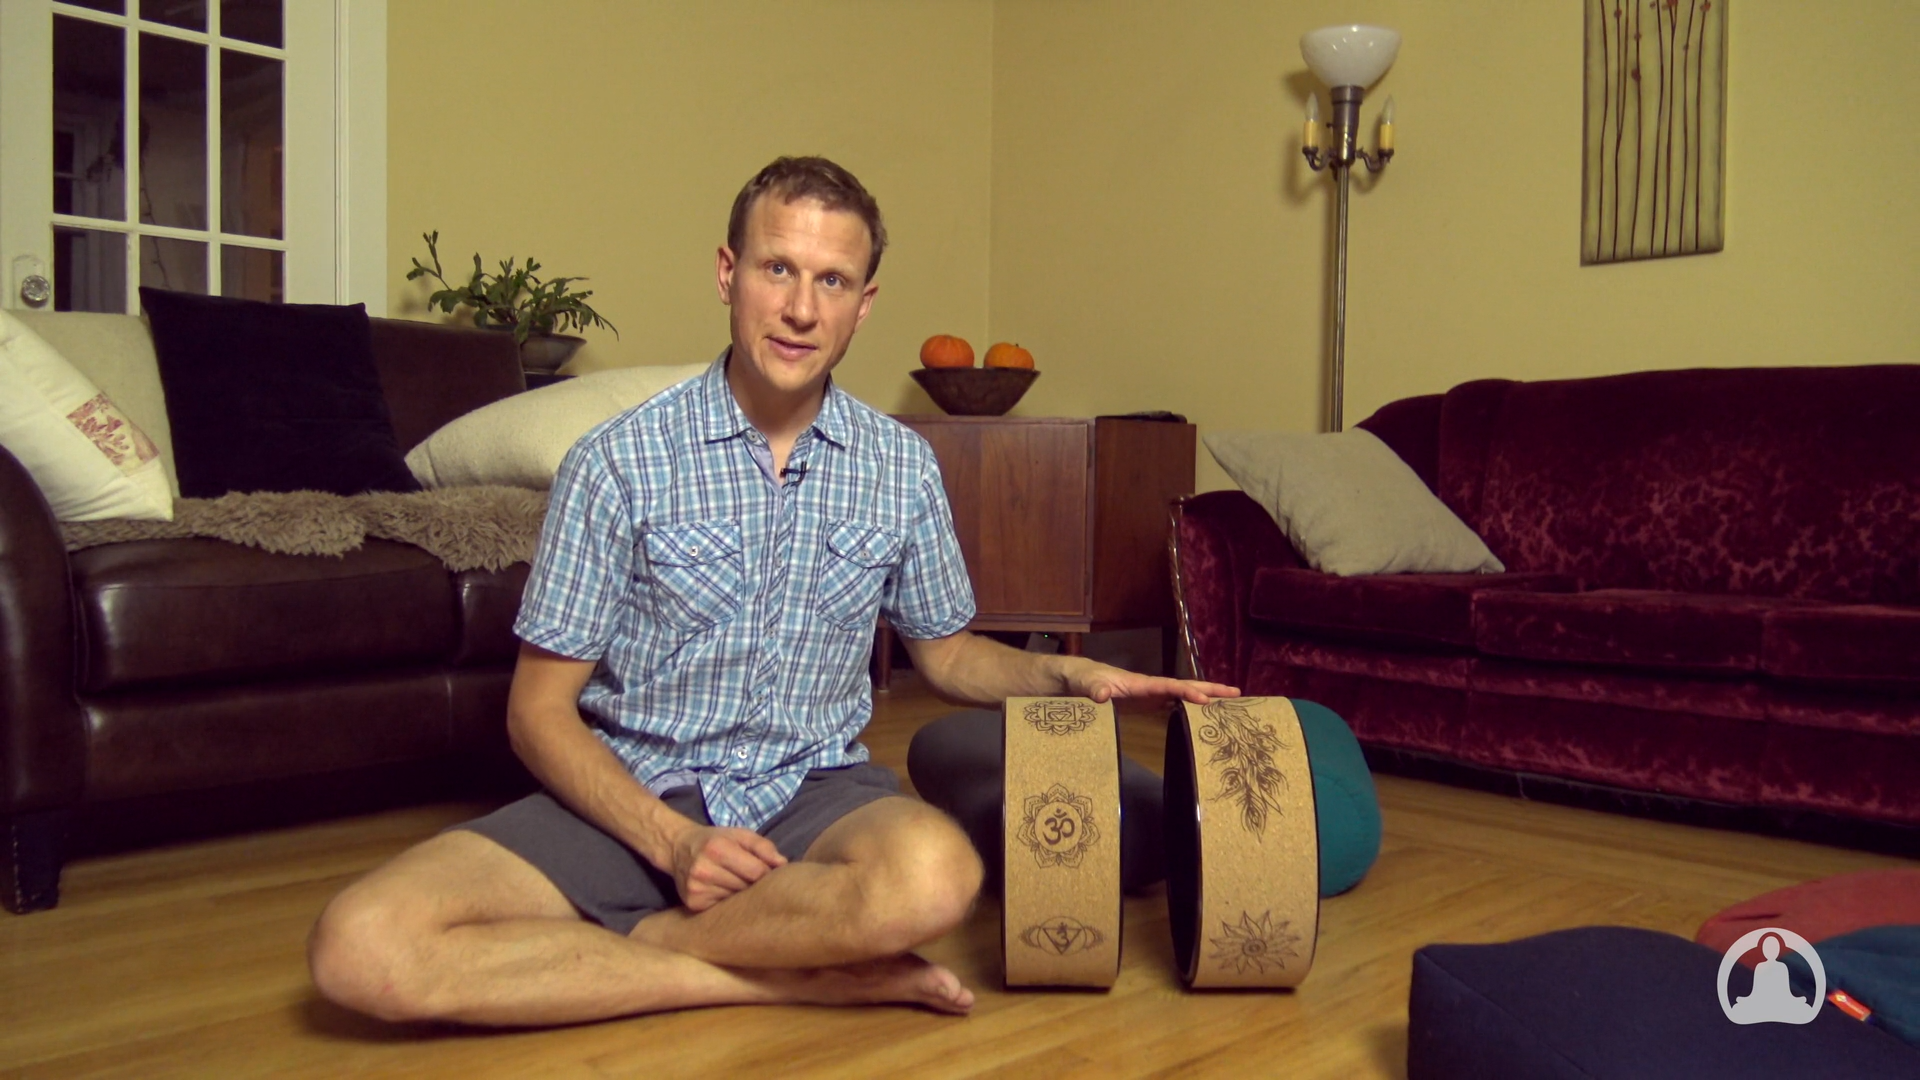
There are many ways to use the yoga wheel—the prop, not the posture. My personal favorite is after work, sitting in front of the wheel and gently leaning on it until I feel every muscle in my back sigh in relief.
This little routine is my go-to for stress relief after hunching in front of a laptop the whole day. But, there are many other ways to use this versatile tool—it’s sort of like a Swiss army knife, if you think about it. It can help you stretch your tight hamstrings, assist you in advanced asanas like wheel pose, and on the flip side, make some easy movements more difficult for those looking for a challenge.
Let’s explore all the things you can do with a yoga wheel.
What Does a Yoga Wheel Do?
Yoga blocks can bring the ground closer, straps can extend the arms, and cushions can soften hard surfaces, making seated positions more comfortable. What can the wheel do?
The yoga wheel’s purpose is rooted in the desire to provide a prop that could aid in spinal health and help practitioners deepen their backbends, addressing the common issues of back pain and postural imbalances caused by modern sedentary lifestyles. Over time, its range of applications has expanded, illustrating the Swiss-knife-like versatility and efficacy of this prop in improving overall physical well-being.
Types of Wheels
Since yoga wheels became quite popular in recent years due to their versatility, so did their adaptability to different bodies. Today, we have wheels with different sizes.
These helpful yoga props come in various diameters, typically ranging from about 6 to 15 inches, to accommodate practitioners of different heights and flexibility levels. For instance, a taller person would feel more comfortable and safe on a larger wheel because these types of wheels offer more support and are a better fit for their longer spine—and vice versa.
So, choosing the correct size of the yoga wheel can make a world of difference. A larger wheel can assist in deeper backbends and stretches for those with a taller stature, offering a gradual increase in flexibility without straining the back. On the other hand, a smaller wheel is ideal for shorter people, especially women and kids, as it allows for a more controlled and stable practice. Plus, smaller wheels are great for beginners who are still struggling to find their balance and core strength.
If you want to buy a yoga wheel, consider your height, flexibility, and the specific poses you’ll focus on to find the perfect fit.
But if you have a wheel and don’t know where to start, here are a few tips on how to integrate it into your daily practice.

How to Use a Yoga Wheel…
…for Back Pain and Posture Correction
If I had to choose only one application for the yoga wheel, it would be for back pain and posture correction. The wheel helps to gently massage the spine and realign its natural curvature, thus counteracting the harmful effects accumulated through prolonged sitting or bad standing posture.
To give yourself a gentle spine massage, follow these steps:
- Sit on the floor and place the yoga wheel behind you, aligned with the spine.
- Slowly lean back, allowing the center of your back to lean on the wheel. If you need support, you can interlace your fingers and place them behind your head. On the other hand, if it feels good, extend your arms over your head and let your head fall back.
- Push through your glutes and lift your bum off the floor, with your knees bent at around 90 degrees—doesn’t have to be exact! This position will deepen the stretch.
- If it feels good for you, play around with gently rolling back and forth along your spine and focusing on areas that feel particularly tight.
- Take deep breaths and try to relax your muscles.
In the beginning, aim for 3-5 minutes of gentle rolling, pausing at points of tension for several deep breaths. Practice this routine daily, especially after long periods of sitting.
After you become more comfortable using the wheel this way, try extending both your arms and legs. This position will help you deepen your backbend and prepare you to do full wheel pose.
…for Stress Relief
The yoga wheel can also act as a physical outlet for stress relief. It’s a great tool for opening the chest and releasing pent-up tension in your body.
Lateral stretch (side bend)
- Sit in a cross-legged position or lotus pose with the wheel at your side.
- Take the wheel out to your left in line with your shoulder.
- Place your left forearm on the wheel.
- Take a deep breath, bring your right arm overhead, and begin to extend out to the left.
- Go as far as comfortable, then return to your starting position.
- Repeat five times, then do the same on the other side.
Frontal stretch
- Sit in a cross-legged position, lotus pose, or hero’s pose.
- Place your hands on the wheel with your palms facing down.
- Slowly, begin to roll the wheel away from you as you come forward with your body.
- Go as far as it feels comfortable, and let your head hang between your extended arms and breathe deeply.
- Repeat five times.
Back stretch
- Place the wheel behind you, in line with your spine.
- Hold onto it with your hands as you begin to lean your upper back on the wheel.
- Once you feel stable, release your hands and interlace the fingers behind your head.
- Try to open your chest by moving your elbows away from each other and towards the ground. Don’t force the stretch, please!
- Close your eyes and take deep, slow breaths, allowing each exhale to release tension.
- Hold this pose for several minutes, then let go and fold forward into child's pose.
…to Deepen Backbends
Wanting to advance your asana practice and deepen your backbends is yet another reason to incorporate the yoga wheel into your daily practice. Since the wheel acts as a supportive prop for your spine, allowing for gradual adjustments, it’s a much safer and more effective tool, than say, yoga blocks, to improve spine flexibility.
Here’s what you need to do.
First, warm up. Start with your regular yoga routine that’s your go-to when practicing backbends. Once your body is warmed up you can take the wheel and do a supported backbend.
- Sit on the floor with your knees bent and the yoga wheel behind you. You can place the wheel closer or further away from your lower back, depending on your current flexibility level.
- Place your hands on the yoga wheel for stability, and slowly begin to lean back. You can keep your knees bent, or for a deeper stretch, extend your legs.
- Once you feel stable, extend your arms overhead to deepen the stretch, reaching towards the ground behind you.
- Hold the position for a few breaths, then on your next exhale, bring back your arms towards your chest.
- Repeat this movement several times, making sure your back muscles are relaxed.
- Move slowly and try to extend your arms a little further each time, but don’t force it.
Once you’re comfortable with a supported backbend, you can use the wheel for more advanced asanas, such as pigeon pose (kapotasana).
…to Improve Flexibility
You can use the yoga wheel to aid your stretches and improve flexibility. And, since we’ve already discussed some upper-body stretches, let’s focus now on hip flexibility. (In the meantime, here’s a class with David that focuses on both the hips and back.)
First things first: warm up your hips with gentle movements, such as leg swings, windshield wipers, forward folds, and lunges.
Tight hamstrings are a common issue for many people. Poses like seated forward-fold (paschimottanasana), pyramid (parsvottanasana), and standing forward-fold (uttanasana) are excellent for addressing these problems. So where do you introduce the wheel here? Start with a wheel-assisted half-pyramid pose.
Wheel-assisted half-splits
- Position yourself on the ground, kneeling on one knee with the other knee bent, foot flat on the floor—as if you’re about to propose to someone. Keep your back straight.
- Place the wheel under the calf of your front leg as you start to straighten it.
- Use your hands to slowly roll the wheel forward.
- Bring your attention to the sensations in your hips as you feel the stretch. Move carefully and go as far as is comfortable.
- Once you’re there, keep that position for three to five deep breaths before doing the exercise a few more times.
- Repeat the same process with the other leg.
Wheel-assisted lunge
- Position yourself in a low lunge.
- Take the wheel and place it under the ankle and top of the back foot.
- As you inhale, extend your arms overhead and try to slowly find the balance to lift your back knee from the floor, balancing on the wheel your back foot. Go as far as comfortable (you could also do this with your toes tucked under).
- Alternatively, keep your hands on the floor as you lift your back knee for better balance.
- Hold that position for three to five deep breaths before doing the exercise two to three more times.
- Repeat the steps on the other leg.
…to Strengthen Your Core
Strengthening the core is crucial for overall stability and injury prevention, and the yoga wheel can introduce an element of challenge and fun to core workouts.
To use the wheel for core strengthening, start in a plank position.
- Take the wheel and place it near your feet.
- Engage your core, then lift one leg and place your foot on the wheel.
- Shift the weight to the leg that’s on the wheel, then briefly lift the foot that’s still on the ground and place it back down.
- Repeat for a few times, until you get a sense of what it feels like to balance yourself on the wheel.
- After this, if you feel ready, place both feet on the wheel to get into an elevated plank position.
- Engage your core and roll the wheel towards your hands by bringing your knees towards your chest, then slowly extend them back to the starting position.
Start with two-to-three sets of eight-to-ten repetitions.

Ready to Roll?
The wheel, the blocks, the straps, and the cushions are all trusted allies that can make asanas a lot more accessible and comfortable. Sure, it might feel awkward at first. You might wobble, you might even fall, but that's all part of the process. Every time you come back to it, you'll find it a little easier, a little more familiar, and hopefully a lot more fun!
So, take these tips, grab that wheel, and roll. Remember: every yogi started somewhere, and every expert was once a beginner. The yoga wheel is your chance to explore new aspects of your practice, challenge yourself, and grow.
Would love to see some classes using a wheel.
Are you planning any classes using the yoga wheel?